
Want to give your car a fresh, new look without spending a fortune? Spraying your wheel covers is a simple and affordable way to do just that.
But if you’ve never tried it before, you might wonder where to start or how to get a smooth, professional finish. Don’t worry—you’re about to learn easy, step-by-step tips that will make your wheel covers look amazing. Keep reading, and soon you’ll have your wheels turning heads wherever you go.

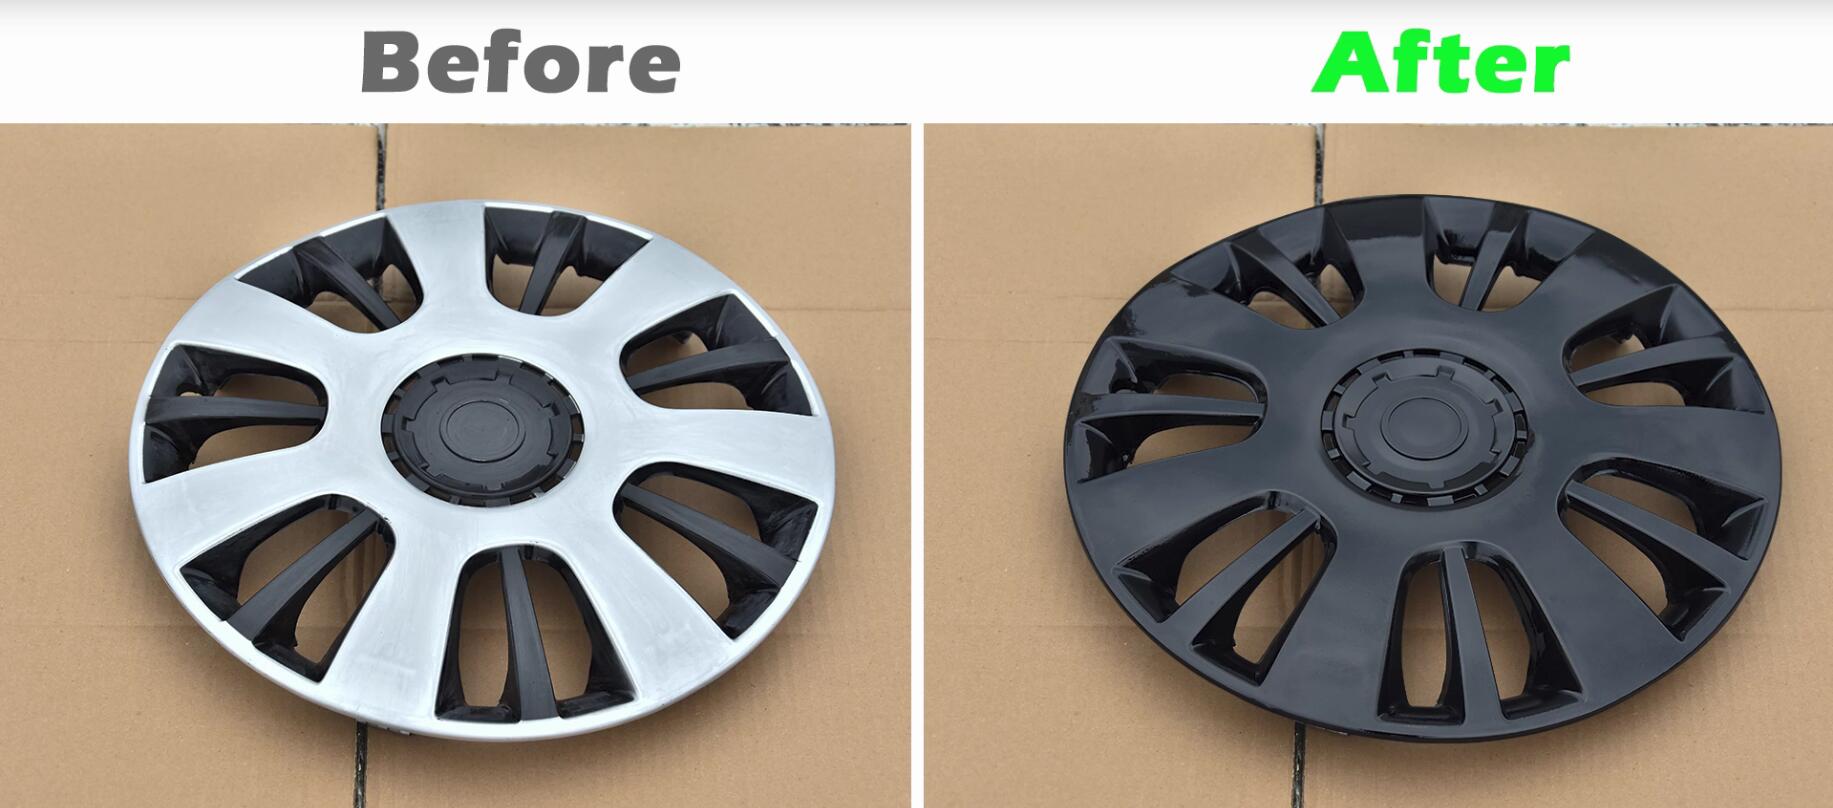
Credit: www.reddit.com
Gathering Materials
Gathering the right materials is the first step to spray painting wheel covers. Proper tools and paint ensure a smooth finish. Prepare everything before starting to avoid interruptions. This saves time and keeps the work clean.
Choosing The Right Paint
Select paint made for plastics or metal, depending on your wheel covers. Spray paints designed for automotive use offer durability. Look for paint that resists chipping and fading. Choose a color that matches or enhances your wheels. Primer may be needed for better paint adhesion.
Essential Tools And Supplies
Gather sandpaper, masking tape, and cleaning cloths. Sandpaper smooths the surface for better paint grip. Masking tape protects areas you don’t want painted. Use a degreaser or soap to clean the covers thoroughly. Gloves and a respirator keep you safe during painting. A well-ventilated area is important for drying and safety.

Credit: www.youtube.com
Preparing The Wheel Covers
Preparing the wheel covers is an important step before spray painting. It helps the paint stick better and last longer. Taking time to prepare ensures a smooth and clean finish. Follow these steps carefully for the best results.
Cleaning And Removing Dirt
Start by washing the wheel covers with soap and water. Remove all dirt, grease, and grime from the surface. Use a soft brush or cloth to scrub hard-to-reach areas. Rinse well and let the covers dry completely. Clean surfaces help paint stick well and avoid bumps.
Sanding For Better Adhesion
Lightly sand the wheel covers using fine-grit sandpaper. This roughens the surface just enough for paint to grip. Sand evenly to avoid scratches or deep marks. Wipe off sanding dust with a clean, dry cloth. Sanding improves paint adhesion and creates a smooth finish.
Taping And Masking
Use painter’s tape to cover areas you do not want to paint. Mask the tire or other parts close to the wheel cover. Make sure tape edges are tight to prevent paint from leaking. Proper taping keeps your work neat and professional-looking.
Setting Up Your Workspace
Setting up your workspace is the first step to spray painting wheel covers. A good workspace keeps you safe and helps you get smooth, even paint. Take time to prepare well. It makes the whole process easier and cleaner.
Choosing A Well-ventilated Area
Pick a place with fresh air flow. Spray paint has strong fumes that can harm your health. Outdoors is best, like a driveway or open garage. If inside, open windows and doors wide. Use fans to move air out fast. This keeps the air fresh and reduces harmful fumes around you.
Protecting Surrounding Surfaces
Cover everything near your workspace. Spray paint can spread and stick to unwanted spots. Use old newspapers, plastic sheets, or drop cloths. Tape edges to keep covers from moving. Protect walls, floors, and nearby objects well. This saves time and effort on cleaning later.
Credit: www.amazon.com
Spray Painting Technique
Spray painting wheel covers needs careful steps. The technique affects how smooth and long-lasting the paint looks. Proper spray painting gives a clean and even finish. It also helps the paint stick well and resist chips.
Follow these simple steps for the best results. Each step builds on the last to create a strong, shiny coat.
Shaking The Paint Can
Shake the paint can for at least two minutes. This mixes the paint inside for even color. Stop shaking and listen for the ball inside. It helps break up clumps. Shake again if needed before spraying.
Applying Primer
Spray a thin layer of primer on the wheel cover. Primer helps the paint stick better. Hold the can 6 to 8 inches away. Use smooth, side-to-side motions. Let the primer dry fully before the next step.
Spraying Base Coat
Apply the base coat in light, even layers. Hold the can steady and spray from 6 to 8 inches. Avoid thick layers to stop drips and runs. Let each coat dry for 10 to 15 minutes. Add two or three coats for full coverage.
Adding Clear Coat
Finish with a clear coat to protect the paint. Spray thin layers using the same distance and motion. Clear coat adds shine and strength. Allow the clear coat to dry completely before handling the covers.
Drying And Curing
Drying and curing are key steps after spray painting wheel covers. Proper drying helps the paint set well. This prevents smudges and uneven surfaces. Curing makes the paint strong and durable. It ensures your wheel covers look good for a long time.
Skipping or rushing these steps can ruin your work. Patience during drying and curing pays off. It keeps the paint smooth and bright. Follow the correct times and methods to get the best results.
Recommended Drying Times
Allow the first coat to dry for 10 to 15 minutes. Wait before applying the next coat to avoid drips. After the final coat, let the wheel covers dry for at least 24 hours. A longer drying time improves paint hardness. Avoid touching the covers during this time. Keep them in a dust-free, dry place. Temperature between 60°F and 80°F helps paint dry evenly.
Avoiding Common Drying Mistakes
Do not rush the drying process by using heat guns or blow dryers. This can cause bubbles or cracks in the paint. Avoid painting in high humidity or cold weather. Moisture slows down drying and affects finish quality. Do not stack or handle wheel covers too soon. Wet paint can easily scratch or peel. Protect the painted surfaces from dust and insects. Keep the area well ventilated but free from strong winds.
Final Touches
The final touches are crucial for a perfect spray paint job on wheel covers. They help protect your work and make the covers look smooth and clean. Taking your time at this stage ensures long-lasting results and a professional finish.
Removing Tape Carefully
Remove the tape slowly once the paint is dry. Pull it at a sharp angle away from the surface. This prevents peeling or smudging of the paint. Use tweezers for tight areas to avoid damage. Take extra care around edges for a clean line.
Inspecting For Imperfections
Look closely at the painted wheel covers for any flaws. Check for spots with uneven paint or dust stuck on the surface. Use a bright light to see clearly. Light sanding can fix small bumps. Fix imperfections before applying any clear coat.
Cleaning Up
Clean your workspace and tools after painting. Dispose of used tape and paper properly. Wash brushes or spray nozzles if you plan to reuse them. Keep the painted wheel covers in a dust-free area to dry fully. Clean surroundings help maintain your paint’s quality.
Frequently Asked Questions
How Do I Prepare Wheel Covers For Spray Painting?
Clean the wheel covers thoroughly to remove dirt and grease. Sand them lightly to create a smooth surface. Use a primer to ensure the paint adheres well. This preparation helps achieve a professional and durable finish.
What Type Of Spray Paint Is Best For Wheel Covers?
Use high-quality automotive spray paint designed for plastic or metal surfaces. Choose paint with good durability and resistance to weather. Specialty wheel paint ensures better adhesion and lasting color. Avoid general-purpose spray paint for best results.
How Many Coats Of Spray Paint Should I Apply?
Apply 2 to 3 thin, even coats of spray paint. Allow each coat to dry completely before applying the next. Multiple thin coats prevent drips and ensure a smooth, even finish. This method enhances durability and appearance.
Can I Spray Paint Wheel Covers Without Removing Them?
It’s best to remove wheel covers before painting. Removing prevents overspray on tires and car parts. It also allows better access to paint all surfaces evenly. Painting off the vehicle ensures a cleaner, professional look.
Conclusion
Spray painting wheel covers is a simple way to refresh your car’s look. Follow each step carefully for best results. Take your time to prepare and paint evenly. Let the paint dry fully before handling the covers. Clean tools after use to keep them ready.
With patience, your wheel covers will look great and last longer. Enjoy your newly painted wheel covers and the fresh style they bring.


