

Are you ready to take your vinyl wrapping skills to the next level? Knowing how to use a heat gun properly can make all the difference in achieving a smooth, professional finish.
Whether you’re wrapping a car, a laptop, or any other surface, the right heat application helps the vinyl stretch, conform, and stick perfectly. In this guide, you’ll discover simple, step-by-step tips to master your heat gun and avoid common mistakes that can ruin your wrap.
Keep reading, and you’ll soon feel confident handling your vinyl like a pro.

Credit: carwrapsupplieraustralia.com
Choosing The Right Heat Gun
Choosing the right heat gun is key for a smooth vinyl wrap. It helps apply heat evenly and avoid damage. The perfect tool makes the work easier and the finish better. Understanding types, temperature, and safety helps you pick the best heat gun.
Types Of Heat Guns
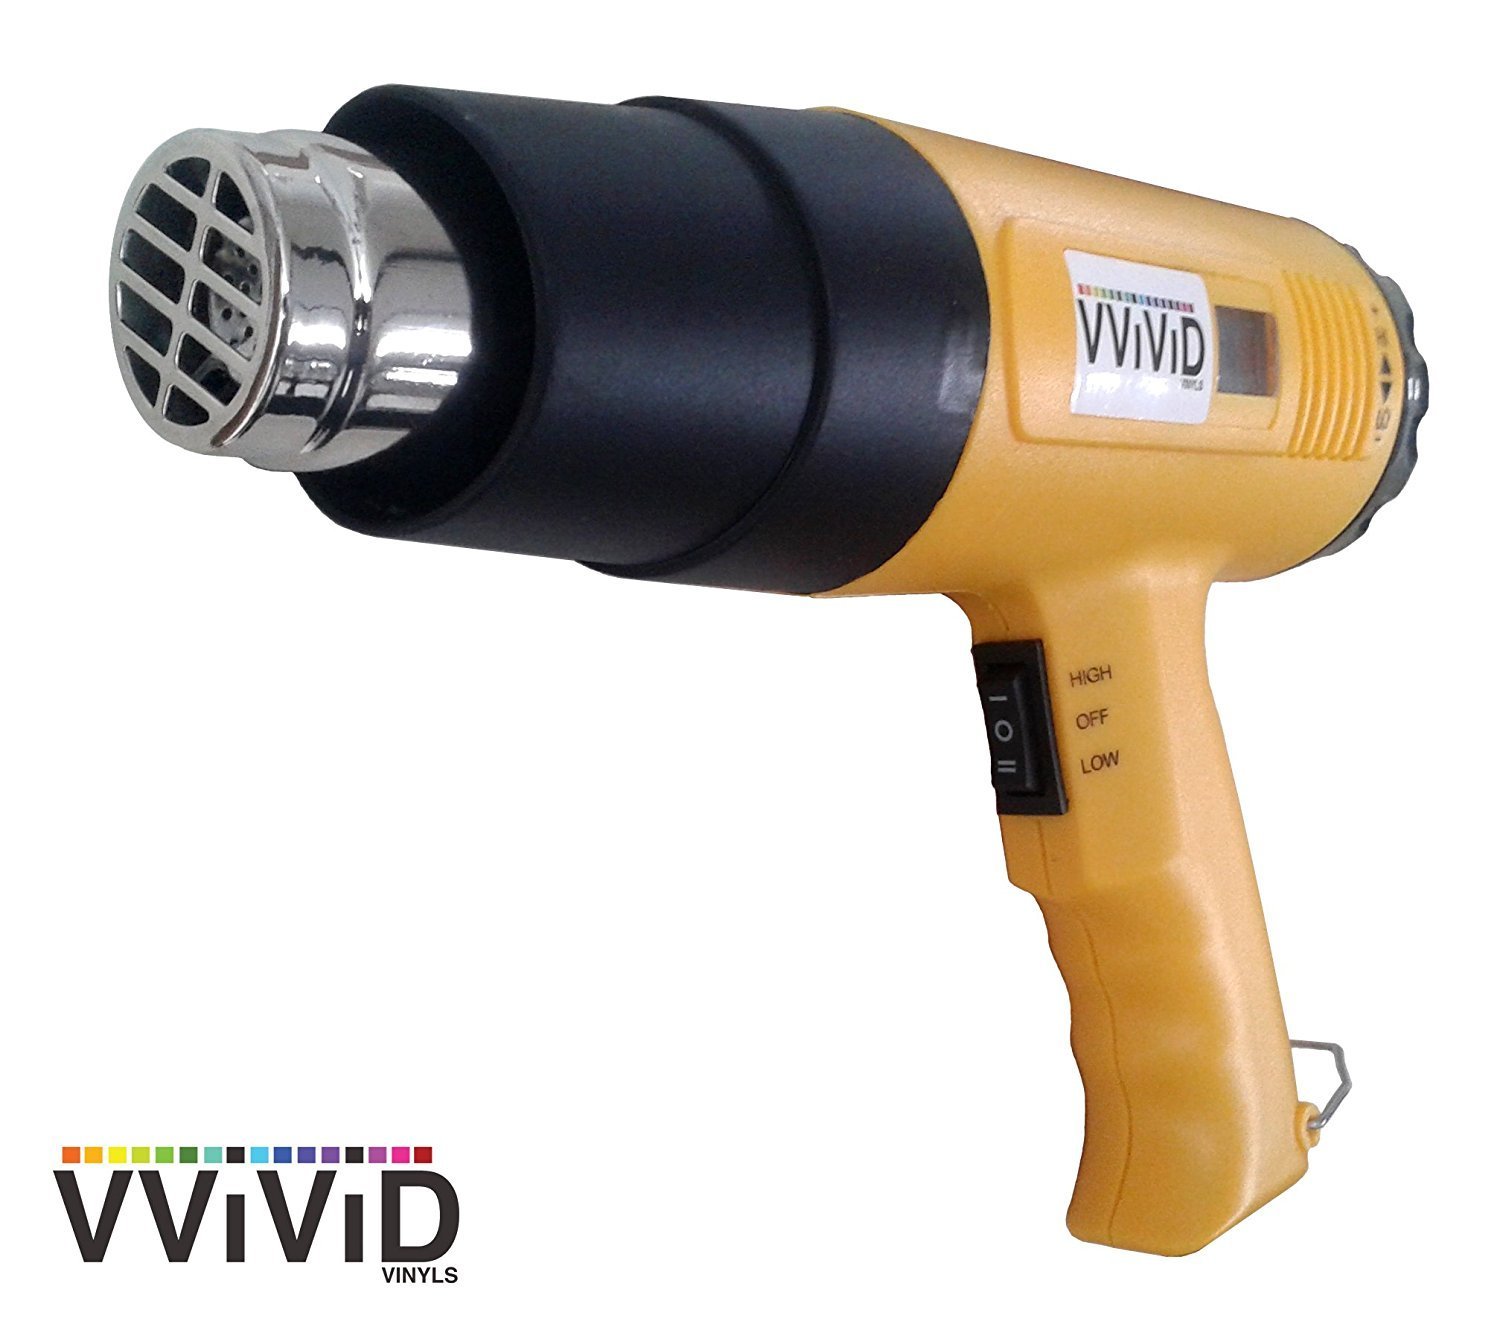
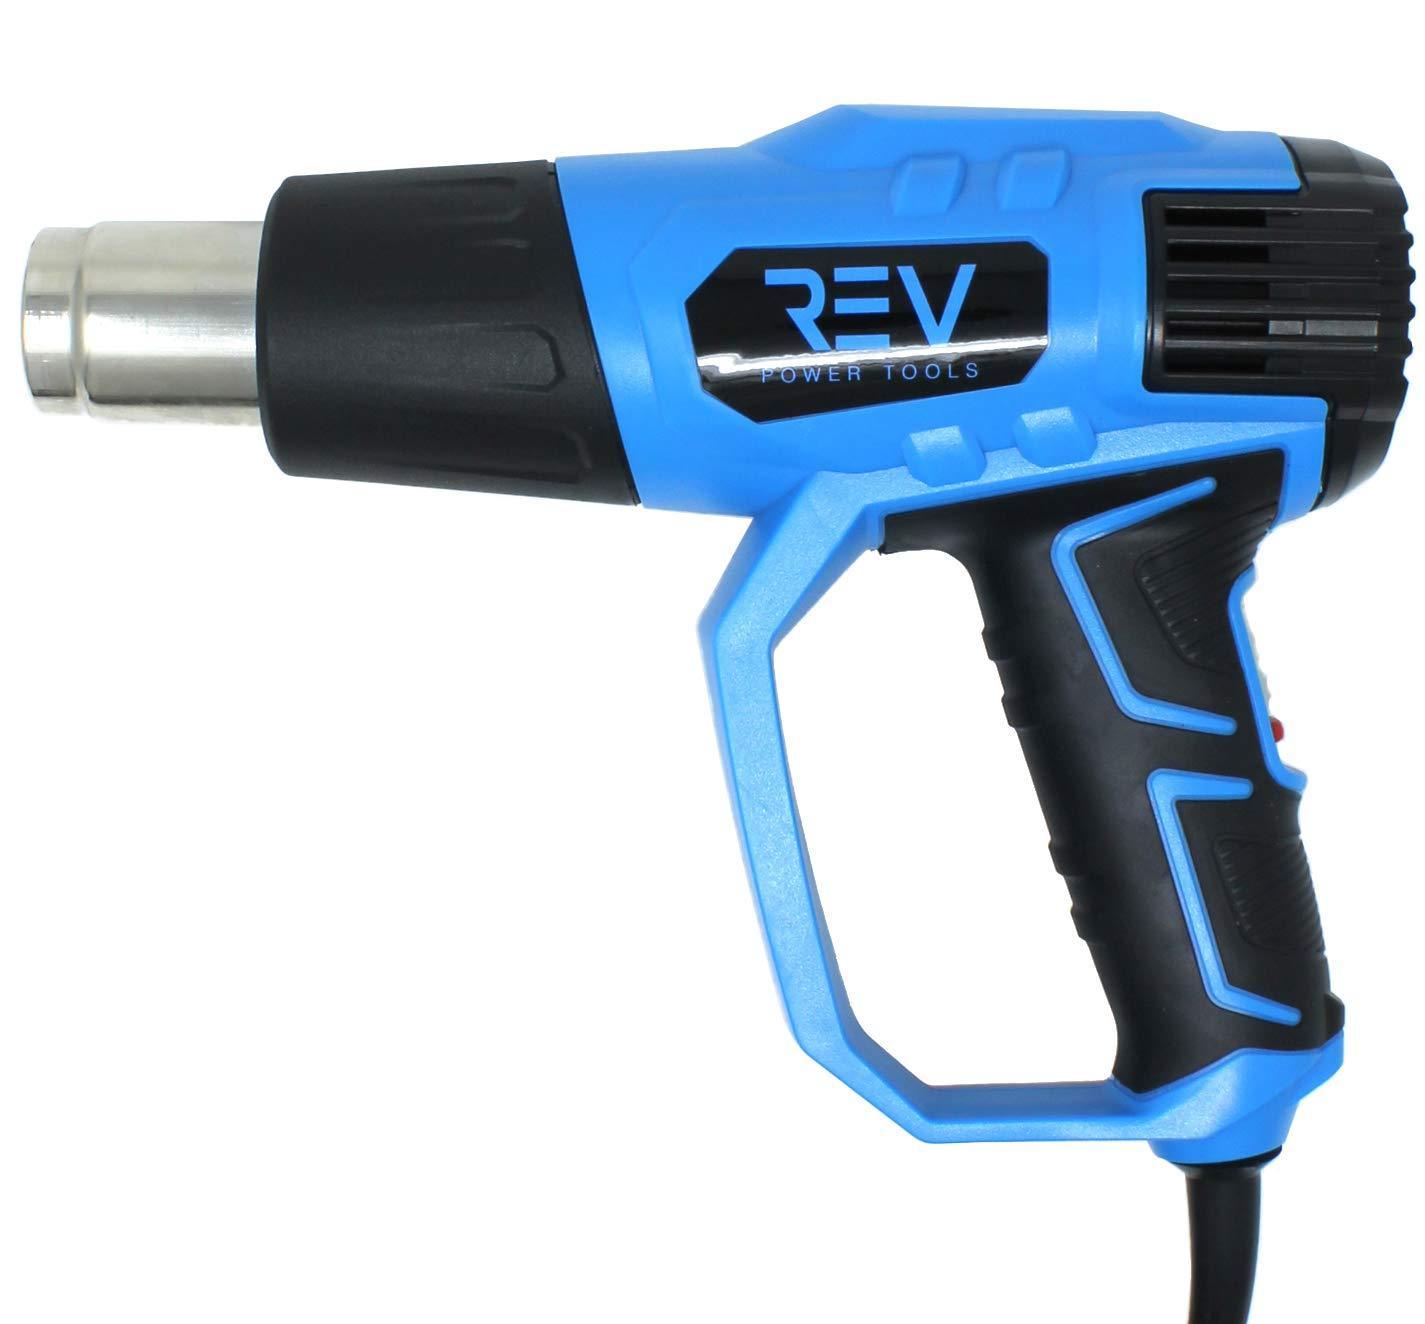
Heat guns come in several types. Basic models have fixed temperatures and simple designs. Adjustable heat guns let you control the heat level. Some have digital displays for precise settings. Choose one that fits your project size and needs.
Temperature Settings For Vinyl
Vinyl wraps need moderate heat. Too much heat can cause bubbles or melting. Most vinyl wraps do well between 250°F and 350°F. A heat gun with adjustable temperature helps avoid mistakes. Steady heat prevents damage and ensures good adhesion.
Safety Features To Look For
Safety matters when using heat guns. Look for models with overheating protection. A cool-down feature avoids burns after use. A sturdy handle and stable base improve control. These features keep you safe and protect your work.
Preparing Vinyl And Surface
Preparing vinyl and the surface is the first step for a smooth vinyl wrap job. Proper preparation helps the vinyl stick better and last longer. It also makes the wrap look neat and professional. Take your time in this stage for best results.
Cleaning The Surface
Start by cleaning the surface carefully. Use soap and water to remove dirt and grease. Dry the area with a clean cloth. Use rubbing alcohol to wipe the surface. This removes any leftover oils or dust. A clean surface helps vinyl stick firmly.
Cutting And Positioning Vinyl
Measure the area you want to wrap. Cut the vinyl slightly larger than this area. This extra material helps during application. Place the vinyl on the surface without removing the backing. Check if it fits well. Adjust the position before sticking it down.
Tackling Curves And Edges
Use the heat gun to soften vinyl on curves and edges. Heat makes vinyl flexible and easy to shape. Gently stretch the vinyl over curves. Press down with a squeegee to avoid air bubbles. Take care not to overheat and damage the vinyl.
Heat Gun Techniques For Application
Using a heat gun correctly helps apply vinyl wrap smoothly and firmly. It softens the vinyl, making it easier to stretch and fit curves. Proper heat gun techniques improve the wrap’s look and durability. Understanding these techniques reduces mistakes like bubbles and wrinkles.
Proper Distance And Movement
Hold the heat gun about 6 to 8 inches from the vinyl surface. Keep the gun moving in slow, even motions. Avoid staying in one spot too long to prevent damage. Moving the gun helps heat the vinyl evenly. This control makes the wrap easier to shape and stick.
Stretching And Molding Vinyl
Heat the vinyl until it feels soft and flexible. Gently pull or press the vinyl to fit curves and edges. Use a squeegee or your hand to smooth the surface. Heat lets the vinyl stretch without tearing. Shaping the vinyl while warm helps it stay in place.
Avoiding Overheating And Wrinkles
Do not overheat the vinyl; it can melt or warp. Watch for signs like bubbling or shrinking. Stop heating if the vinyl starts to wrinkle or fold. Work slowly, heating small sections at a time. Proper heat prevents damage and keeps the wrap looking clean.
Credit: vvividshop.com
Troubleshooting Common Issues
Using a heat gun for vinyl wrap can sometimes cause small problems. These issues can affect the look and durability of the wrap. Fixing them quickly helps keep the wrap smooth and neat. This section covers common problems and how to solve them easily.
Removing Air Bubbles
Air bubbles form when air gets trapped under the vinyl. Heat the area gently with the heat gun to soften the vinyl. Use a squeegee or soft cloth to push the bubbles toward the edge. For small bubbles, a pin can help release the trapped air. Heat the spot again to smooth the vinyl after removing air.
Fixing Creases And Folds
Creases appear when the vinyl folds during application. Apply heat slowly to the creased area. Use your fingers or a squeegee to flatten the vinyl. Stretch the vinyl lightly while heating to remove the fold. Avoid too much heat to prevent damage. Repeat heating and smoothing until the crease disappears.
Handling Adhesion Problems
Adhesion problems happen when vinyl does not stick well to the surface. Clean the surface thoroughly before applying vinyl. Use heat to warm the vinyl and surface for better stickiness. Press the vinyl firmly with a squeegee while heating. For tough spots, apply extra heat in small amounts. Ensure the surface is dry and free of dust.
Finishing Touches
The finishing touches make your vinyl wrap look clean and last longer. These final steps help the wrap stick well and prevent it from peeling. Proper finishing also stops dirt and moisture from getting under the edges.
Sealing Edges
Use a heat gun to warm the edges of the vinyl wrap gently. Warm edges become soft and stick better to the surface. Press edges down firmly with a squeegee or cloth. This seals the vinyl and stops it from lifting over time.
Cooling And Setting Time
After heating, let the vinyl cool naturally. Cooling helps the wrap set and keeps its shape. Avoid touching or moving the wrap during this time. Give it at least 10 to 15 minutes to cool fully.
Cleaning Up Residue
Heat guns can leave some sticky residue on your work area. Use a soft cloth with mild soapy water to clean the surface. Avoid harsh chemicals that may damage the vinyl. Clean edges and tools to keep your wrap neat and tidy.
Maintenance And Storage Tips
Proper care of your heat gun ensures it works well for a long time. Maintenance and storage help avoid damage and keep the tool safe. Simple daily habits can extend the life of your heat gun. Follow these easy tips to clean, store, and protect your tool.
Cleaning Your Heat Gun
Always unplug the heat gun before cleaning. Use a soft cloth to wipe the outside gently. Remove dust and debris from vents with a small brush. Avoid using water or harsh chemicals on the tool. Keep the nozzle clean to prevent blockages and overheating.
Proper Storage Practices
Store the heat gun in a dry, cool place away from sunlight. Avoid placing it near flammable materials. Use a protective case or box to prevent dust buildup. Coil the power cord loosely to avoid damage. Keep it out of reach of children and pets.
Extending Tool Lifespan
Do not use the heat gun for longer than recommended times. Let it cool down before storing it. Avoid dropping or banging the tool against hard surfaces. Regularly check the cord and plug for damage. Replace worn parts promptly to maintain safety and performance.
Credit: vvividshop.com
Frequently Asked Questions
How Hot Should A Heat Gun Be For Vinyl Wrap?
Set the heat gun between 250°F and 300°F for vinyl wrap. This temperature softens the vinyl without damaging it. Always test on a small area first to ensure the heat is safe and effective for your specific vinyl type.
Can A Heat Gun Damage Vinyl Wrap?
Yes, excessive heat can warp or burn vinyl wrap. Use moderate heat and keep the gun moving to avoid damage. Proper temperature control and technique prevent shrinking, bubbling, or discoloration during application.
Why Use A Heat Gun When Applying Vinyl Wrap?
A heat gun helps soften vinyl, making it flexible and easier to mold. It removes wrinkles and bubbles, ensuring a smooth, professional finish. Heat activates the adhesive for better grip on curves and edges.
How Far Should You Hold A Heat Gun From Vinyl Wrap?
Hold the heat gun 6 to 8 inches away from the vinyl surface. This distance provides even heat distribution without overheating. Maintaining proper distance prevents vinyl damage and ensures uniform adhesion.
Conclusion
Using a heat gun carefully makes vinyl wrapping easier and cleaner. Heat helps the vinyl stick and bend around curves smoothly. Keep the gun moving to avoid damage or bubbles. Take your time and watch the temperature closely. Practice on small areas first to gain confidence.
With patience, you can achieve a neat, professional look. Remember, safety is key when working with heat. This simple tool can improve your vinyl wrap results a lot. Try these tips for a better wrapping experience.


