
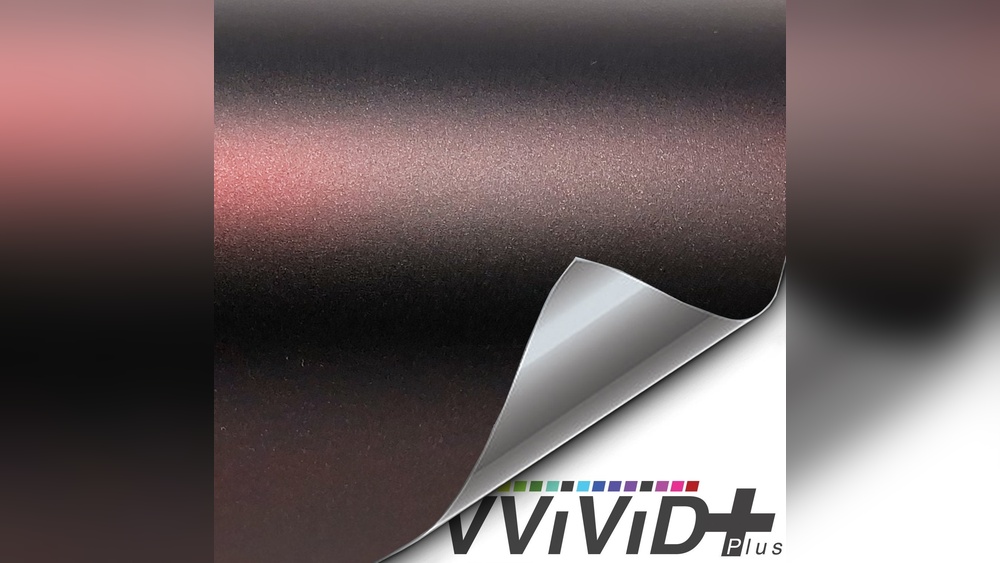
Are you ready to give your car, laptop, or any smooth surface a fresh, eye-catching look? Using Vvivid vinyl wrap is an easy and affordable way to transform your belongings without a permanent commitment.
But how do you get that perfect, smooth finish without bubbles or wrinkles? This guide will walk you through simple steps to help you master the art of applying Vvivid vinyl wrap like a pro. Stick with me, and you’ll discover tips that save you time, money, and frustration—turning your project into a satisfying success.
Let’s get started!
Choosing The Right Vvivid Vinyl Wrap
Choosing the right Vvivid vinyl wrap is the first step for a smooth and successful project. The right wrap makes your vehicle or surface look great and last longer. It also helps avoid problems during application.
Understanding the different types, colors, and the tools needed will guide you to pick the perfect wrap. This section breaks down these key points for a clear choice.
Types Of Vinyl Wraps
Vvivid offers various vinyl wraps for different uses. Cast vinyl wraps are thin and flexible. They stretch well and fit curves perfectly. Calendered wraps are thicker and best for flat surfaces. They cost less but may not last as long. Choose cast wraps for cars and calendered for signs or flat objects.
Selecting Colors And Finishes
Colors affect the look and feel of your wrap. Vvivid has many colors from bright to dark. Pick a color that matches your style or brand. Finishes change the surface look. Glossy finishes shine and look new. Matte finishes give a smooth, soft look. Satin is a mix of both. Textured finishes like carbon fiber add style and depth.
Tools And Materials Needed
Good tools help apply the wrap easily. You need a squeegee to smooth the vinyl. A heat gun helps stretch and shape the wrap. A sharp knife cuts the vinyl to size. Use gloves to avoid fingerprints. Cleaning supplies prepare the surface before wrapping. Have a measuring tape to get exact sizes.
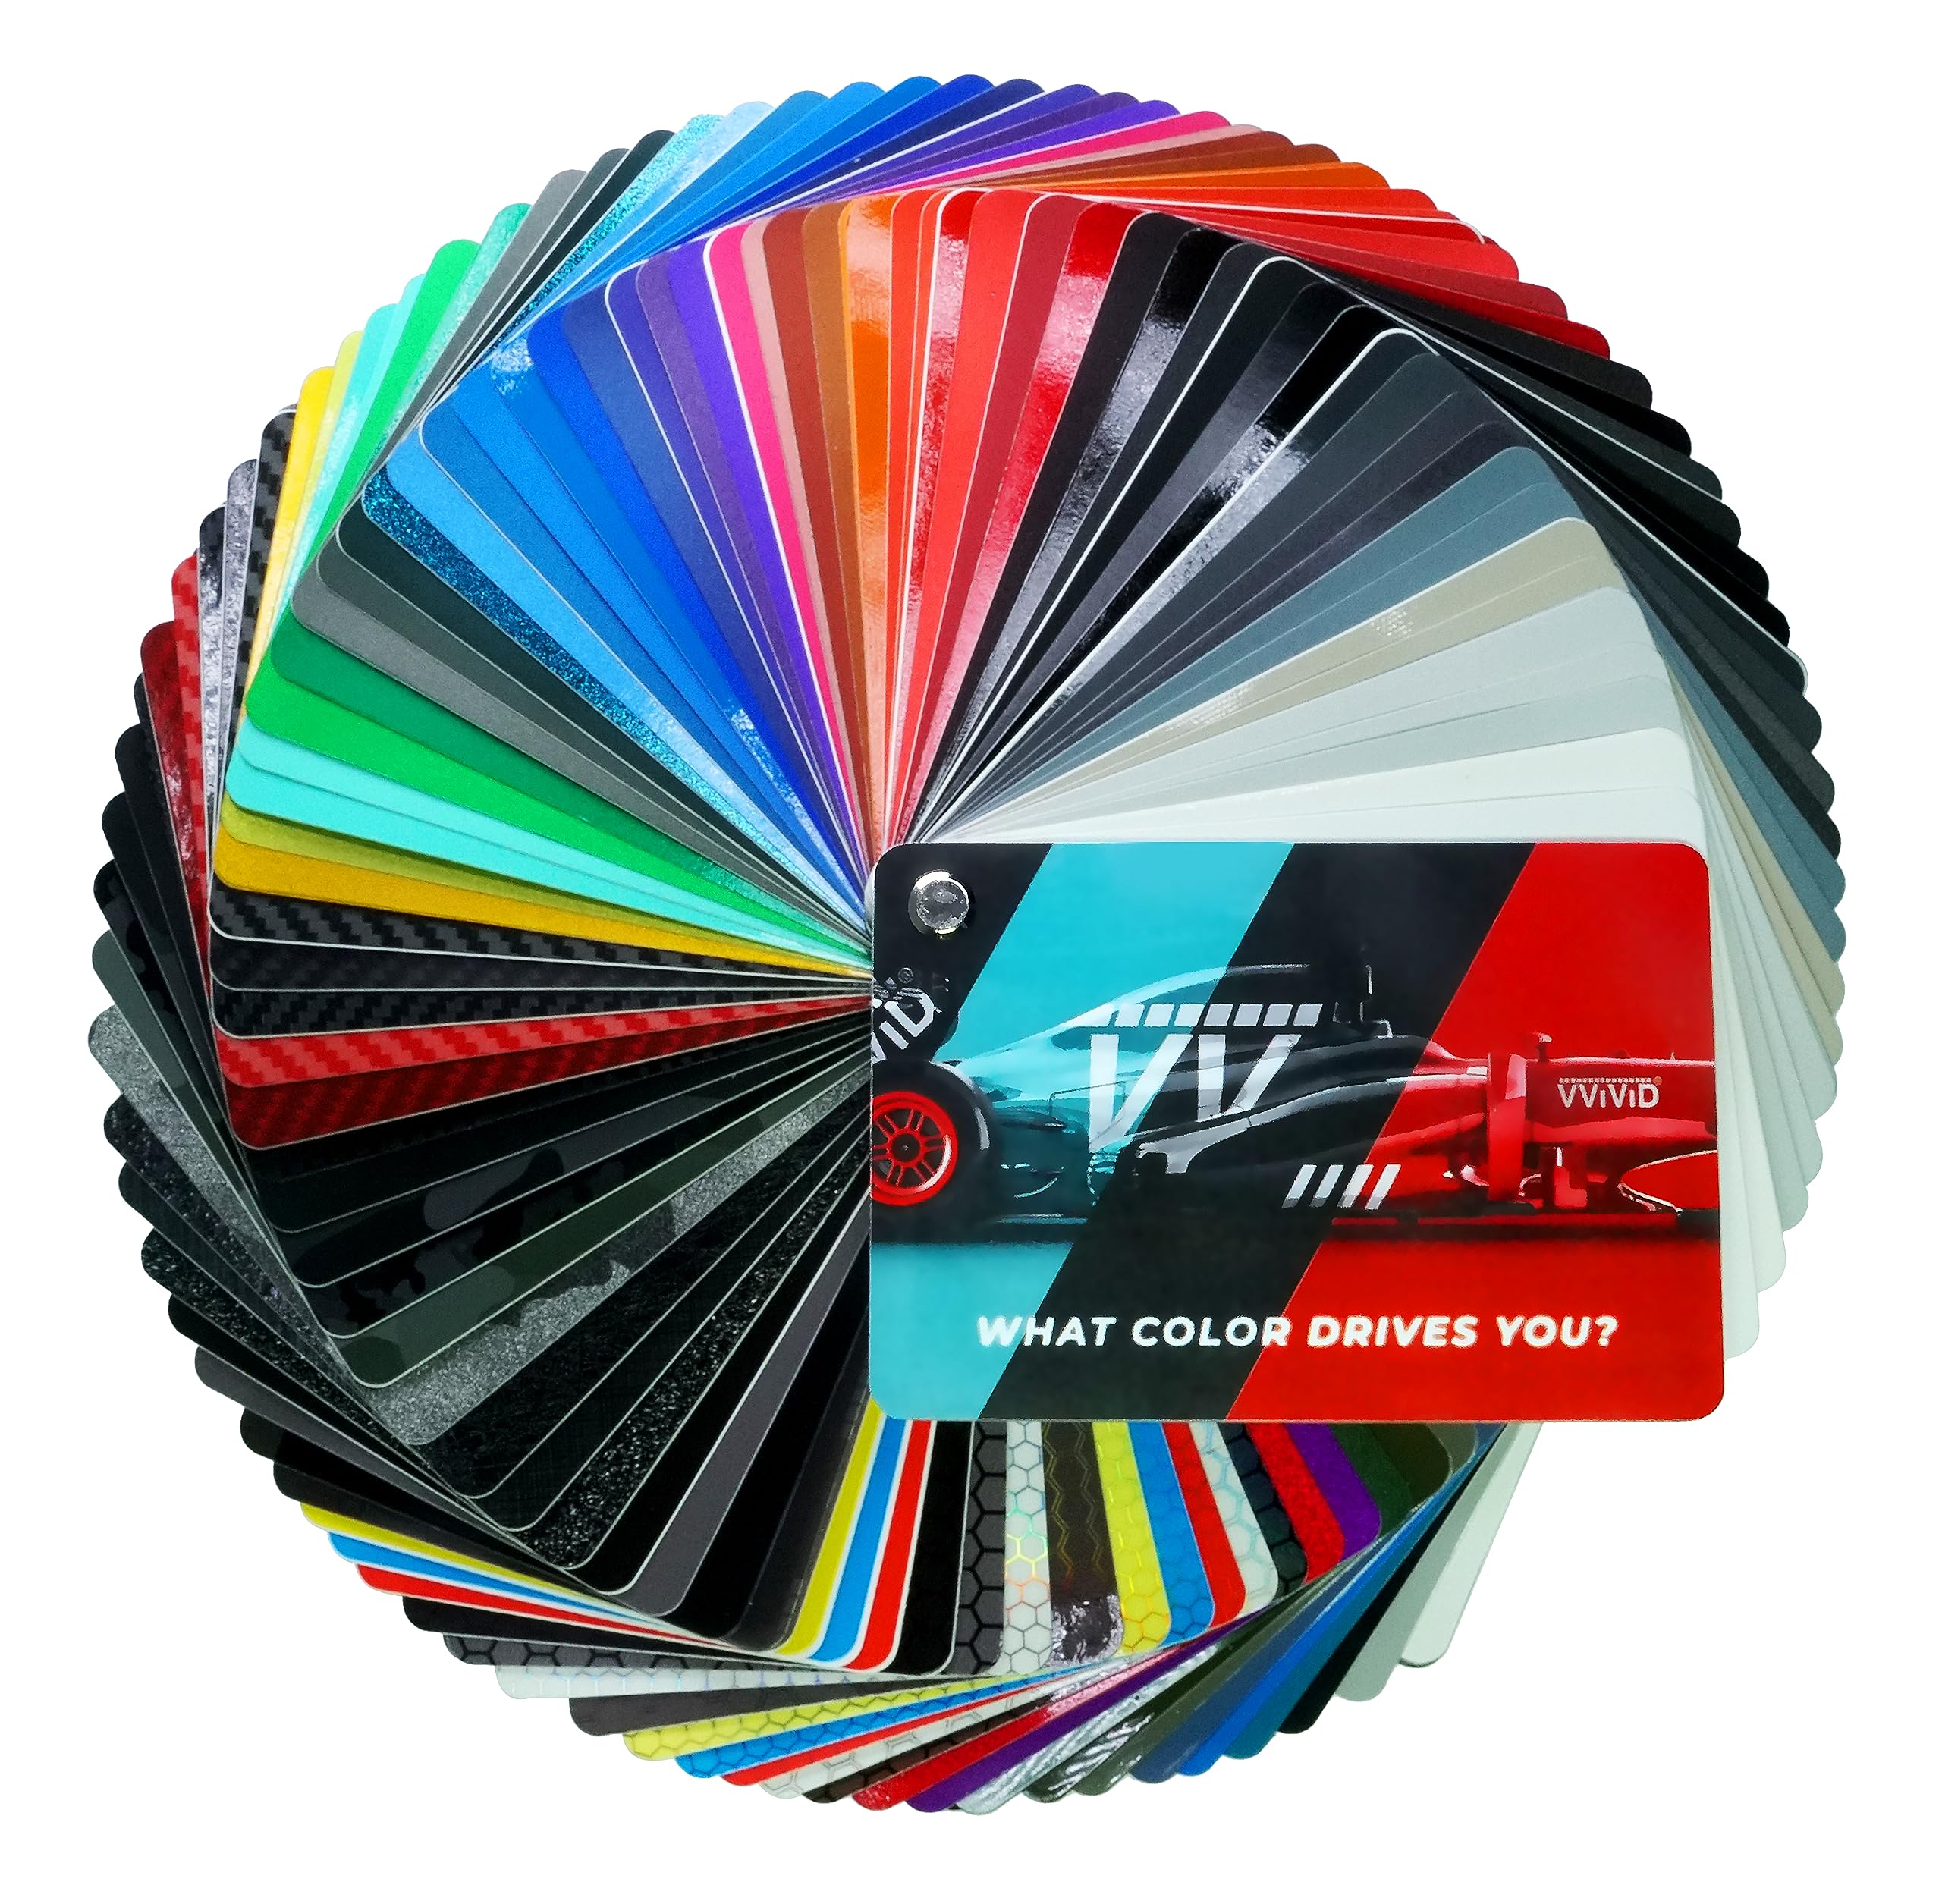
Credit: vvividshop.com
Preparing The Surface
Preparing the surface is the first step before applying Vvivid vinyl wrap. A clean, smooth surface helps the vinyl stick better and last longer. Taking time to prepare ensures a neat, professional look without bubbles or wrinkles.
Cleaning And Degreasing
Start by washing the surface with soap and water. Remove all dirt, dust, and grime. Use a clean cloth to dry the area fully. Next, apply a degreaser to remove any oil or grease. These can stop the vinyl from sticking properly. Wipe the surface again with a clean cloth.
Removing Old Wraps Or Paint
Check for any old wraps or peeling paint. Carefully peel off old vinyl using a heat gun or hairdryer. Warm the vinyl to soften the adhesive. Use a plastic scraper to lift the edges gently. For loose paint, sand the area smooth. Remove all flakes before applying the new wrap.
Repairing Surface Imperfections
Look for scratches, dents, or bumps on the surface. Use a filler or putty to fix dents and deep scratches. Let the filler dry completely. Sand the repaired area smooth with fine sandpaper. Clean the surface again to remove dust. A flat surface helps the vinyl lay perfectly.
Measuring And Cutting The Wrap
Measuring and cutting Vvivid vinyl wrap is the first step for a clean, smooth application. Accurate measurements ensure the wrap fits perfectly. Cutting the wrap correctly saves time and avoids waste. Handling tricky shapes needs care and the right technique. Follow simple steps to get the best results.
Taking Accurate Measurements
Use a tape measure for exact length and width. Measure twice to avoid mistakes. Note all curves and edges carefully. Write down the numbers clearly. Keep the wrap size slightly larger than the surface. This extra material helps in adjustments during application.
Cutting Techniques For Precision
Use a sharp blade or utility knife for clean cuts. Place the wrap on a flat surface before cutting. Cut slowly to follow your measurements exactly. Avoid cutting too close to the edges. Use straight rulers or guides for sharp, straight lines. Replace blades if they become dull to prevent tearing.
Handling Complex Shapes
Mark tricky areas lightly with a pencil or chalk. Cut the wrap in sections for curves and corners. Heat the vinyl slightly to make it more flexible. Stretch gently around bends without forcing the material. Use a squeegee to smooth out bubbles and wrinkles. Take time to adjust small cuts for a perfect fit.

Credit: www.youtube.com
Applying The Vinyl Wrap
Applying Vvivid vinyl wrap requires care and patience. The wrap must fit perfectly on the surface. This step ensures a smooth, clean finish without wrinkles or bubbles. Follow each step to place the wrap correctly and get the best results.
Positioning The Wrap Correctly
Start by cleaning the surface well. Dirt or dust can cause bumps under the wrap. Peel back a small part of the vinyl backing. Align the wrap carefully on the surface. Use light pressure to hold it in place. Check the edges and corners. Adjust the wrap before pressing down fully.
Using Heat For Flexibility
Use a heat gun or hairdryer to warm the vinyl. Warm vinyl becomes soft and easier to stretch. Heat helps the wrap fit curves and corners better. Do not overheat; it may damage the wrap. Move the heat source evenly over the vinyl. Gently stretch the wrap to cover all areas.
Smoothing And Removing Air Bubbles
Use a squeegee to smooth out the wrap. Start from the center and push toward the edges. This forces air bubbles out and prevents wrinkles. Small bubbles can be popped with a pin. Press down firmly after removing bubbles. Take your time for a clean, smooth finish.
Trimming And Finishing Touches
Trimming and finishing touches are key steps in using Vvivid vinyl wrap. They give your project a clean, professional look. Proper trimming removes extra vinyl and shapes the wrap perfectly to your surface. Finishing touches protect edges and improve durability. Follow these steps carefully to ensure the best results.
Cutting Excess Material
Start by using a sharp utility knife or vinyl cutter. Cut slowly along the edges of the wrapped surface. Avoid cutting too deep to prevent damage underneath. Leave a small margin to tuck under edges for a smooth finish. Trim only what is necessary for a neat look.
Sealing Edges For Durability
Seal the edges with heat using a heat gun or hairdryer. Warm the vinyl gently to activate the adhesive. Press the edges down firmly with a squeegee or cloth. This step stops peeling and makes the wrap last longer. Focus on corners and curves for a secure seal.
Final Inspection Tips
Look closely for bubbles or wrinkles and smooth them out. Check all edges to ensure they are sealed tight. Clean the surface with a soft cloth to remove dirt and fingerprints. Take your time; a careful final check improves the wrap’s appearance. Ready for the road or display.
Credit: www.petrie-dental.com
Maintaining Your Vinyl Wrap
Maintaining your Vvivid vinyl wrap keeps it looking fresh and lasting longer. Proper care prevents damage and preserves its vibrant color. Follow simple steps for cleaning, avoiding harm, and fixing small issues.
Cleaning Guidelines
Use mild soap and water to clean the wrap. Avoid harsh chemicals or abrasive tools. Soft cloths or sponges work best. Rinse well to remove all soap. Dry with a clean microfiber towel. Clean regularly to stop dirt buildup.
Avoiding Damage
Stay away from high-pressure washers close to the wrap. Avoid scraping or scratching the surface. Park in shaded areas to reduce sun damage. Do not use wax or polish not made for vinyl. Handle with care during washing and driving.
Repairing Minor Flaws
Small scratches can be fixed with a vinyl repair kit. Use a heat gun carefully to soften the vinyl. Smooth out bubbles with a squeegee or soft cloth. For peeling edges, apply vinyl adhesive. Act quickly to prevent bigger damage.
Frequently Asked Questions
What Tools Do I Need For Vvivid Vinyl Wrap Installation?
You need a squeegee, heat gun, utility knife, and cleaning supplies. These tools help ensure smooth, bubble-free application and clean edges for a professional finish.
How Long Does Vvivid Vinyl Wrap Last On Vehicles?
Vvivid vinyl wraps typically last 5 to 7 years. Proper cleaning and avoiding harsh chemicals can extend the wrap’s durability and maintain its appearance.
Can I Install Vvivid Vinyl Wrap Myself?
Yes, Vvivid vinyl wraps are DIY-friendly with proper preparation. Following step-by-step instructions and using the right tools improves your chances of a smooth installation.
How Do I Prepare My Car For Vvivid Vinyl Wrap?
Clean the surface thoroughly to remove dirt, wax, and grease. Dry completely to ensure the vinyl adheres properly without bubbles or peeling.
Conclusion
Using Vvivid vinyl wrap can change your vehicle’s look fast. The process is simple and does not need special tools. Clean the surface well before applying the wrap for best results. Take your time to smooth out bubbles and wrinkles.
With care, the wrap will last long and stay bright. Try different colors or finishes to match your style. Enjoy a fresh, new look without spending much money. Vvivid vinyl wrap offers a fun way to customize any ride. Give it a try and see the difference yourself.


