Thinking about giving your truck a fresh, eye-catching look without the high cost of a new paint job? Vinyl wrapping is the perfect solution for you.
It’s affordable, customizable, and can protect your truck’s original paint. But how do you get started? In this guide, you’ll learn step-by-step how to vinyl wrap your truck like a pro. By the time you finish reading, you’ll have the confidence and know-how to transform your truck’s appearance and turn heads wherever you go.
Ready to make your truck stand out? Let’s dive in!
Preparing The Truck
Preparing your truck is the first step to a smooth vinyl wrap job. Proper preparation ensures the vinyl sticks well and looks flawless. Take your time with this stage to avoid problems later. Follow these simple steps to get your truck ready.
Cleaning The Surface
Start by washing the truck thoroughly. Use soap and water to remove dirt and grime. Dry the surface completely with a clean cloth. Then, wipe the truck with isopropyl alcohol. This removes any grease or leftover residue. A clean surface helps the vinyl stick better.
Removing Accessories
Remove parts like mirrors, badges, and trim. These can block the wrap and cause bubbles. Use the right tools to avoid damage. Keep the screws and parts safe for reassembly. Wrapping smaller panels separately is easier and neater.
Repairing Imperfections
Check the truck for dents, scratches, or rust. Fix dents with body filler and sand smooth. Sand any rough spots to create an even surface. Rust must be treated and painted over. Imperfections show through the vinyl, so repair is key.

Credit: raxtify.com
Choosing The Right Vinyl
Choosing the right vinyl is the first step to a great truck wrap. The vinyl you pick affects how the wrap looks and lasts. Picking the right type makes the job easier and the finish better. Pay attention to quality and fit for your truck’s surface. This helps avoid problems during installation and keeps the wrap looking fresh longer.
Types Of Vinyl Wraps
There are several types of vinyl wraps. Cast vinyl is thin and flexible. It works well on curves and lasts longer. Calendered vinyl is thicker and less flexible. It costs less but suits flat surfaces better. Choose cast vinyl for trucks with many curves. For flat parts, calendered vinyl is a good option.
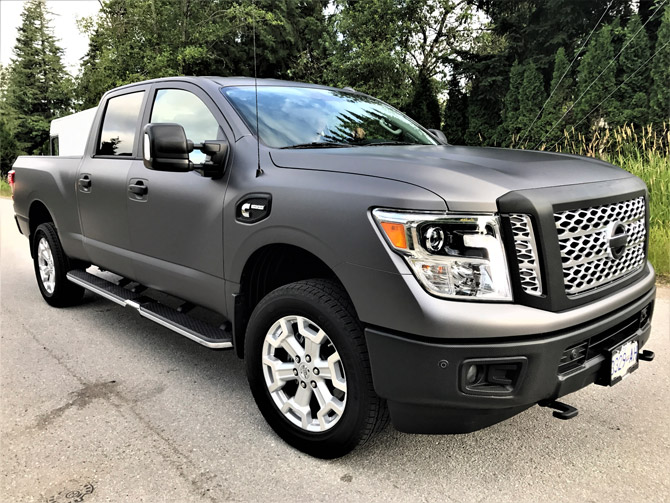
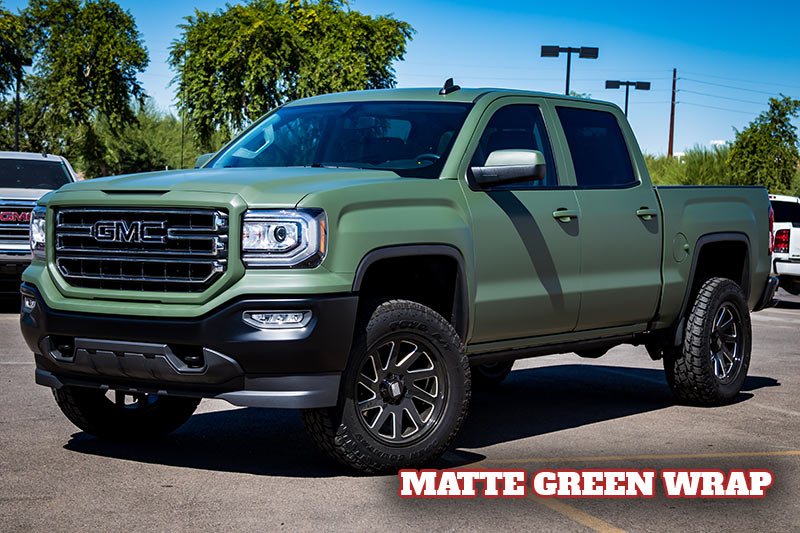
Color And Finish Options
Vinyl comes in many colors and finishes. Glossy finish gives a shiny, new look. Matte finish offers a smooth, flat appearance. Satin finish sits between glossy and matte. Some wraps have textures like carbon fiber or brushed metal. Pick a color and finish that match your style and purpose.
Tools And Materials Needed
To install vinyl, gather these tools. A squeegee helps smooth out bubbles. A heat gun softens the vinyl for curves. A sharp knife or blade trims excess material. Cleaning supplies remove dirt and oil before wrapping. Have measuring tape and gloves to help with handling. Good tools make the job neat and easier.
Measuring And Cutting Vinyl
Measuring and cutting vinyl are crucial steps in wrapping a truck. Precise measurements ensure the vinyl fits perfectly. Cutting the vinyl accurately prevents waste and mistakes. This section guides you through these key tasks for a smooth vinyl wrap process.
Taking Accurate Measurements
Use a tape measure to get the truck’s dimensions. Measure the length and height of each panel carefully. Write down each measurement for easy reference. Add a few extra inches to each measurement. This extra space helps with alignment and trimming later.
Measure curves and edges separately. Note any unusual shapes or details. Double-check all numbers before cutting the vinyl. Accurate measurements save time and material.
Cutting The Vinyl Sheets
Lay the vinyl flat on a clean surface. Use a straight edge or ruler to guide your cuts. Cut slowly and steadily with a sharp utility knife or scissors. Avoid jagged or uneven edges to prevent peeling.
Cut each piece slightly larger than your measurements. This extra vinyl allows for stretching and adjustment. Keep your work area clean to avoid dirt sticking to the vinyl. Proper cutting sets the stage for a professional wrap finish.
Applying The Vinyl Wrap
Applying the vinyl wrap to your truck is a careful process. It needs patience and attention to detail. This step shapes the final look of your vehicle. Each part of the wrap must fit perfectly. Small mistakes can cause bubbles or wrinkles. Follow these steps to apply the vinyl wrap smoothly and correctly.
Positioning The Vinyl
Start by cleaning the truck surface well. Dust and dirt stop the vinyl from sticking. Peel the backing paper from the vinyl slowly. Hold the vinyl carefully to avoid creases. Place the vinyl on the truck gently. Adjust its position before pressing it down. Use magnets or tape to keep it in place. Work from one side to the other. Make sure the vinyl covers the entire area needed.
Using Heat And Squeegee
Heat softens the vinyl, making it easier to stretch. Use a heat gun or hairdryer on low heat. Warm the vinyl evenly, not too hot. Use a squeegee to press the vinyl down. Start from the center and push outwards. This removes air bubbles and wrinkles. Be gentle but firm with the squeegee. Heat and squeegee together create a smooth finish.
Handling Curves And Edges
Curves and edges are tricky spots. Heat the vinyl more on curves to make it flexible. Stretch the vinyl carefully around bends. Use the squeegee to press down tight. Trim excess vinyl at edges with a sharp blade. Avoid cutting too deep to protect the truck paint. Take your time to avoid wrinkles. Smooth curves and edges give a clean, professional look.
Finishing Touches
Finishing touches make your vinyl wrap look clean and last longer. This step is very important for a professional result. It ensures the wrap stays in place and fits perfectly on your truck.
Trimming Excess Vinyl
Carefully trim the extra vinyl with a sharp blade. Cut close to the edges but avoid cutting the truck’s paint. Use a straight edge to guide your cuts. Small, precise cuts prevent lifting and wrinkles later.
Sealing Edges
Seal the edges with a heat gun or roller. Heat softens the vinyl for better adhesion. Press down firmly on the edges to prevent peeling. Proper sealing protects the wrap from water and dirt.
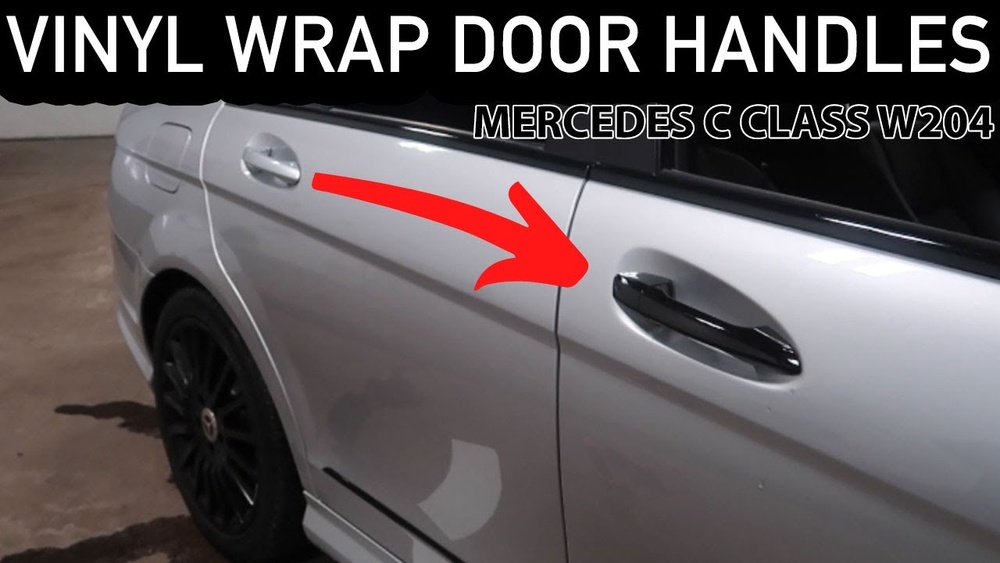
Reinstalling Accessories
Put back any parts removed before wrapping. This includes mirrors, handles, and trim pieces. Check each part fits well over the vinyl. Tighten screws carefully to avoid damaging the wrap.
Credit: wrapguys.com
Maintenance Tips
Keeping a vinyl wrap on your truck looking fresh takes some care. Proper maintenance helps the wrap last longer and keeps the truck’s appearance sharp. Follow simple steps to protect your investment and keep your truck looking great every day.
Cleaning The Wrapped Truck
Wash your truck regularly with gentle soap and water. Use a soft cloth or sponge to avoid scratches. Avoid strong chemicals and high-pressure water, which can damage the vinyl. Dry the truck with a clean microfiber towel to prevent water spots. Clean in the shade to stop soap from drying too fast.
Avoiding Damage
Park your truck away from sharp objects and rough surfaces. Avoid dragging tools or equipment across the wrap. Protect the wrap from harsh weather by parking in covered areas. Keep away from gasoline, oil, and solvents that can harm the vinyl. Drive carefully to prevent chips or tears from road debris.
Repairing Small Tears
Small tears can get worse if ignored. Use vinyl repair kits made for wraps to fix minor damage. Clean the area before applying any patch or adhesive. Press down firmly to ensure the repair sticks well. For bigger damage, consult a professional wrap installer to avoid further problems.
Credit: fastlanetints.com
Frequently Asked Questions
What Tools Do I Need To Vinyl Wrap A Truck?
You need vinyl wrap sheets, a heat gun, squeegees, a utility knife, and cleaning supplies. These tools help ensure a smooth, bubble-free application.
How Long Does It Take To Vinyl Wrap A Truck?
Wrapping a truck typically takes 1 to 3 days. Time depends on truck size, wrap complexity, and installer experience.
Can I Vinyl Wrap A Truck Myself?
Yes, with patience and proper tools, you can DIY. However, professional installation ensures better durability and finish.
How Do I Prepare My Truck For Vinyl Wrapping?
Clean the surface thoroughly, remove dirt and wax. Smooth out dents and remove any rust or debris before wrapping.
Conclusion
Vinyl wrapping a truck can change its look quickly and affordably. Take your time with each step to avoid mistakes. Clean the surface well before applying the vinyl. Use tools like a squeegee to smooth out bubbles. Stretch the vinyl gently around curves and edges.
Patience and care help the wrap last longer. Enjoy the fresh style your truck now shows. Practice makes the process easier and more fun. Keep your truck looking great with simple maintenance. Try vinyl wrapping as a creative way to update your ride.