
Are you tired of your old kitchen countertop but don’t want to spend a fortune on a full replacement? Vinyl wrapping your countertop might be the perfect solution for you.
It’s affordable, quick, and can completely transform the look of your kitchen. Imagine having a fresh, stylish surface that feels brand new—all without the mess or hassle of a renovation. In this guide, you’ll learn exactly how to vinyl wrap your kitchen countertop step-by-step, making the process easy and stress-free.
Ready to give your kitchen a stunning makeover? Let’s dive in!
Choosing Vinyl Wraps
Choosing the right vinyl wrap is key to a successful kitchen countertop makeover. The material, color, and size must suit your space. This ensures a smooth application and a fresh new look. Take your time selecting the best vinyl wrap for your needs.
Types Of Vinyl Material
Vinyl wraps come in several types. Cast vinyl is thin and flexible, perfect for curved surfaces. Calendered vinyl is thicker and less flexible but more affordable. Textured vinyl adds a tactile feel, like wood or stone. Choose material based on your countertop shape and durability needs.
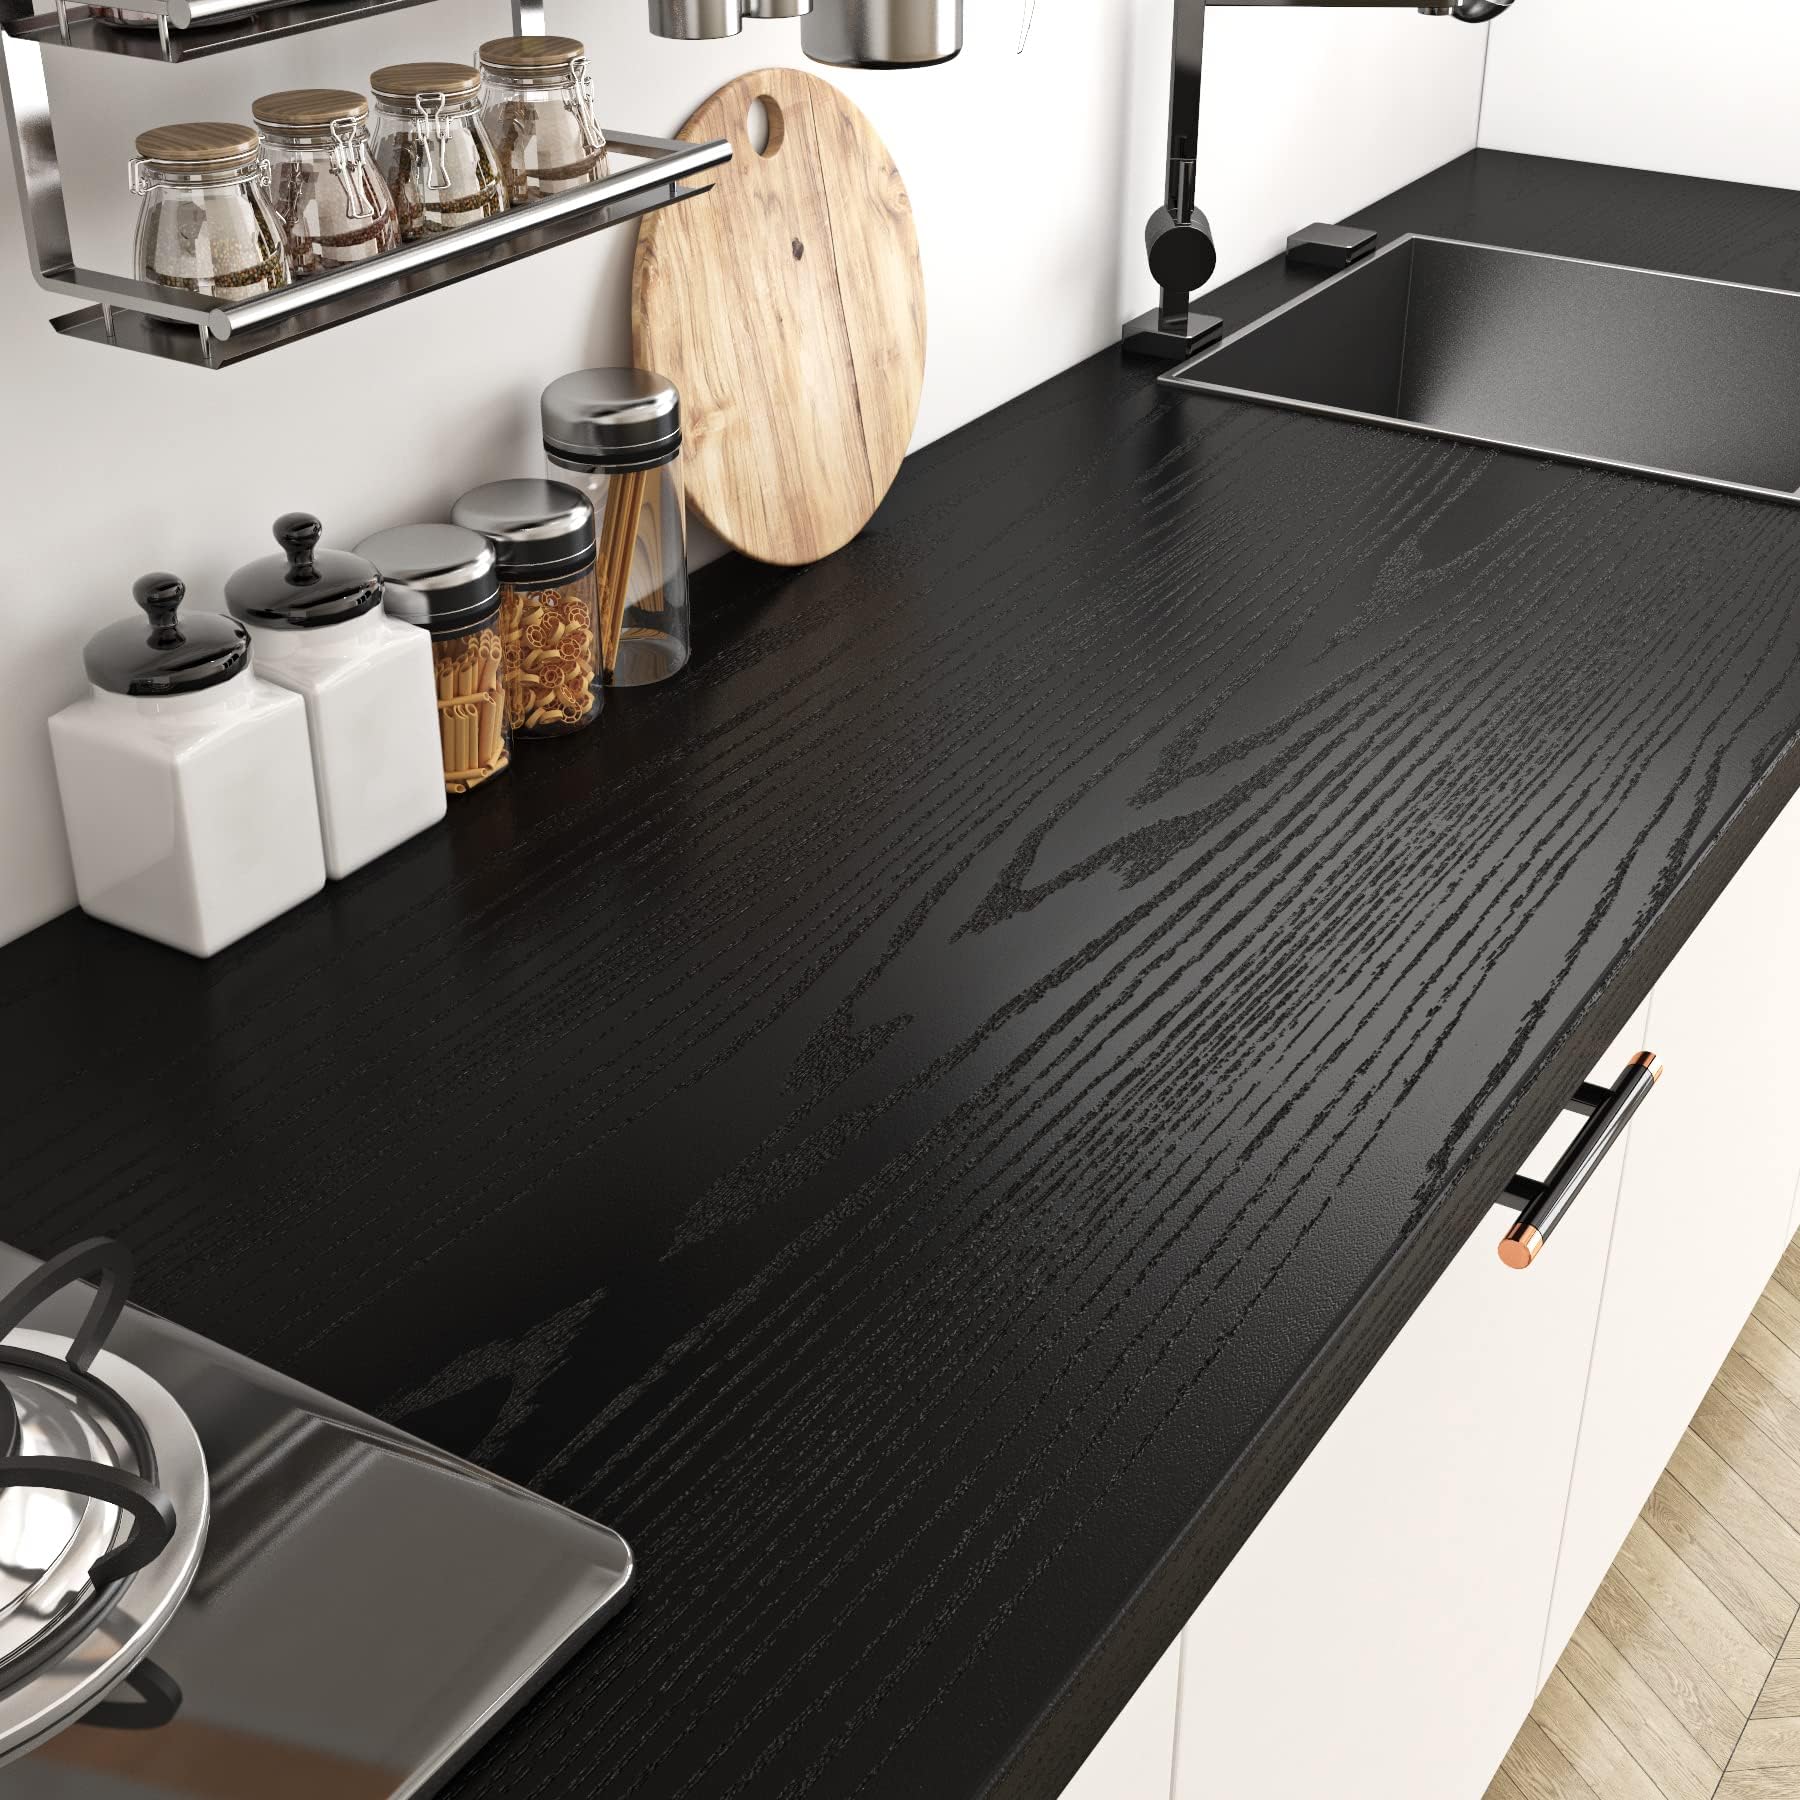
Selecting Colors And Patterns
Colors and patterns set the tone of your kitchen. Solid colors offer a clean, simple look. Patterns like marble, wood grain, or concrete add style and depth. Lighter colors make small kitchens feel bigger. Dark colors hide stains better. Pick a design that matches your kitchen’s style and lighting.
Measuring Your Countertop
Measure your countertop carefully before buying vinyl wrap. Use a tape measure to get length and width. Add extra inches to cover edges and mistakes. Write down measurements clearly. Accurate size helps avoid waste and extra cost. Double-check numbers before ordering your vinyl wrap.
Preparing The Surface
Preparing your kitchen countertop surface is the first step in vinyl wrapping. A smooth and clean surface helps the vinyl stick well. It also makes the finish look neat and lasts longer. Taking time to prepare the surface prevents bubbles and peeling later.
Cleaning And Drying
Start by wiping the countertop with warm, soapy water. Use a soft cloth to remove dirt and grease. Rinse the surface with clean water. Dry the countertop completely using a dry cloth or towel. Make sure no moisture stays on the surface.
Removing Old Adhesives
Check for any sticky residues from old tape or labels. Use a gentle adhesive remover or rubbing alcohol to clean them. Apply the remover on a cloth and rub the spots carefully. Avoid harsh chemicals that can damage the countertop.
Repairing Imperfections
Look for scratches, dents, or cracks on the surface. Fill small holes or cracks with a countertop filler or putty. Let the filler dry and then sand it smooth with fine sandpaper. A flat surface helps the vinyl stick evenly and look better.
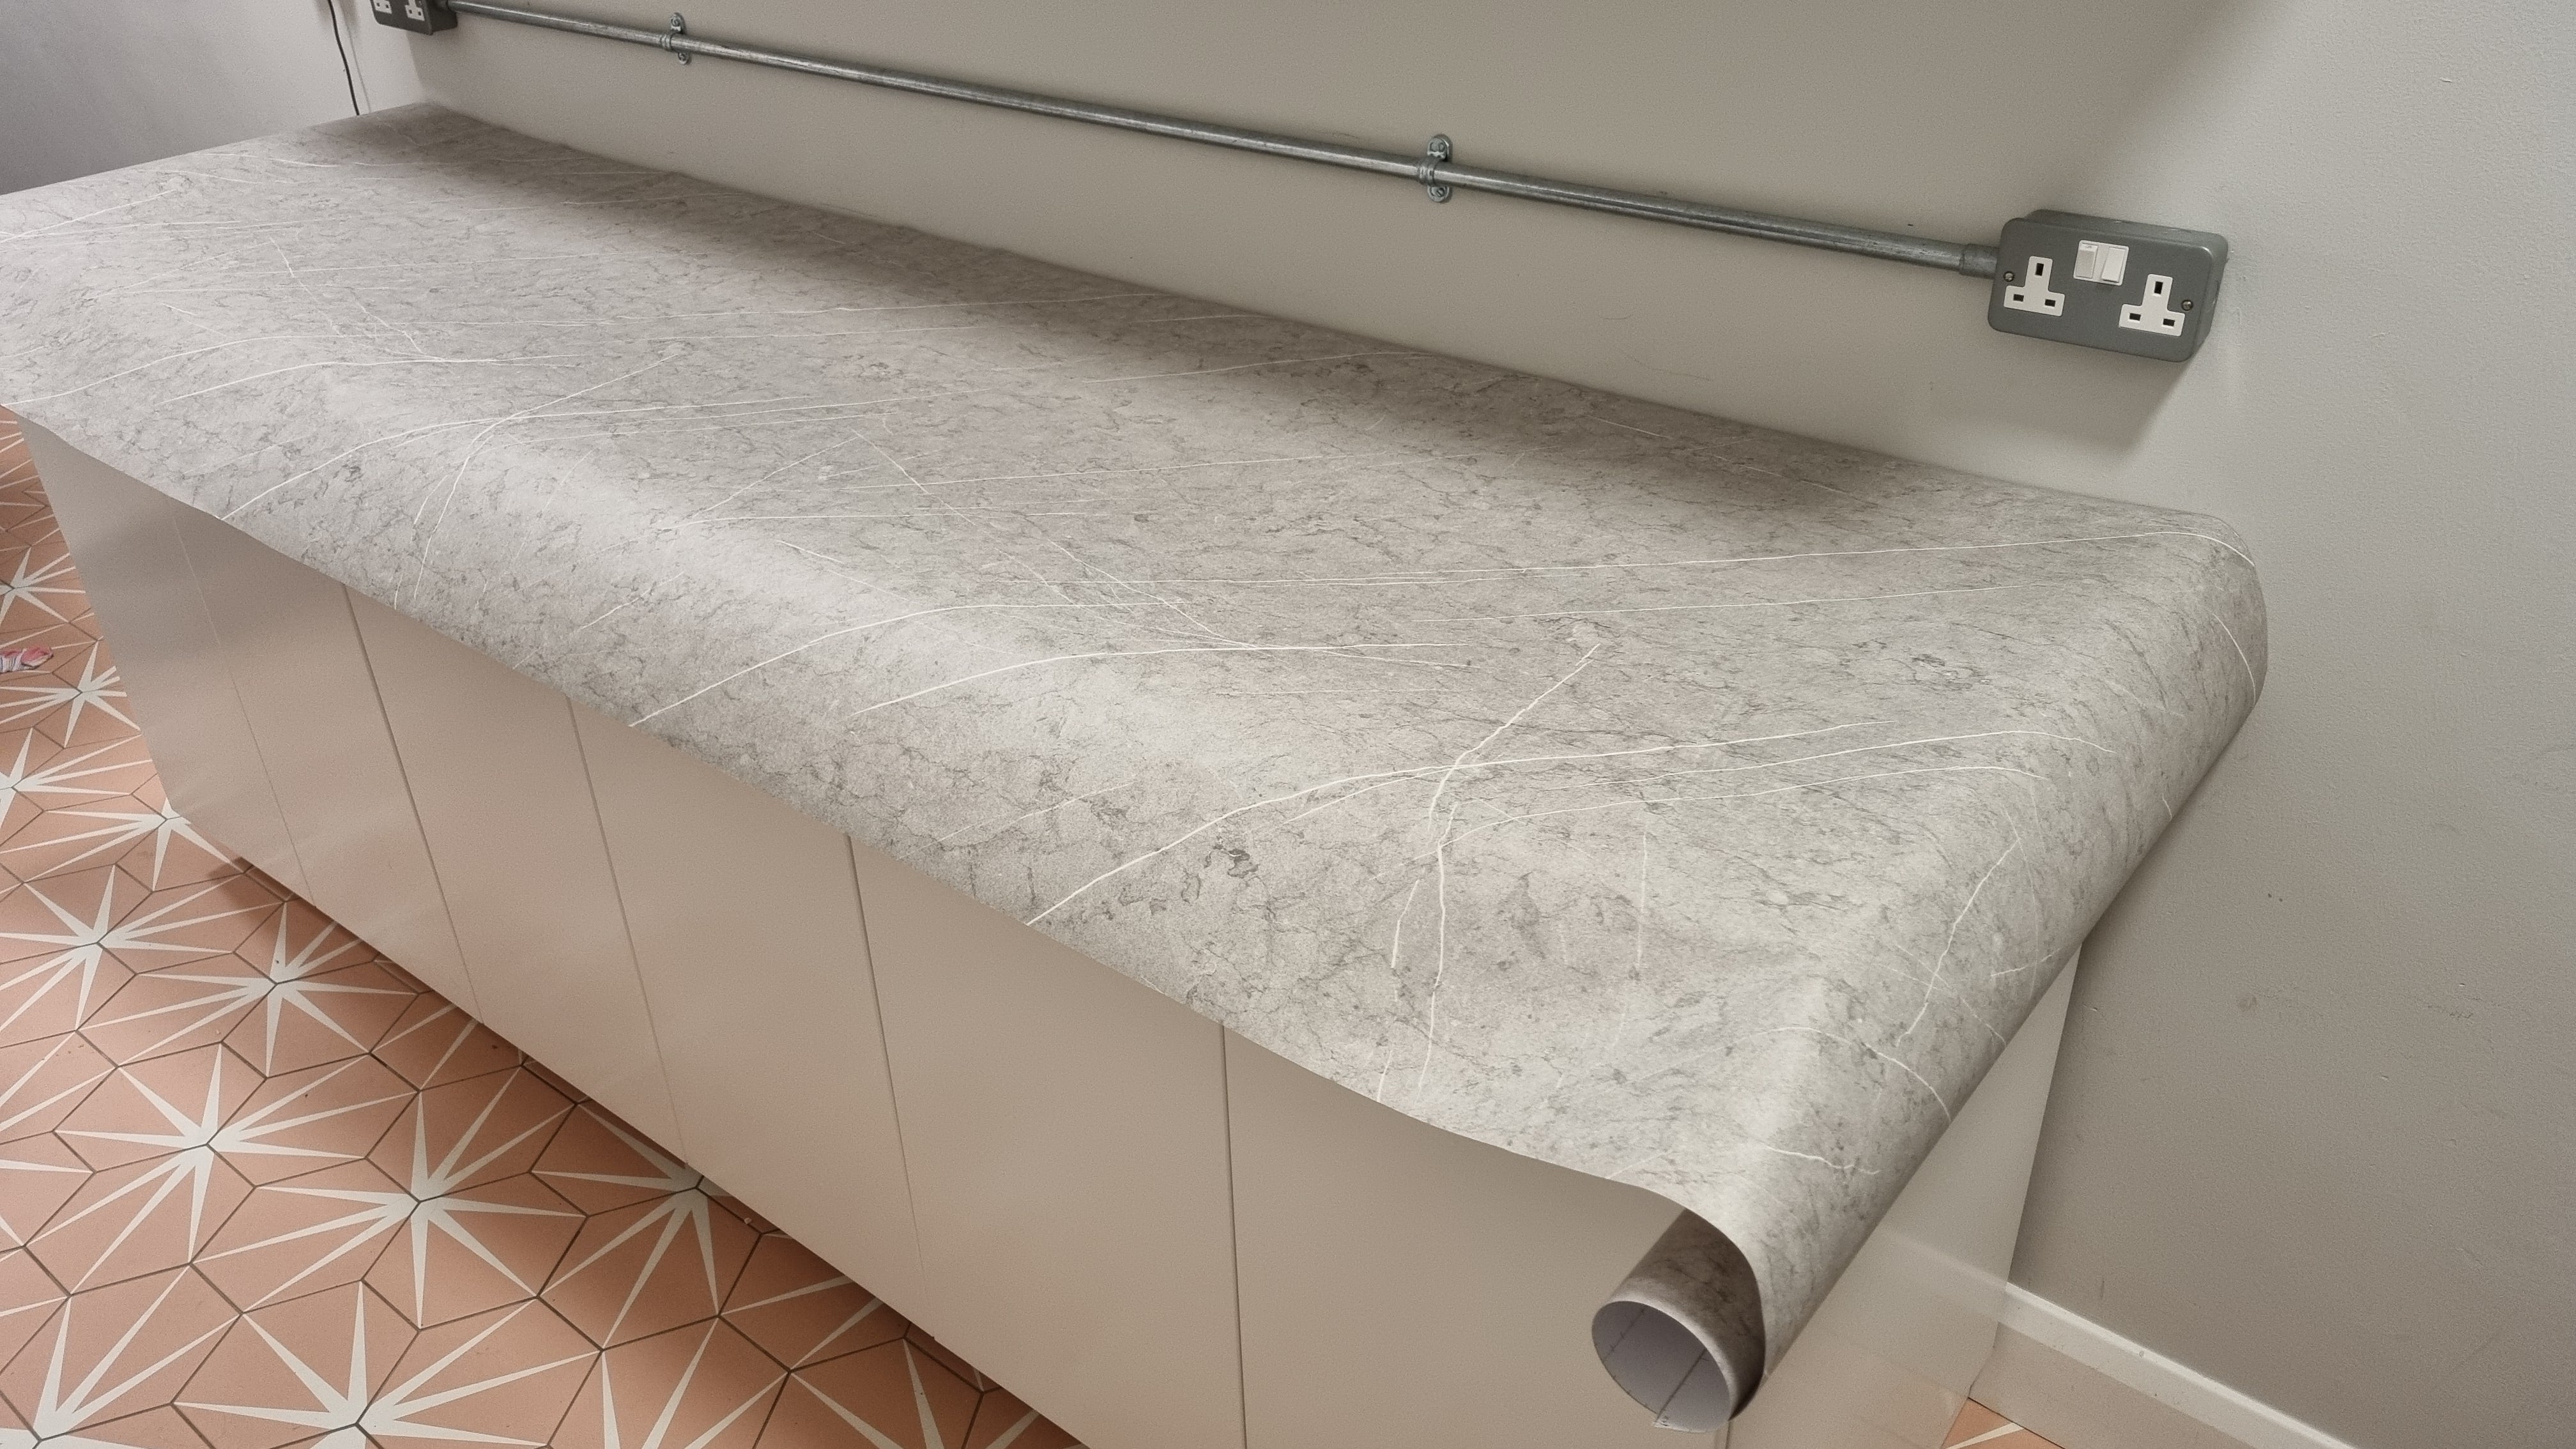
Tools And Supplies
Preparing to vinyl wrap your kitchen countertop needs the right tools and supplies. These items make the process smooth and help you get a clean finish. Having everything ready saves time and avoids frustration during the project.
Essential Tools List
- Vinyl wrap film designed for countertops
- Measuring tape to get exact dimensions
- Utility knife with sharp blades for trimming
- Squeegee or plastic scraper to remove air bubbles
- Heat gun or hairdryer to soften the vinyl
- Cleaning solution and cloth to prepare the surface
- Masking tape for positioning the vinyl
Optional Accessories
- Edge roller to press vinyl firmly along edges
- Cutting mat to protect surfaces while trimming
- Gloves to keep fingerprints off the vinyl
- Spray bottle with soapy water for easier repositioning
- Plastic card for smoothing out small wrinkles
Safety Precautions
- Work in a well-ventilated area to avoid fumes
- Use sharp tools carefully to prevent cuts
- Keep heat gun moving to avoid burning the vinyl
- Wear gloves to protect your hands from heat
- Handle cleaning chemicals with care and follow instructions
Credit: layed.com
Cutting And Aligning
Cutting and aligning vinyl wrap for your kitchen countertop is a key step. It ensures a neat and smooth finish. Take your time to measure and cut accurately. Proper alignment prevents bubbles and wrinkles. This section guides you through easy steps for cutting and aligning your vinyl wrap perfectly.
Marking Measurements
Start by measuring your countertop carefully. Use a tape measure for precise results. Mark the vinyl with a pencil or chalk. Draw straight lines to match the countertop edges. Double-check your measurements before cutting. Accurate marks make cutting easier and reduce mistakes.
Cutting Vinyl To Size
Use a sharp utility knife or scissors to cut the vinyl. Cut along the marked lines slowly and steadily. Avoid rushing to keep edges clean and smooth. Cut slightly larger than the countertop size. This extra material helps with alignment and trimming later.
Positioning The Wrap
Lay the vinyl on the countertop without removing the backing. Check the fit and alignment carefully. Adjust the vinyl to cover all edges evenly. Start pressing the vinyl from one side, smoothing out air bubbles. Use a squeegee or flat tool for a tight, wrinkle-free finish.
Applying The Vinyl
Applying vinyl to your kitchen countertop takes patience and care. This step transforms your surface with a fresh look. Proper application ensures the vinyl sticks well and lasts long.
Follow the right technique to avoid wrinkles and bubbles. Work slowly and use the right tools for smooth results.
Peeling The Backing
Start by carefully peeling a small corner of the vinyl backing. Pull it back slowly to avoid stretching the vinyl. Expose only a small section at first. This helps control the placement and alignment.
Hold the vinyl taut but do not stretch it too much. Gradually peel more backing as you apply the vinyl. Keep the sheet steady to prevent folds or creases.
Smoothing And Stretching
Use a squeegee or a flat tool to smooth the vinyl onto the countertop. Move from the center outward to push out air and wrinkles. Stretch the vinyl gently over edges and corners.
Work in small sections to keep the vinyl tight. Avoid pulling too hard to prevent tears. A steady hand keeps the wrap looking neat and even.
Avoiding Air Bubbles
Air bubbles spoil the finish and reduce adhesion. Press down firmly with a squeegee to remove trapped air. If bubbles appear, lift the vinyl gently and reapply.
Use a pin to prick stubborn bubbles. Press the area flat again to seal the vinyl. Taking time here results in a smooth, professional look.
Credit: www.amazon.com
Finishing Touches
Finishing touches make your vinyl-wrapped countertop look neat and last longer. This step ensures a clean appearance and protects the vinyl from damage. Pay close attention to details. Small efforts now prevent problems later.
Trimming Excess Material
Use a sharp utility knife to trim extra vinyl. Cut slowly along the edges for a clean line. Avoid cutting too close to the surface to prevent damage. Keep the knife blade angled slightly for better control. Remove all loose pieces to avoid peeling.
Sealing Edges
Apply a thin layer of clear sealant along the edges. This stops water and dirt from getting under the vinyl. Use a small brush for even coverage. Press edges firmly after sealing to secure the wrap. Allow the sealant to dry completely before use.
Curing Time And Care Tips
Let the vinyl cure for at least 24 hours before using the countertop. Avoid placing heavy or sharp objects during this time. Clean the surface gently with a soft cloth and mild soap. Do not use abrasive cleaners or scrubbing pads. Proper care keeps the vinyl fresh and strong.
Common Mistakes To Avoid
Vinyl wrapping a kitchen countertop can transform its look. Avoiding common mistakes helps get the best results. Small errors can cause bubbles, peeling, or poor fit. Careful work makes the wrap last longer and look smooth. Here are some mistakes to watch out for.
Poor Surface Prep
Clean the countertop thoroughly before applying vinyl. Dirt, grease, and dust prevent vinyl from sticking well. Use mild soap and water to clean the surface. Dry the countertop fully to avoid trapping moisture. Sand rough spots lightly for a smooth finish. Skipping prep leads to peeling and bubbles later.
Incorrect Measurements
Measure the countertop carefully and twice. Cut the vinyl larger than the surface to cover edges fully. Wrong size causes gaps or wrinkles. Use a tape measure and note all dimensions. Mark the vinyl with a pencil before cutting. Precise measurements save time and avoid waste.
Rushing Application
Take your time when applying vinyl. Work slowly to smooth out air bubbles as you go. Use a squeegee or flat tool to press the vinyl evenly. Stretching the vinyl too much causes damage or wrinkles. Patience ensures a clean, smooth finish without flaws.
Maintenance And Longevity
Maintaining your vinyl-wrapped kitchen countertop is key to keeping it looking fresh and new. Proper care helps extend its life and protects your investment. Small efforts can prevent damage and keep the surface clean. Understanding how to care for vinyl wrap ensures it stays beautiful for years.
Cleaning Vinyl Surfaces
Use a soft cloth or sponge to clean the vinyl. Avoid rough scrubbers that can scratch the surface. Mild soap and warm water work best. Wipe spills quickly to prevent stains. Do not use harsh chemicals or abrasive cleaners. Dry the surface with a clean cloth after washing.
Repairing Minor Damage
Small scratches or bubbles can appear over time. Gently press out air bubbles with a soft cloth or plastic card. For minor cuts, use vinyl repair kits available online. Apply the repair solution carefully following the instructions. Avoid heavy scrubbing or peeling at damaged spots.
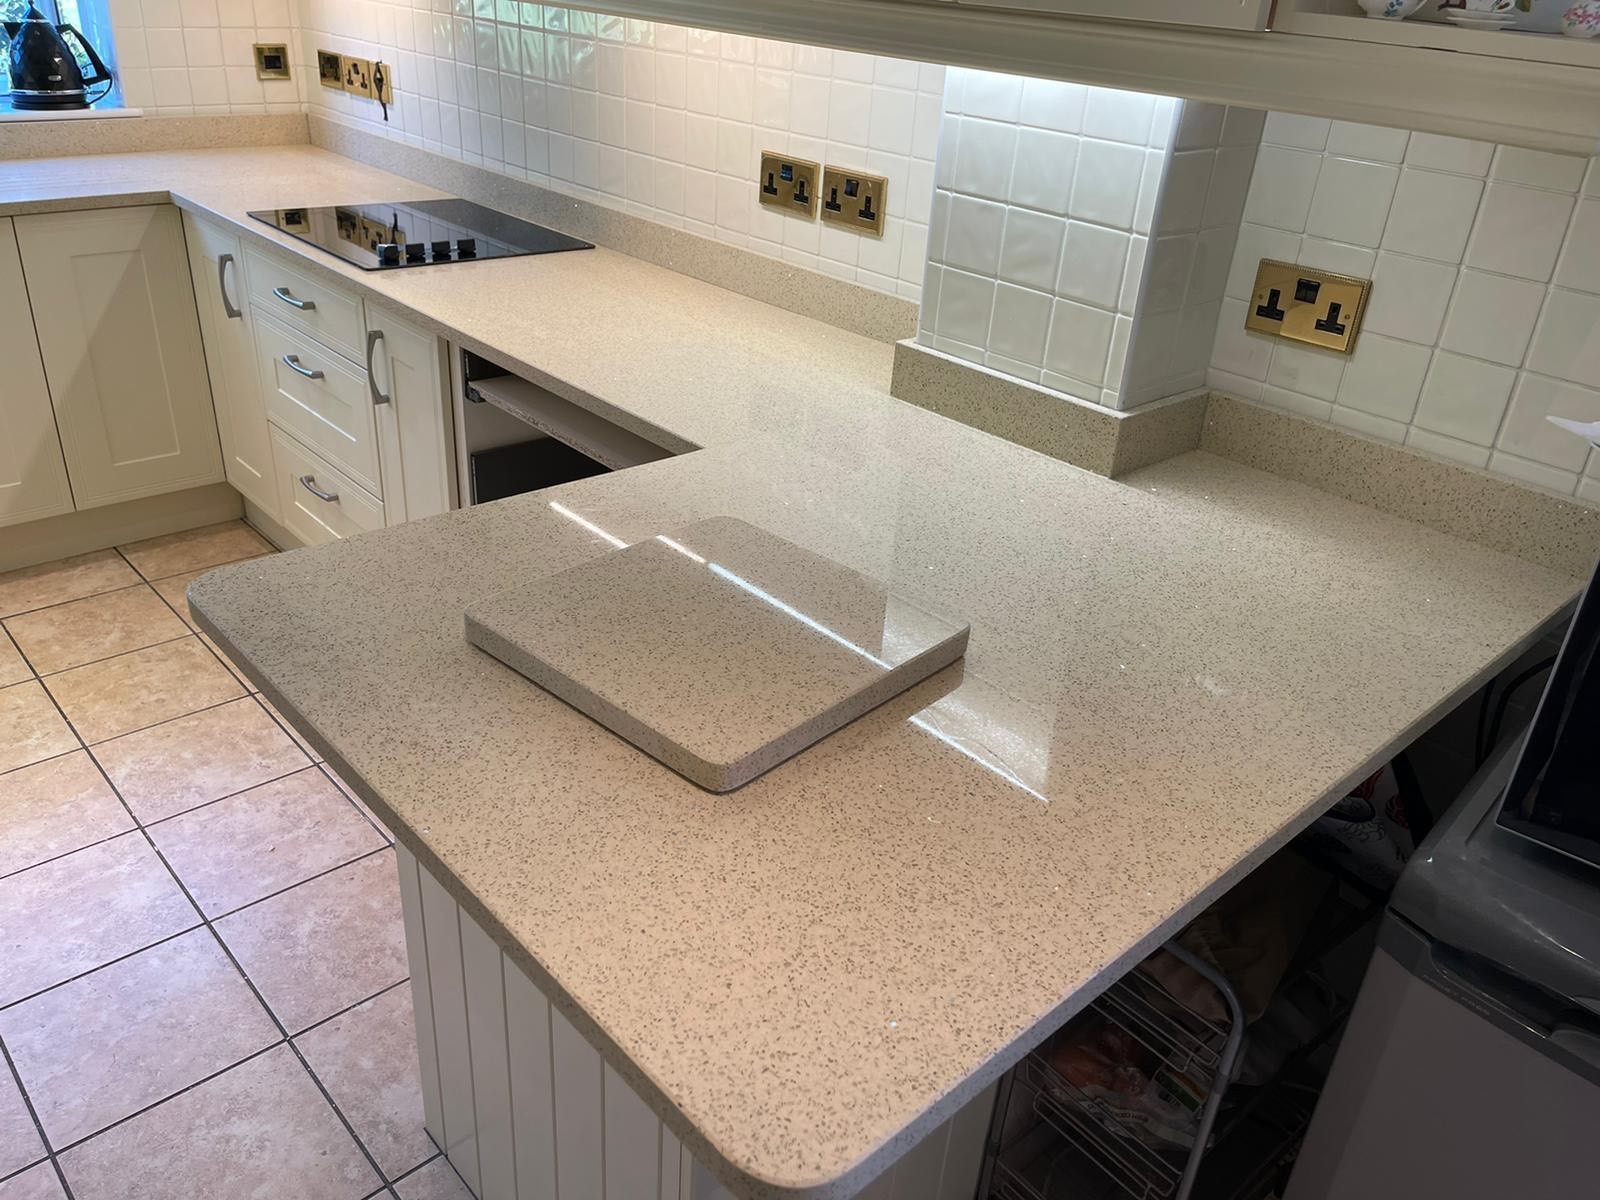
When To Replace Wrap
Replace the wrap if there are large tears or peeling edges. Fading or discoloration also signals time for replacement. If repairs no longer fix damage, a new wrap will restore the look. Regular inspection helps spot issues early. A fresh wrap keeps your kitchen counter stylish and protected.
Credit: mrworktopfitter.co.uk
Frequently Asked Questions
What Materials Do I Need To Vinyl Wrap A Kitchen Countertop?
You need vinyl wrap film, a heat gun, a squeegee, a utility knife, and cleaning supplies. These tools ensure a smooth, durable finish on your countertop.
How Long Does Vinyl Wrapping A Countertop Take?
Vinyl wrapping a kitchen countertop typically takes 2 to 4 hours. Time varies depending on surface size and preparation.
Can Vinyl Wrap Withstand Kitchen Heat And Moisture?
High-quality vinyl wrap is heat and moisture resistant. It protects your countertop from kitchen spills and minor heat exposure.
How Do I Prepare My Countertop For Vinyl Wrapping?
Clean the surface thoroughly, remove grease, and smooth imperfections. Proper prep ensures better adhesion and a flawless finish.
Conclusion
Vinyl wrapping your kitchen countertop is a smart and simple way to refresh it. The process takes time but offers great results. Choose the right vinyl and prepare the surface well. Take your time to apply it smoothly without bubbles.
This method saves money and adds style to your kitchen. Enjoy your new countertop look without a full remodel. Try it step by step, and you will succeed. Your kitchen will feel fresh and clean again.


