
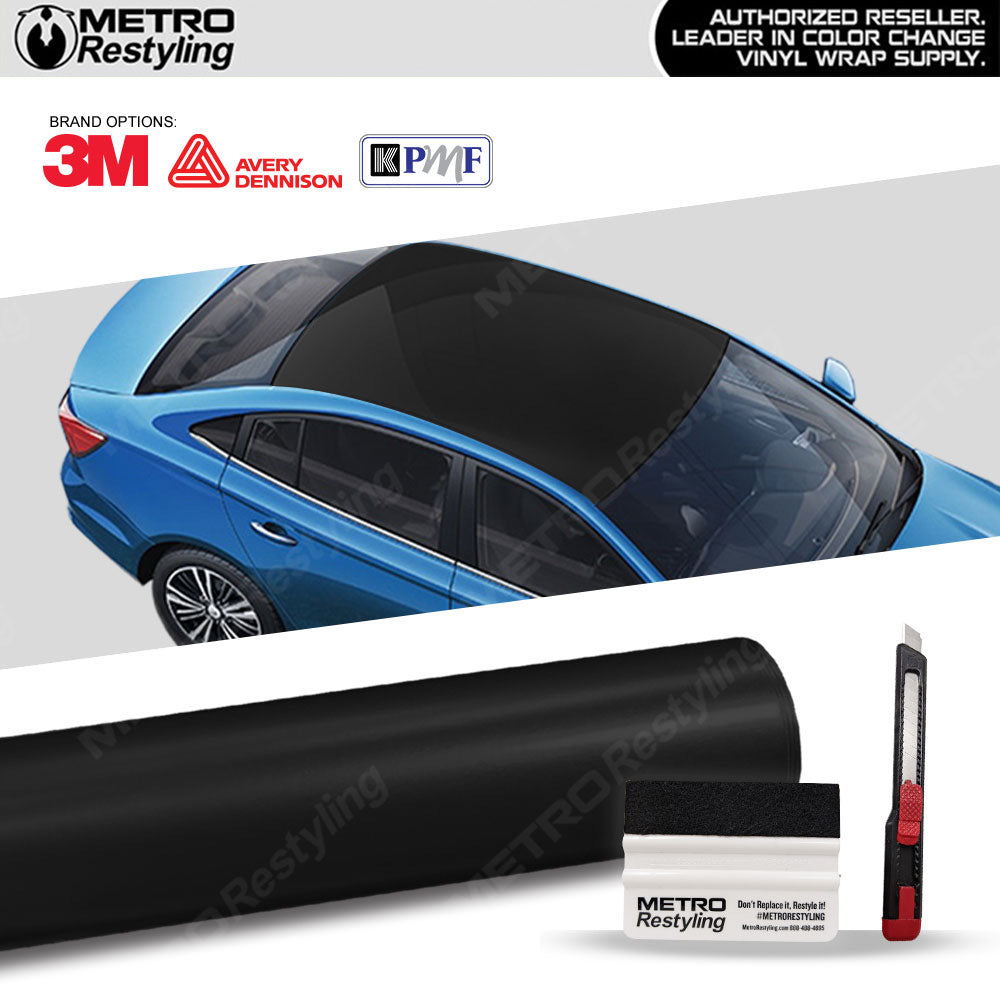
Want to give your car a fresh, stylish look without spending a fortune? Vinyl wrapping your roof is a smart, affordable way to do just that.
Imagine turning heads with a sleek matte black roof or a glossy finish that stands out from the crowd. But how do you get that perfect, smooth wrap without bubbles or wrinkles? This guide will walk you through every step, making the process simple and doable—even if you’ve never tried it before.
Keep reading, and you’ll learn the secrets to transforming your vehicle’s roof like a pro.
Credit: metrorestyling.com
Choosing The Right Vinyl Wrap
Choosing the right vinyl wrap for your roof is important. The right wrap protects your roof and looks good. Different wraps have different features. It helps to know the types, colors, finishes, and durability. This makes your choice easier and better.
Types Of Vinyl Wraps
There are many types of vinyl wraps. Cast vinyl wraps are strong and flexible. They fit well on curved surfaces. Calendered vinyl wraps are thicker and less flexible. They work best on flat surfaces. Cast vinyl is usually better for roofs. It lasts longer and resists weather well.
Color And Finish Options
Vinyl wraps come in many colors. You can pick bright or dark shades. Some wraps have matte finishes. Others are glossy or satin. Matte hides dirt well. Glossy makes the roof shine. Satin is a mix of both. Choose a color and finish that matches your style.
Material Durability
Durability matters for roof wraps. Good wraps resist sun, rain, and wind. Cast vinyl lasts about 5 to 10 years. It stays strong and does not crack. Check if the wrap has UV protection. This stops color from fading fast. Pick durable material to keep your roof safe longer.

Credit: yeswrap.com
Preparing The Roof Surface
Preparing the roof surface is the first step in applying a vinyl wrap. A clean and smooth surface helps the vinyl stick better. It also makes the wrap last longer. Skipping this step can cause bubbles and peeling later. Take time to prepare well before wrapping.
Cleaning Techniques
Start by removing dirt, dust, and grease from the roof. Use a mild detergent mixed with water. Apply the solution with a soft cloth or sponge. Rinse thoroughly with clean water. Avoid harsh chemicals that can damage the roof. Let the surface dry completely before moving on.
Removing Old Adhesives
Old glue or tape can block the vinyl from sticking properly. Use a plastic scraper to gently lift the adhesive. For stubborn spots, apply an adhesive remover suitable for your roof type. Wipe off residue with a clean cloth. Make sure no sticky patches remain after cleaning.
Surface Inspection And Repair
Check the roof for cracks, dents, or rust spots. These flaws affect the vinyl’s appearance and durability. Fill small cracks with an appropriate sealant. Sand rough areas smooth before wrapping. Replace any parts that are heavily damaged. A smooth roof surface ensures the vinyl wraps evenly.
Tools And Materials Needed
Before starting a vinyl roof wrap, gather the right tools and materials. These help you work faster and get better results. Having everything ready avoids interruptions and mistakes.
Choose quality tools and supplies. They make the job easier and the wrap last longer. Safety gear protects you from injury during the process. Below is a clear list to prepare you well.
Essential Tools List
- Squeegee with felt edges to smooth the vinyl
- Heat gun for stretching and shaping the wrap
- Precision knife to trim excess material
- Measuring tape for accurate cuts
- Cleaning cloths and surface cleaner
- Masking tape to hold vinyl in place
Safety Equipment
- Protective gloves to avoid cuts and burns
- Safety goggles to shield your eyes
- Face mask to avoid inhaling fumes
- Non-slip shoes for stable footing
Additional Supplies
- Vinyl wrap film designed for roofs
- Primer to help vinyl stick better
- Cleaning solution to remove dirt and grease
- Plastic scraper for stubborn dirt
- Roller to press vinyl firmly
Measuring And Cutting The Vinyl
Measuring and cutting vinyl for a roof wrap requires care and precision. This step is important to make sure the vinyl fits perfectly. You will avoid wrinkles and bubbles by cutting the right size. Taking your time here makes the whole job easier and neater.
Accurate Measurements
Start by cleaning the roof surface. Use a tape measure to get the exact length and width. Measure twice to avoid mistakes. Write down the numbers clearly. Add a few extra inches for overlap and trimming. These extra inches help with fitting and adjustments.
Cutting Strategies
Place the vinyl on a flat surface. Use a sharp utility knife or scissors for cutting. Cut slowly along the marked lines. Keep your hand steady to get straight edges. Avoid jagged or uneven cuts. It is better to cut a little bigger than too small.
Handling Large Sheets
Large vinyl sheets can be hard to manage alone. Ask for help to hold the sheet straight. Roll out the vinyl gently to avoid creases. Keep the sheet flat while cutting. Use weights or clips to keep it in place. Work in a clean, open area to avoid dirt.
Applying The Vinyl Wrap
Applying the vinyl wrap on your roof needs care and patience. This step shapes the final look and protects the surface. A smooth and strong finish depends on how well you place the vinyl. Take your time and follow each step closely.
Aligning The Vinyl
Start by placing the vinyl sheet on the roof. Check that it covers the area completely. Align it with the edges carefully. Make sure the wrap is straight and not twisted. Proper alignment prevents wrinkles and gaps later.
Peeling And Sticking Method
Peel back a small part of the vinyl backing. Stick that part to the roof surface. Slowly pull the backing off while pressing the vinyl down. Use a squeegee or soft cloth to smooth it out. Work in small sections to keep control.
Avoiding Air Bubbles
Air bubbles can spoil the look and reduce adhesion. Push them gently toward the edges with a squeegee. For stubborn bubbles, lift the vinyl carefully and reapply. Use a pin to poke small bubbles and press out air. Smooth surface means a clean, lasting wrap.

Credit: www.youtube.com
Smoothing And Stretching Techniques
Smoothing and stretching are key steps in vinyl wrapping a roof. They help the vinyl fit tightly without wrinkles or bubbles. Proper techniques make the wrap look clean and last longer. These steps require patience and care. Using the right tools and methods ensures a smooth finish.
Using Heat Guns
Heat guns soften the vinyl, making it easier to stretch. Hold the gun a few inches away from the surface. Move it slowly to warm the area evenly. Avoid overheating, as it can damage the vinyl. Warm vinyl becomes more flexible and easier to shape. Use gentle heat on large flat areas for smooth results.
Stretching For Curves
Curved roof sections need careful stretching. Pull the vinyl gently and evenly along the curve. Heat the vinyl slightly to increase flexibility. Avoid pulling too hard to prevent tears. Work in small sections to keep control. Smooth the vinyl with your hand or a squeegee. Stretching helps the vinyl hug curves tightly.
Working Around Edges
Edges are tricky spots for vinyl wrap. Heat the vinyl along the edge to soften it. Use a squeegee to press the vinyl firmly against the edge. Tuck excess vinyl under trims or seals carefully. Make small cuts if needed to fit complex edges. Proper edge work prevents peeling and lifts. Take your time to ensure a neat finish.
Trimming And Finishing Touches
Trimming and finishing touches are key steps for a smooth vinyl wrap roof. This stage shapes the wrap to fit perfectly. It also seals and secures the edges to last longer. Good finishing makes the wrap look neat and professional. Careful work here prevents peeling and damage later.
Precision Cutting
Cut the vinyl carefully along the roof edges. Use a sharp blade for clean lines. Avoid cutting too deep to protect the car’s paint. Cut slowly to follow the roof’s shape exactly. Proper cutting prevents wrinkles and uneven edges.
Securing Edges
Press down the edges firmly for a strong hold. Use a heat gun to soften the vinyl near edges. This helps the wrap stick better to curves and corners. Apply extra adhesive tape if needed for added security. Well-secured edges stop air and dirt from getting underneath.
Cleaning Up
Remove any dust, dirt, or leftover adhesive from the roof. Use a soft cloth and gentle cleaner for this step. Check for bubbles or loose spots and smooth them out. Clean work keeps the roof looking shiny and new. A tidy finish shows great care and skill.
Maintenance Tips For Longevity
Maintaining a vinyl-wrapped roof is key to keeping it fresh and long-lasting. Simple care steps can protect your investment and keep the wrap looking new. Knowing how to clean, protect, and fix minor problems helps extend its life.
Cleaning The Wrapped Roof
Use a soft cloth or sponge with mild soap and water. Avoid harsh chemicals or abrasive tools that may scratch the vinyl. Rinse thoroughly to remove soap residue. Clean regularly to prevent dirt buildup and staining.
Avoiding Damage
Park in shaded areas to reduce sun damage and fading. Avoid sharp objects near the roof to prevent cuts or tears. Do not use pressure washers directly on the wrap. Handle roof racks and accessories with care to avoid peeling.
Repairing Minor Issues
Small tears or bubbles can be fixed quickly. Use vinyl wrap repair kits available online or in stores. Clean the area before applying the patch or adhesive. Address issues early to stop them from worsening. Regular checks help catch problems fast.
Frequently Asked Questions
What Tools Are Needed To Vinyl Wrap A Roof?
You need a vinyl wrap film, squeegee, heat gun, utility knife, and cleaning supplies. These tools ensure smooth application and durability.
How Long Does Vinyl Roof Wrapping Take?
Vinyl roof wrapping usually takes 3 to 5 hours, depending on roof size and experience. Proper preparation speeds up the process.
Can Vinyl Wraps Protect My Car Roof?
Yes, vinyl wraps protect your car roof from UV rays, scratches, and weather damage, extending its lifespan and appearance.
Is Vinyl Wrapping A Roof Cost-effective?
Vinyl wrapping is cost-effective compared to repainting. It offers a fresh look and protects your roof at a lower price.
Conclusion
Vinyl wrapping a roof can change your vehicle’s look quickly. It protects the surface and adds style. Clean the roof well before you start. Work carefully to avoid bubbles and wrinkles. Take your time with each step for best results.
With patience, you can do it yourself. Enjoy your new roof design and feel proud. This simple project saves money and looks great. Give your car a fresh look today.


