
Want to give your boat a fresh, eye-catching look without spending a fortune? Wrapping your boat with vinyl is a smart and affordable way to do just that.
But if you’re wondering how to get started or worried about making mistakes, you’re not alone. This guide will walk you through each step, making the process simple and doable—even if you’ve never tried it before. By the end, you’ll have the confidence to transform your boat’s appearance and protect its surface at the same time.
Ready to dive in? Let’s get your boat wrapped perfectly!
Choosing The Right Vinyl
Choosing the right vinyl is important for a successful boat wrap. The vinyl must fit the boat’s surface and environment. Picking the correct type helps protect the boat and keeps it looking good. Consider the vinyl’s style, strength, and resistance to sun damage.
Types Of Vinyl Wraps
There are many types of vinyl wraps. Cast vinyl is flexible and fits curves well. It lasts longer and resists shrinking. Calendered vinyl is cheaper but less flexible. It works best on flat surfaces. Choose vinyl based on the boat’s shape and how long you want the wrap to last.
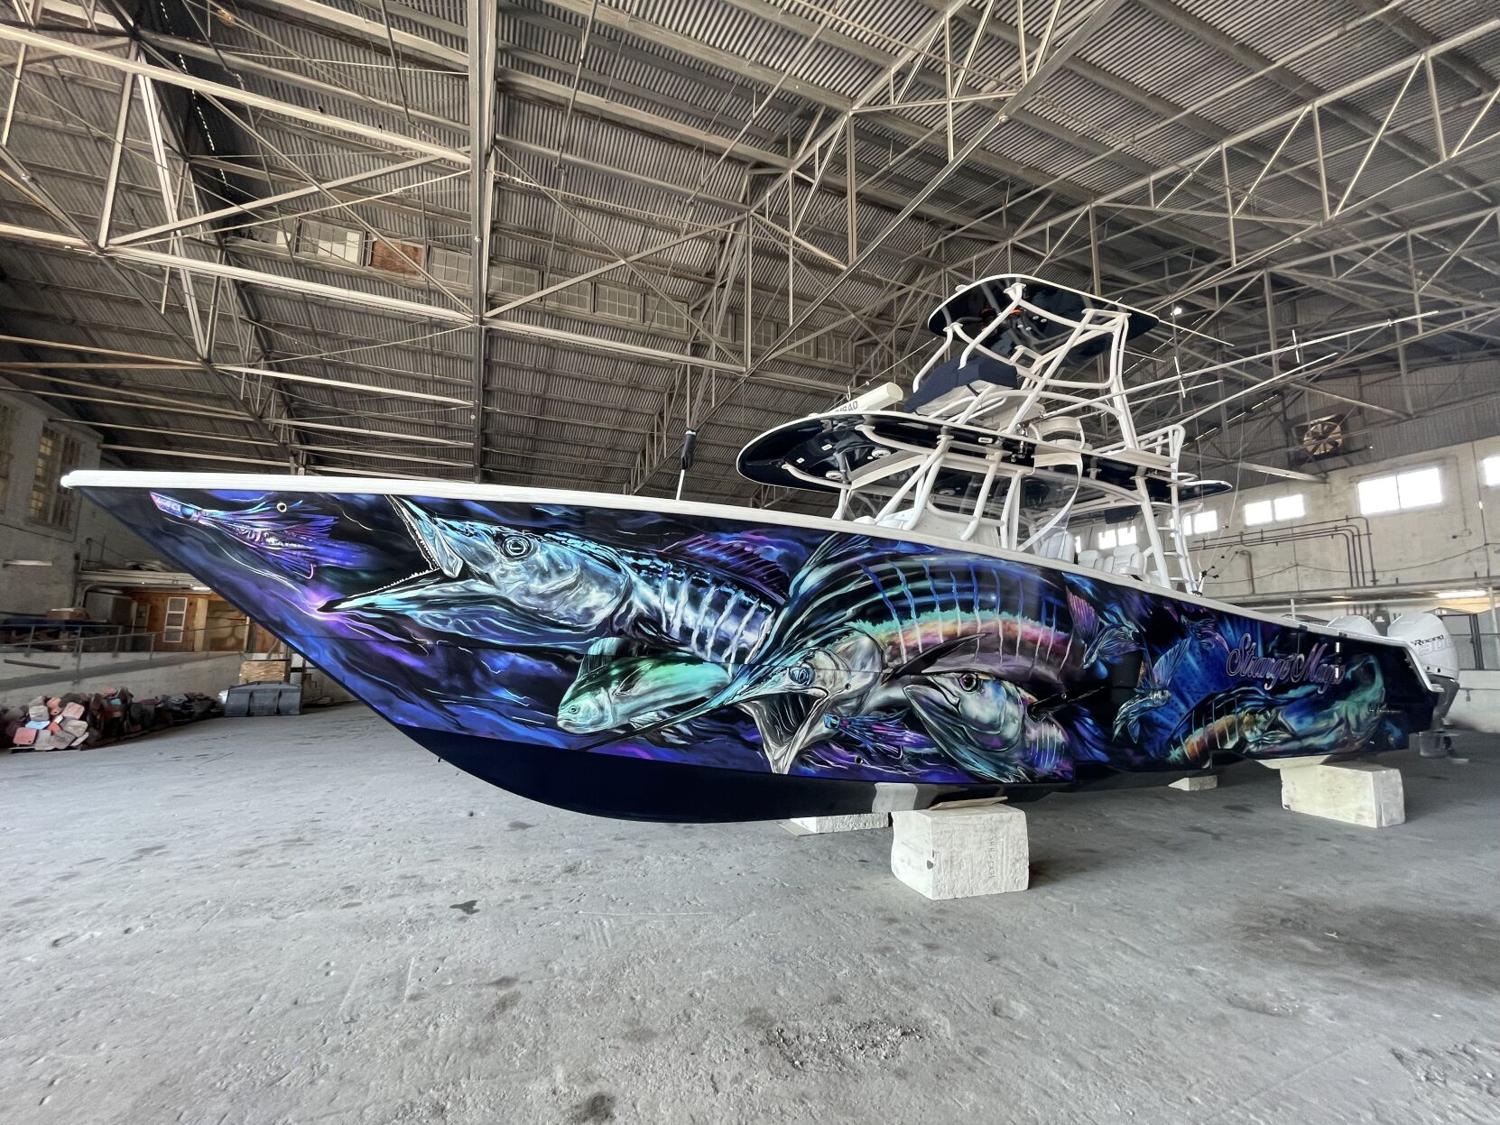
Color And Finish Options
Vinyl wraps come in many colors and finishes. Glossy finishes shine bright and look new. Matte finishes give a smooth, dull look. Satin finishes fall between gloss and matte. Pick a color that matches your style. Bright colors can make the boat stand out on water.
Durability And Uv Resistance
Boats face harsh sun and water conditions. Vinyl with strong UV resistance protects against fading. Durable vinyl lasts through wind, rain, and saltwater. Check for vinyl made for outdoor use. Strong, UV-resistant vinyl keeps the wrap vibrant for years.
Credit: www.youtube.com
Preparing The Boat Surface
Preparing the boat surface is the first and most important step before applying vinyl wrap. A smooth, clean surface helps the vinyl stick properly and last longer. Taking time to prepare ensures a neat, professional look.
Cleaning And Degreasing
Start by washing the boat with soap and water. Remove dirt, salt, and grime from all areas. Use a clean cloth or sponge for better results. After washing, apply a degreaser to eliminate oils and wax. This step is crucial as oils prevent vinyl from sticking well.
Removing Old Wraps And Decals
Peel off any old vinyl wraps or decals carefully. Use a heat gun or hair dryer to soften the adhesive. This makes removal easier and avoids damage to the surface. Remove all sticky residues with adhesive remover for a clean base.
Sanding And Repairing Imperfections
Inspect the surface for scratches, dents, or rough spots. Lightly sand these areas with fine-grit sandpaper. Fill dents or cracks with marine-grade filler and let it dry. Sand the filled spots smooth to create an even surface for wrapping.
Tools And Materials Needed
Wrapping a boat with vinyl requires the right tools and materials. Having everything ready makes the process smooth and efficient. Missing even one tool can slow you down or affect the finish. Prepare your workspace and gather all items before starting.
Essential Tools List
- Vinyl wrap film designed for boats
- Heat gun for stretching and shaping vinyl
- Squeegee to smooth out air bubbles
- Utility knife for precise cutting
- Measuring tape to get accurate dimensions
- Surface cleaner to remove dirt and oils
- Masking tape to hold vinyl in place
Safety Equipment
- Protective gloves to avoid cuts and burns
- Safety glasses to protect eyes from debris
- Respirator mask to avoid inhaling fumes
- Long sleeves to protect skin from heat gun
Additional Supplies
- Lint-free cloths for cleaning surfaces
- Primer to help vinyl stick better
- Plastic scraper for tough air bubbles
- Heat-resistant tape for delicate areas
- Roller to press vinyl firmly

Credit: wrapguys.com
Measuring And Cutting Vinyl
Measuring and cutting vinyl is the first step to a smooth boat wrap. Precise measurements ensure the vinyl fits well. Cutting the vinyl correctly saves time and material. This section guides you through easy steps for measuring and cutting vinyl.
Taking Accurate Measurements
Use a tape measure to record every dimension of your boat. Measure length, width, and height of each section. Write down all numbers clearly. Double-check your measurements for accuracy. Small errors can cause big problems later.
Planning The Layout
Plan how the vinyl will cover the boat parts. Decide which piece goes where before cutting. Draw a simple sketch with measurements. This helps avoid mistakes and wasted vinyl. Think about how the vinyl will wrap around curves and edges.
Cutting Techniques
Lay the vinyl flat on a clean surface. Use a sharp utility knife or vinyl cutter. Cut slowly along the planned lines. Avoid jagged or rough edges. Leave a little extra vinyl for trimming after application. Keep hands steady to make smooth cuts.
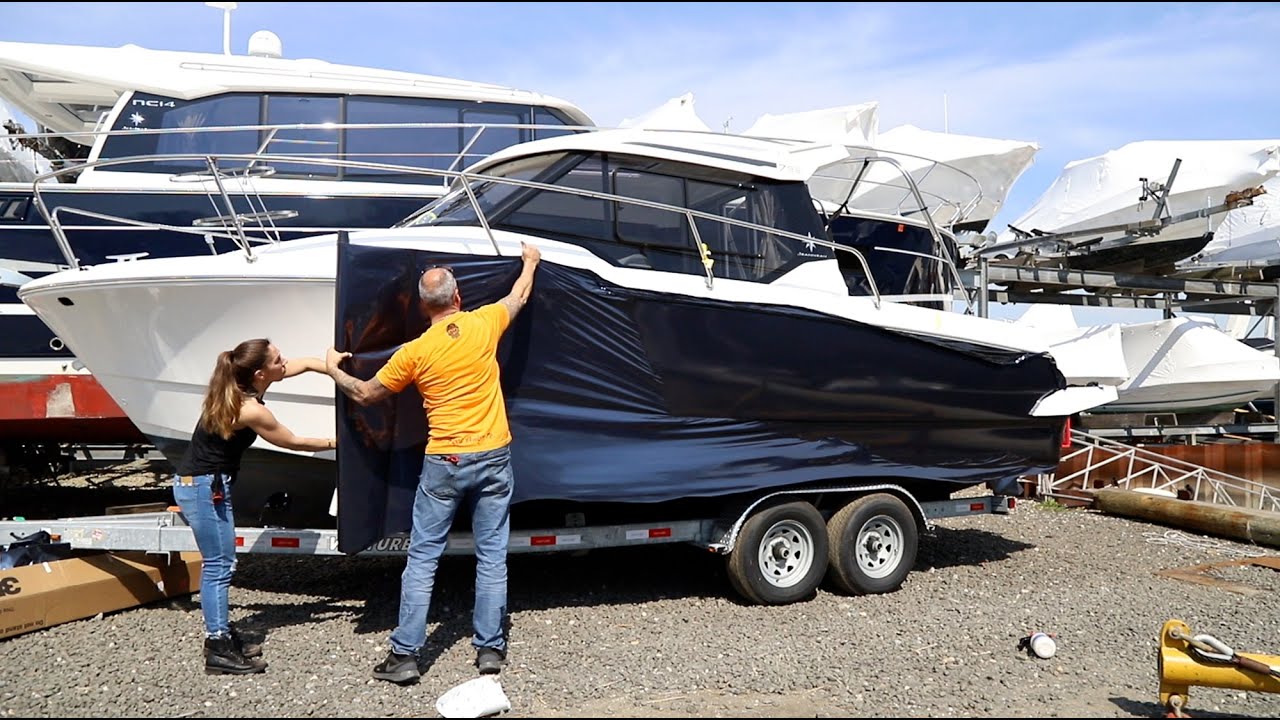
Applying The Vinyl Wrap
Applying the vinyl wrap is a key step in boat wrapping. It requires care and patience to get a smooth, clean finish. The vinyl must align perfectly on the boat’s surface. Small mistakes now can cause wrinkles or bubbles later. Follow these steps to apply the vinyl wrap correctly and achieve a professional look.
Positioning The Vinyl
Start by laying the vinyl on the boat carefully. Align the edges with the parts you want to cover. Use masking tape to hold the vinyl in place temporarily. Check the position from different angles. Make sure there are no folds or creases before sticking it down.
Removing Air Bubbles
Use a squeegee to press the vinyl onto the boat. Push the air bubbles out from the center toward the edges. Work slowly to avoid trapping air. If small bubbles remain, gently lift the vinyl and smooth it again. This step ensures a flat, smooth surface without bumps.
Using Heat For Curves And Edges
Heat helps the vinyl wrap fit curves and edges better. Use a heat gun or hairdryer to warm the vinyl slightly. The heat makes the vinyl soft and stretchable. Carefully stretch the vinyl over curved parts. Keep heating and smoothing until the vinyl fits tight and smooth.
Credit: www.floridasportfishing.com
Finishing Touches
Finishing touches make your boat wrap look clean and last longer. This step ensures the vinyl fits perfectly and stays secure. Careful work now prevents problems later. Take your time and pay attention to small details.
Trimming Excess Vinyl
Trim the extra vinyl carefully. Use a sharp blade or knife. Cut close to edges but avoid damaging the boat’s surface. Work slowly around curves and corners. Clean cuts give a neat finish and help the vinyl stick better.
Sealing Edges
Seal the edges to stop water and dirt from getting under the vinyl. Use a heat gun to warm the edges gently. Press the edges down firmly with a squeegee or roller. This step keeps the vinyl tight and prevents peeling.
Inspecting For Flaws
Look closely for air bubbles, wrinkles, or loose spots. Use a pin to pop small bubbles and smooth the vinyl again. Check all edges and corners twice. Fixing flaws now avoids bigger problems on the water.
Maintenance Tips For Longevity
Proper maintenance keeps your vinyl boat wrap looking fresh and lasts longer. Simple care steps protect the wrap from fading, peeling, and damage. Follow these tips to keep your boat’s wrap in top shape.
Cleaning The Wrapped Boat
Wash the boat wrap regularly with mild soap and water. Use a soft cloth or sponge to avoid scratches. Rinse thoroughly to remove all soap residue. Avoid harsh chemicals that can weaken the vinyl. Dry the surface gently with a clean towel.
Avoiding Damage
Park your boat away from sharp objects and rough surfaces. Avoid dragging the boat wrap across rocks or sand. Use a cover when the boat is not in use to protect from sun and dirt. Do not use abrasive brushes or tools on the wrap. Keep away from fuel spills and strong solvents.
Repairing Minor Issues
Inspect the wrap often for small tears or bubbles. Fix tiny bubbles by gently pressing them out from the edges. For small tears, use vinyl adhesive designed for boat wraps. Avoid delaying repairs to prevent bigger problems. Consult a professional if damage worsens.
Frequently Asked Questions
How Long Does Vinyl Boat Wrapping Last?
Vinyl boat wraps typically last 5 to 7 years with proper care. UV exposure and harsh weather can reduce lifespan. Regular cleaning and avoiding abrasive materials help maintain the wrap’s durability and appearance.
What Tools Are Needed To Wrap A Boat With Vinyl?
Essential tools include a heat gun, squeegee, utility knife, measuring tape, and cleaning supplies. These help smooth vinyl, trim excess material, and ensure a bubble-free finish for a professional look.
Can Vinyl Wraps Protect The Boat’s Original Paint?
Yes, vinyl wraps protect the boat’s paint from scratches, UV rays, and minor abrasions. They act as a protective layer and can be removed without damaging the original surface.
Is Professional Installation Necessary For Boat Vinyl Wrapping?
Professional installation is recommended for complex shapes and larger boats. Experts ensure proper alignment, avoid air bubbles, and deliver a smooth, lasting finish. DIY is possible but requires skill and patience.
Conclusion
Wrapping a boat with vinyl can change its look quickly. It protects the surface and gives a fresh style. Take time to clean and measure carefully. Apply the vinyl slowly to avoid bubbles and wrinkles. Use the right tools for a smooth finish.
Practice patience to get the best result. This simple process keeps your boat looking new longer. Try it yourself and enjoy a unique, personalized boat.


