

Are you tired of your car’s dashboard looking worn out or outdated? Wrapping your dashboard in vinyl is a simple and affordable way to give your vehicle a fresh, stylish look.
Imagine transforming your interior without spending a fortune or visiting a professional. In this guide, you’ll learn step-by-step how to wrap your dashboard with vinyl, even if you’ve never tried it before. By the end, you’ll have the confidence to tackle this project yourself and enjoy a sleek, customized finish that turns heads every time you drive.
Keep reading to discover the secrets to a flawless vinyl wrap that lasts.
Materials Needed
Wrapping a dashboard in vinyl requires specific materials. Having the right supplies makes the process smoother and ensures a professional finish. Below are the key materials needed to start your dashboard wrap project.
Choosing The Right Vinyl
Select vinyl designed for automotive interiors. It must be flexible and durable. Matte or gloss finishes both work well. Choose a color that matches your car’s style. A textured vinyl can hide imperfections better. Always buy extra vinyl to cover mistakes.
Essential Tools
A heat gun is necessary to stretch and shape the vinyl. Use a squeegee to smooth out air bubbles. A sharp utility knife helps cut vinyl precisely. Clean cloths and rubbing alcohol prepare the dashboard surface. Gloves protect your hands and keep the vinyl clean.

Credit: raxtify.com
Preparing The Dashboard
Preparing the dashboard is a key step before wrapping it with vinyl. A clean and clear surface helps the vinyl stick well. Taking time here avoids bubbles and wrinkles later. Follow simple steps to get the dashboard ready for wrapping.
Cleaning The Surface
Start by wiping the dashboard with a soft cloth. Use mild soap and water to remove dirt and dust. Avoid harsh chemicals that can damage the material. Let the dashboard dry completely before moving on. A clean surface ensures better vinyl adhesion.
Removing Obstacles
Take out items like air vents, buttons, and panels. Removing these parts makes wrapping easier and neater. Use the right tools to avoid damage. Keep screws and small parts safe for reassembly. A smooth surface helps the vinyl lay flat without bumps.
Measuring And Cutting Vinyl
Measuring and cutting vinyl for your dashboard is a crucial step. It ensures the vinyl fits perfectly and looks smooth. Taking time here saves effort later. Precision helps avoid wasting material and keeps the wrap neat.
Taking Accurate Measurements
Start by cleaning the dashboard surface. Use a tape measure to get exact lengths and widths. Measure each section separately. Write down the numbers clearly. Double-check your measurements to avoid mistakes.
Use flexible measuring tape for curves and edges. Add a small extra margin for trimming. This margin prevents gaps after cutting. Precise measurements make the wrapping process easier.
Cutting With Precision
Lay the vinyl flat on a clean surface. Mark the measurements on the vinyl with a pencil. Use a sharp utility knife or scissors for cutting. Cut slowly and steadily to keep edges clean.
Follow your marks closely. Avoid jagged cuts by using a straight edge or ruler. Keep the extra margin for adjustments during installation. Clean cuts help the vinyl stick smoothly.
Applying The Vinyl
Applying vinyl to your dashboard is a key step in the wrapping process. This phase needs care and patience. Proper application ensures a smooth and lasting finish. The vinyl must fit well and stick firmly.
Take your time to avoid wrinkles and bubbles. The right technique helps the vinyl conform to curves and edges. Here is how to apply the vinyl correctly.
Positioning The Vinyl
Start by placing the vinyl loosely on the dashboard. Align it carefully to cover all areas you want wrapped. Check the fit before removing the backing paper.
Use small pieces of tape to hold the vinyl in place. This helps keep the material steady. Avoid stretching the vinyl too much at this stage. Positioning well prevents mistakes later.
Using Heat For Flexibility
Heat softens the vinyl and makes it easier to shape. Use a heat gun or hairdryer on low heat. Move the heat source evenly across the surface.
Do not overheat or stay too long in one spot. Warm vinyl stretches and molds to curves smoothly. Use a squeegee or soft cloth to press the vinyl down as you heat.
Heat helps remove wrinkles and air bubbles. Work slowly to get a flat, clean look. Let the vinyl cool before trimming excess material.
Smoothing And Wrapping Edges
Smoothing and wrapping the edges of your dashboard vinyl is a key step. It gives a clean, finished look that lasts. Edges can peel or lift without proper care. Take your time to ensure the vinyl fits snugly and smoothly around curves and corners. This process improves durability and appearance. The goal is to avoid bumps, wrinkles, or loose edges.
Eliminating Air Bubbles
Air bubbles make the wrap look uneven and weak. Use a soft squeegee or cloth to press out bubbles. Start from the center and push air toward the edges. Small bubbles can pop with a pin, then smooth over the spot. Work slowly to avoid stretching the vinyl too much. Proper heat helps the vinyl stick and conform to curves.
Tucking Vinyl Into Crevices
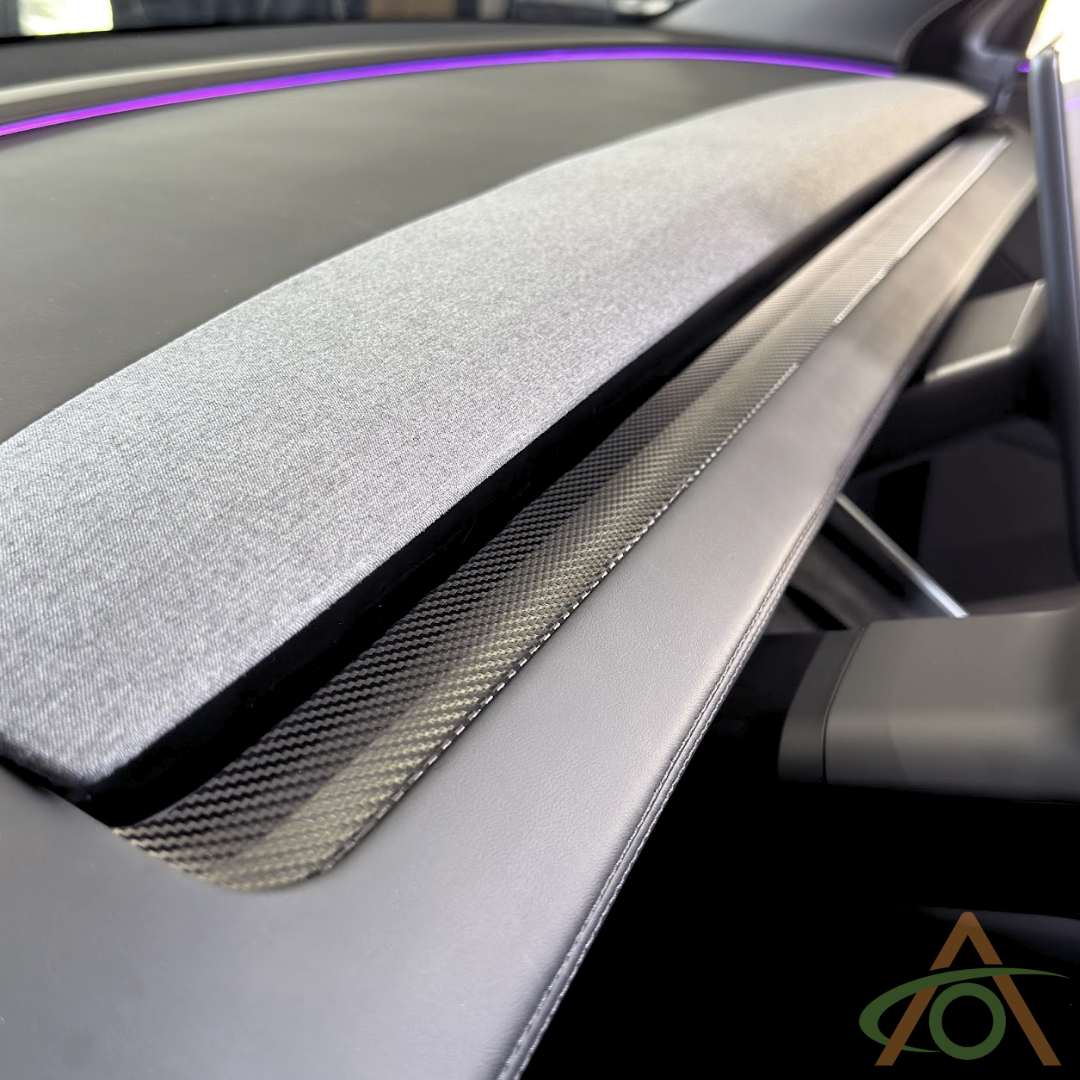
Crevices are tricky spots where vinyl can lift or tear. Gently heat the vinyl to make it more flexible. Use a plastic tool to tuck the vinyl into tight corners and seams. Press firmly but carefully to avoid damage. Trim excess vinyl with a sharp blade for a neat edge. Tucking edges well keeps the wrap secure and looking professional.
Credit: www.abstractocean.com
Final Touches
The final touches make your vinyl-wrapped dashboard look clean and professional. This step ensures the vinyl fits perfectly and stays in place. Taking time here improves the overall finish and durability of your work.
Trimming Excess Material
Use a sharp blade to cut away extra vinyl carefully. Cut close to edges but avoid cutting too deep. Take your time to prevent damaging the dashboard. Small, precise cuts create a neat, smooth edge. Remove all loose pieces for a tidy appearance.
Curing And Setting Time
Let the vinyl set for at least 24 hours. This allows the adhesive to bond strongly with the dashboard. Avoid touching or using the dashboard during this time. Proper curing helps the vinyl stay firm and wrinkle-free. Warm, dry conditions speed up the setting process.
Common Mistakes To Avoid
Wrapping a dashboard in vinyl can refresh your car’s look. Avoiding common mistakes saves time and frustration. Knowing what to watch out for makes the process smoother. Here are some frequent errors to avoid.
Not Cleaning The Surface Properly
Dirt and dust stop vinyl from sticking well. Clean the dashboard with a mild cleaner. Wipe it dry before applying vinyl. Skipping this step causes bubbles and peeling.
Using The Wrong Type Of Vinyl
Not all vinyl fits dashboards. Use vinyl made for automotive interiors. It stretches without tearing. Regular vinyl can crack or wrinkle.
Applying Vinyl In Cold Or Hot Conditions
Temperature affects vinyl’s flexibility. Cold makes vinyl stiff and hard to stretch. Heat makes it too soft and sticky. Apply vinyl at room temperature for best results.
Stretching Vinyl Too Much
Too much stretching damages vinyl’s texture. Stretch gently and evenly across curves. Overstretching causes thin spots or tears. Take your time with tricky areas.
Skipping Heat Application
Heat helps vinyl conform to shapes. Use a heat gun or hairdryer carefully. Too much heat can melt vinyl. Too little heat means poor adhesion.
Not Smoothing Out Air Bubbles
Air bubbles ruin the finish. Use a squeegee or soft cloth to press bubbles out. Work from the center outward. Small bubbles can be popped with a pin.
Credit: www.thehogring.com
Frequently Asked Questions
What Materials Do I Need To Wrap A Dashboard In Vinyl?
You need vinyl wrap, a heat gun, a squeegee, scissors, and cleaning supplies. Proper tools ensure a smooth, bubble-free finish. Clean the dashboard thoroughly before applying the vinyl for better adhesion and durability.
How Do I Prepare The Dashboard Before Vinyl Wrapping?
Clean the surface with soap and water, then use isopropyl alcohol to remove oils. Remove dust and debris for a smooth application. Dry the dashboard completely to ensure the vinyl sticks properly.
Can I Wrap A Dashboard Without Professional Help?
Yes, wrapping a dashboard is doable at home with patience. Follow step-by-step guides and use the right tools. Take your time to avoid wrinkles and bubbles for a professional look.
How Long Does A Vinyl Dashboard Wrap Typically Last?
A well-applied vinyl wrap can last 5 to 7 years. Longevity depends on quality materials and proper maintenance. Avoid harsh chemicals and excessive heat to extend the wrap’s life.
Conclusion
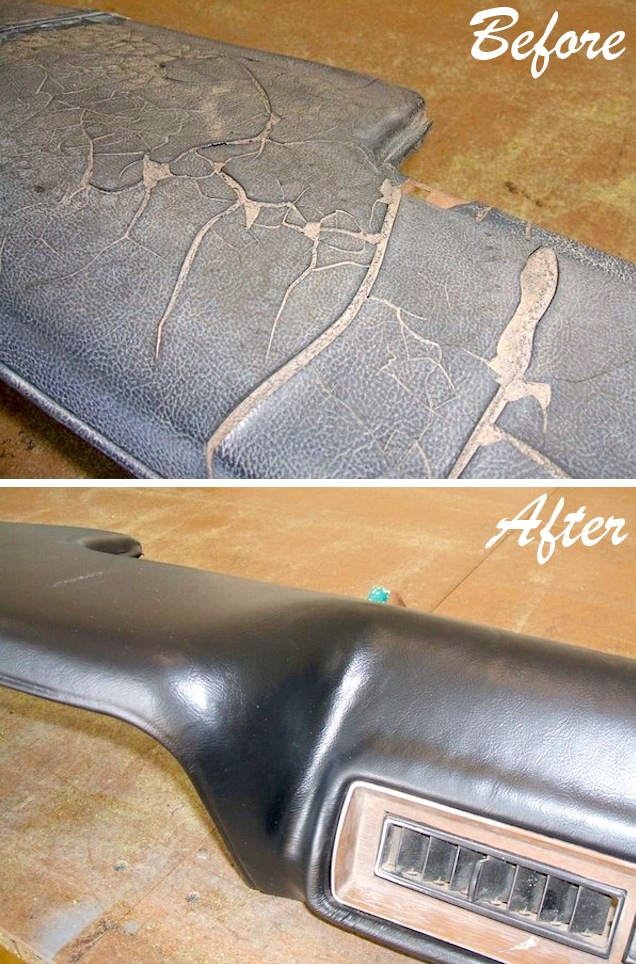
Wrapping a dashboard in vinyl is a simple and rewarding task. It protects the surface and gives a fresh look. Take your time and work carefully for best results. Small bubbles and wrinkles can be smoothed out with patience. Choose the right vinyl and tools before you start.
This project saves money compared to replacing the dashboard. Enjoy the new style and feel of your car’s interior. Try it yourself and see how easy it can be. A little effort makes a big difference.


