
Are you looking to give your outdoor posts a fresh, stylish look without the hassle of painting or replacing them? Wrapping a post with vinyl is a simple and effective way to transform your space quickly.
Whether it’s for a fence, deck, or mailbox, vinyl wrap can protect your posts from weather damage while adding a clean, modern finish. In this guide, you’ll discover easy steps to wrap your posts like a pro, saving time and money.
Ready to upgrade your posts and impress your neighbors? Let’s dive in and make your project a success!
Preparing The Post
Preparing the post is the first step to wrap it with vinyl. A clean, smooth surface helps vinyl stick well. This step avoids bubbles and wrinkles later. Take your time here. Proper preparation makes the job easier and results better.
Follow these simple steps to get your post ready for vinyl wrapping.
Cleaning The Surface
Start by removing dirt, dust, and grease from the post. Use a mild soap and water solution. Wipe the post with a clean cloth. Make sure to remove all residues. Let the post dry completely before the next step.
Sanding And Smoothing
Check the post for rough spots or old paint. Lightly sand the surface with fine-grit sandpaper. This helps the vinyl stick better. Smooth out any bumps or imperfections. Wipe away dust with a clean, dry cloth after sanding.
Measuring And Cutting Vinyl
Measure the height and circumference of the post. Add a little extra to each measurement for overlap. Use these numbers to cut the vinyl sheet. Cut carefully with sharp scissors or a utility knife. This prevents mistakes and waste of material.

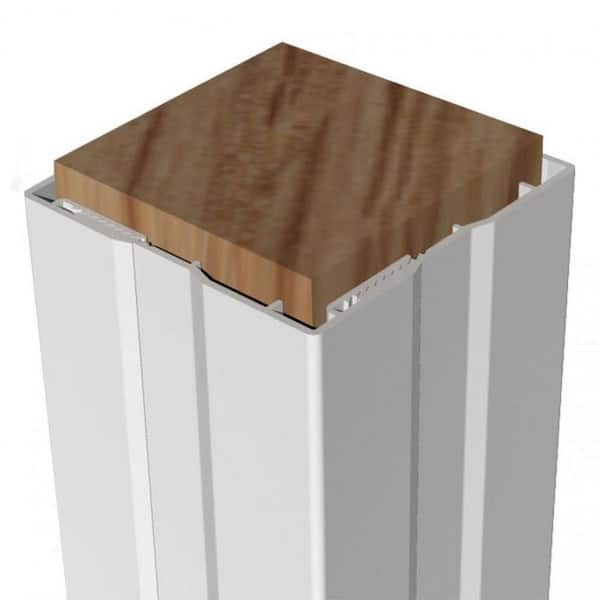
Credit: www.screentight.com
Gathering Necessary Tools
Before you start wrapping a post with vinyl, gather all the tools you need. Having the right materials makes the job easier and the results better. This step saves time and avoids frustration during the process. Prepare everything in one place to work smoothly.
Vinyl Sheets And Adhesives
Choose vinyl sheets made for outdoor use. They should be durable and weather-resistant. Pick a size that covers your post completely. Adhesive backing helps the vinyl stick well. If your vinyl lacks adhesive, get a strong spray adhesive. This ensures the vinyl stays in place for a long time.
Cutting Tools And Squeegees
Sharp cutting tools are essential. Use a utility knife or scissors for clean cuts. A cutting mat protects your work surface. Squeegees smooth out air bubbles and wrinkles. Choose a soft squeegee to avoid damaging the vinyl. These tools help create a neat and flat finish.
Heat Gun And Safety Gear
A heat gun softens the vinyl for better bending around corners. It helps the vinyl fit tight on curved surfaces. Use the heat gun carefully to avoid burns or damage. Wear safety gloves to protect your hands. Eye protection keeps you safe from any flying debris.
Applying The Vinyl
Applying vinyl to a post is a careful process. It takes patience and attention to detail. Each step helps the vinyl stick well and look smooth. Follow these simple steps to make your vinyl wrap look clean and neat.
Positioning The Vinyl
Start by placing the vinyl near the post. Hold it so the design faces outward. Make sure the vinyl covers the post fully. Check for straight lines and even edges. Align the vinyl carefully before sticking it down.
Peeling And Sticking
Peel off a small part of the backing paper. Stick the exposed vinyl to the post gently. Slowly pull the backing paper away. Press the vinyl down as you go. This stops air from getting trapped inside.
Smoothing Out Air Bubbles
Use a soft cloth or a squeegee. Move from the center toward the edges. Push out any air bubbles or wrinkles. Take your time to smooth the surface well. Small bubbles can pop over time if left alone.
Credit: www.homedepot.com
Handling Corners And Edges
Handling corners and edges is a key step when wrapping a post with vinyl. These areas require extra care to avoid wrinkles and bubbles. Proper technique ensures a smooth, clean finish. Focus on trimming, folding, and using heat to get the best results.
Trimming Excess Vinyl
Start by trimming the vinyl around the edges carefully. Use sharp scissors or a craft knife for clean cuts. Leave a small margin to fold over the edges. Avoid cutting too close to the post to prevent tearing.
Folding Techniques
Fold the vinyl neatly around corners for a tight fit. Use your fingers or a plastic squeegee to press down folds. Create small, gentle folds instead of large wrinkles. Take your time to keep the vinyl smooth and even.
Using Heat For Flexibility
Apply gentle heat with a heat gun or hairdryer to soften the vinyl. Warm vinyl becomes more flexible and easier to shape. Move the heat source continuously to avoid damage. Heat helps vinyl cling tightly around curves and edges.
Finishing Touches
After wrapping a post with vinyl, the final steps are crucial for a clean, long-lasting finish. These finishing touches protect the wrap and keep it looking neat. Proper care here ensures your work stays sharp and strong.
Sealing The Edges
Press down all edges firmly to avoid lifting. Use a heat gun on low heat to soften the vinyl slightly. This helps the edges stick better around curves and corners. Seal edges with a clear adhesive tape if needed for extra protection. Check that no air bubbles are trapped near the edges.
Final Inspection
Look over the entire post carefully. Check for wrinkles, bubbles, or loose spots. Smooth out any imperfections with a soft cloth or squeegee. Make sure the vinyl is tight and even all around. This step prevents damage and keeps the wrap clean.
Maintaining The Vinyl Wrap
Clean the wrapped post regularly with mild soap and water. Avoid harsh chemicals or abrasive tools that can damage the vinyl. Dry the surface gently with a soft towel. Inspect the wrap monthly for any signs of wear. Early fixes help extend the life of your wrap.
Common Mistakes To Avoid
Wrapping a post with vinyl can be a simple task. Yet, some common mistakes can ruin the final look. Avoiding these errors saves time and money. Focus on the right steps to get a smooth, clean wrap. Below are key mistakes to watch out for.
Skipping Surface Preparation
Surface preparation is crucial. Dirt, dust, and grease stop vinyl from sticking well. Always clean the post thoroughly before wrapping. Use soap and water or a suitable cleaner. Let the surface dry completely. Skipping this step causes bubbles and peeling later.
Applying Vinyl In Cold Conditions
Cold weather affects vinyl flexibility. The material becomes stiff and hard to stretch. Apply vinyl in temperatures above 50°F (10°C) for best results. In cold conditions, the wrap may crack or not stick properly. Warm your workspace or wait for a warmer day.
Overstretching The Material
Vinyl is stretchy but has limits. Overstretching can cause tears or distort the design. Stretch gently and evenly for a smooth finish. Use a heat gun carefully to soften the vinyl if needed. Too much heat or stretch weakens the wrap and shortens its life.

Credit: www.amazon.com
Frequently Asked Questions
How Do You Prepare A Post For Vinyl Wrapping?
Clean the post thoroughly to remove dirt and grease. Sand any rough spots for smooth adhesion. Ensure the surface is dry before applying vinyl wrap.
What Tools Are Needed To Wrap A Post With Vinyl?
You need vinyl wrap film, a squeegee, a utility knife, heat gun, and cleaning supplies for effective wrapping.
How Long Does Vinyl Wrapping A Post Typically Last?
Vinyl wrap on posts usually lasts 5 to 7 years with proper care and protection from harsh weather.
Can Vinyl Wrap Be Removed Without Damaging The Post?
Yes, vinyl wrap can be removed safely by heating it with a heat gun and peeling gently.
Conclusion
Wrapping a post with vinyl can refresh its look quickly. Careful preparation and patience make the process smooth. Small bubbles or wrinkles can be fixed with gentle smoothing. Take your time to align the vinyl properly. Clean surfaces help the vinyl stick better.
This simple skill adds style without much effort. Try it yourself and enjoy the new appearance. Practice improves your technique over time. Vinyl wrapping offers a neat, durable finish for posts.


