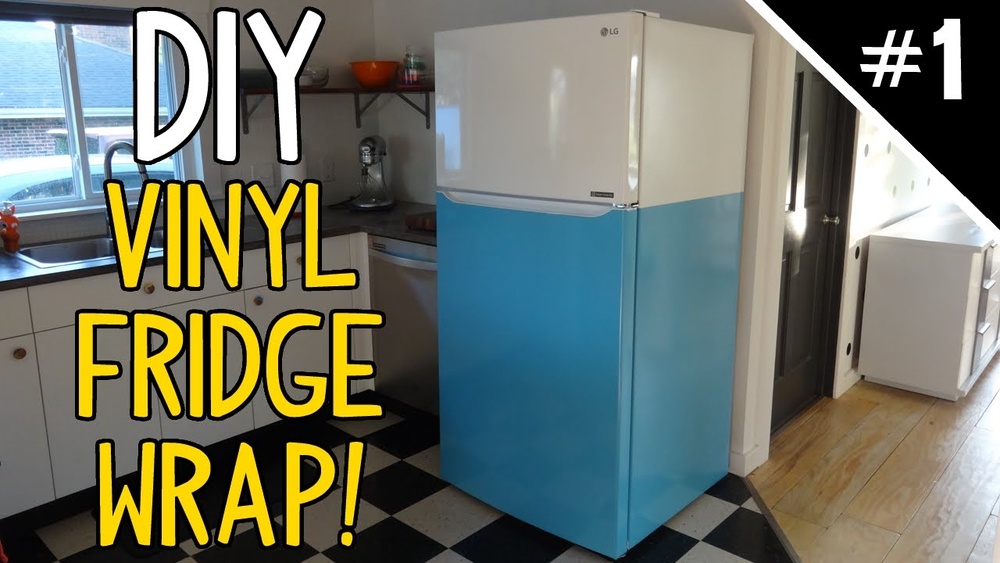
Thinking about giving your vehicle a fresh new look without the high cost of a paint job? Wrapping your vehicle in vinyl might be the perfect solution for you.
It’s a smart way to protect your car’s original paint while adding style that stands out on the road. But how do you get started? In this guide, you’ll discover simple, step-by-step tips to wrap your vehicle like a pro.
By the end, you’ll feel confident transforming your ride with a smooth, eye-catching finish. Ready to turn heads and make your car truly yours? Let’s dive in.
Preparing The Vehicle
Preparing your vehicle is the first important step in vinyl wrapping. A clean and smooth surface helps the vinyl stick better. It also makes the final look neat and professional.
Skipping preparation can cause bubbles and peeling later. Take time to do each task carefully. This will save effort and money in the long run.
Cleaning And Washing
Start by washing the vehicle thoroughly. Use soap and water to remove dirt and grease. Avoid strong chemicals that can damage the paint.
Dry the vehicle completely with a clean cloth. Any moisture can affect the vinyl’s grip. Clean surfaces help the vinyl lay flat and smooth.
Removing Accessories
Remove small parts like mirrors, antennas, and badges. These can block the vinyl and cause wrinkles.
Use tools carefully to avoid scratching the paint. Keep the parts safe for reinstallation after wrapping.
Inspecting Surface
Look closely for scratches, dents, or rust spots. These flaws show through the vinyl wrap.
Fix any damage before wrapping. A smooth surface gives the best results. Remove wax or polish to avoid slippery spots.
Choosing The Right Vinyl
Choosing the right vinyl is a key step in wrapping a vehicle. It affects how the wrap looks and lasts. Picking the correct type and color makes the process easier and the result better. Understanding your options helps you make smart choices.
Types Of Vinyl Wraps
There are several types of vinyl wraps. Cast vinyl is thin and flexible. It molds well to curves and lasts long. Calendered vinyl is thicker and less flexible. It suits flat or simple surfaces. Choose cast vinyl for cars with many curves. Calendered vinyl works for trucks or flat panels.
Color And Finish Options
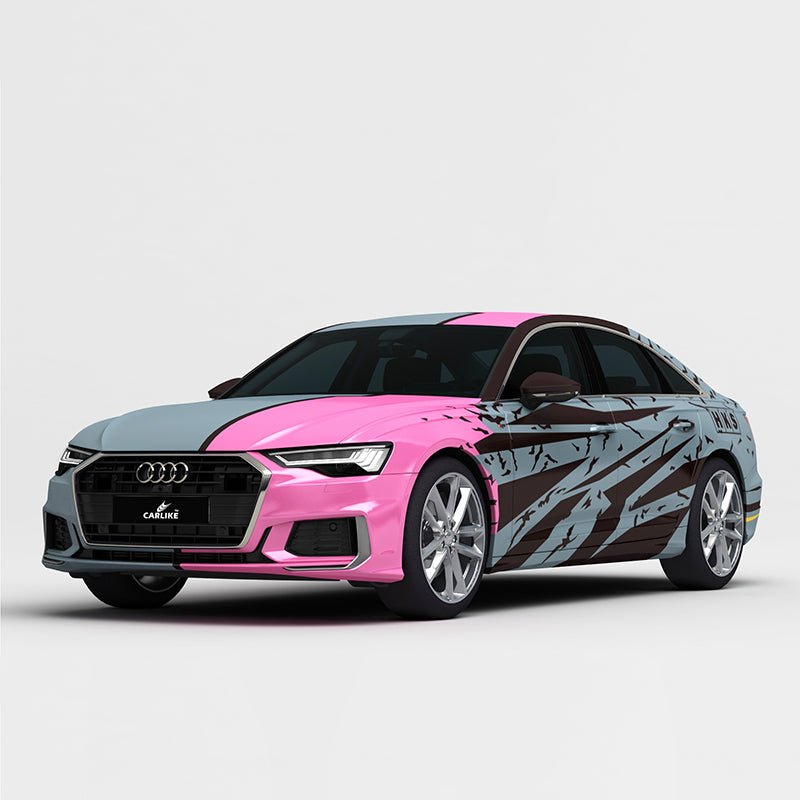
Vinyl comes in many colors. You can pick bright, matte, glossy, or satin finishes. Matte finishes reduce shine. Glossy finishes add shine and depth. Satin is between matte and glossy. Some wraps have special effects like chrome or carbon fiber. Choose a color and finish that fits your style and vehicle use.
Measuring For Material
Measure your vehicle carefully. Add extra material for mistakes or curves. Measure each part separately. Doors, hood, roof, and bumpers all need coverage. More material means less chance of running short. Accurate measuring saves time and money later.
Gathering Tools And Materials
Before starting a vinyl vehicle wrap, gather all tools and materials. Proper preparation saves time and effort. Having everything ready helps the process go smoothly and reduces mistakes. This section covers the essential tools, safety gear, and workspace setup needed for a successful wrap.
Essential Tools List
- Vinyl wrap rolls in your chosen color or design
- Application squeegee with soft edges
- Heat gun to stretch and mold vinyl
- Sharp utility knife with extra blades
- Measuring tape and ruler for accuracy
- Surface cleaner or isopropyl alcohol
- Lint-free cloths to wipe surfaces
- Masking tape to hold vinyl in place
Safety Gear
- Protective gloves to avoid cuts and irritation
- Safety glasses to protect eyes from debris
- Mask to avoid inhaling fumes from vinyl or cleaners
- Comfortable clothing that allows movement
Workspace Setup
Choose a clean, dry, and dust-free area. Indoor spaces work best to avoid wind and dirt. Ensure good lighting to spot bubbles and wrinkles. A flat surface nearby helps to cut and measure vinyl. Keep tools organized and within reach. Proper workspace setup improves efficiency and final results.

Credit: www.youtube.com
Cutting And Positioning The Vinyl
Cutting and positioning the vinyl are key steps in vehicle wrapping. This process sets the stage for a smooth, clean finish. Proper measuring, cutting, and aligning help avoid bubbles and wrinkles. Careful handling also saves time and material. The right techniques make the vinyl fit perfectly on the vehicle’s surface.
Follow these steps to ensure the vinyl lies flat and looks professional. Take your time and work carefully. The details matter in achieving a great wrap.
Measuring And Cutting
Start by measuring the vehicle area to be wrapped. Use a tape measure for accuracy. Add a few inches extra for trimming and adjustments. Mark the vinyl with a pencil or chalk. Cut the vinyl using a sharp utility knife or scissors. Cut slowly to avoid jagged edges. Clean cuts make the wrap easier to apply.
Aligning On Vehicle
Place the vinyl on the vehicle surface carefully. Align edges with vehicle panels and curves. Start from one side and gently lay the vinyl down. Use your hands to smooth out wrinkles. Check that the vinyl covers the entire area. Good alignment prevents gaps and overlap. Work in sections for better control.
Using Tack Spray
Tack spray helps the vinyl stick temporarily to the surface. Spray a light mist on the vehicle or vinyl. This makes it easier to reposition the vinyl if needed. Avoid heavy spraying to prevent residue. Use a squeegee to press the vinyl down. Tack spray holds the vinyl in place while you work.
Applying The Vinyl
Applying vinyl to a vehicle requires patience and careful attention. The process shapes the final look and durability of the wrap. Start carefully and work step by step. Small errors can lead to bubbles or wrinkles. Proper technique helps the vinyl stick smoothly and last longer. Follow these steps to apply vinyl with confidence.
Starting From One Section
Begin by peeling the backing from one section of the vinyl. Align this section to the vehicle’s surface carefully. Use your hands to hold the vinyl without stretching it. Press down gently to secure the vinyl in place. Work from the center outward to avoid trapping air. This method helps control the vinyl as you apply it.
Smoothing With Squeegee
Use a squeegee to smooth the vinyl onto the surface. Start from the center and push air toward the edges. Apply firm and even pressure for best results. This removes air bubbles and wrinkles. Keep the squeegee clean to prevent scratches. Repeat smoothing until the vinyl lies flat and tight.
Handling Curves And Edges
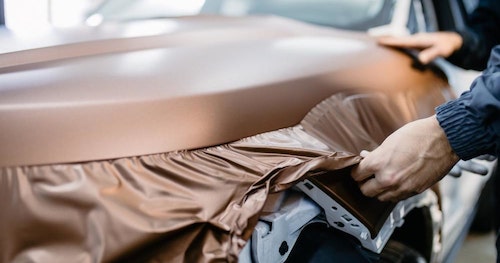
Vinyl must bend smoothly around curves and edges. Heat the vinyl slightly with a heat gun to make it flexible. Stretch the vinyl gently to follow the shape without tearing. Use the squeegee to press the vinyl into creases and corners. Trim excess vinyl carefully for a clean finish. This step ensures the wrap fits perfectly over all surfaces.
Removing Air Bubbles
Removing air bubbles is a key step in wrapping a vehicle with vinyl. Air bubbles can cause the vinyl to look uneven and reduce its lifespan. Getting rid of these bubbles ensures a smooth, professional finish. The process requires patience and the right techniques.
Techniques For Bubble Removal
Start by gently pressing the vinyl with a squeegee. Move from the center outward. This helps push air toward the edges. Work slowly to avoid stretching the vinyl. Small bubbles can pop out with firm, steady pressure. Bigger bubbles may need more attention. Check the vinyl from different angles to spot hidden bubbles.
Using Heat Gun
A heat gun softens the vinyl, making it easier to remove bubbles. Hold the gun a few inches away from the surface. Heat the bubble area evenly without overheating. The warmth makes the vinyl more flexible. Use a squeegee to push the air out while the vinyl is warm. Let the vinyl cool to set it in place. Be careful not to burn the vinyl or paint.
Puncturing Stubborn Bubbles
Some bubbles are tough to remove with pressure or heat. Use a small pin or needle to make a tiny hole. This releases trapped air gently. Press the vinyl down after puncturing. The hole will be barely visible and will flatten out over time. Avoid making large holes to keep the wrap looking neat.
Trimming Excess Vinyl
Trimming excess vinyl is a key step in vehicle wrapping. It gives the wrap a neat, professional look. Removing extra vinyl helps avoid wrinkles and bubbles. This step requires care and patience to get clean lines. The right tools and techniques make trimming easier and safer for your vehicle’s paint.
Using Precision Knives
Use a sharp precision knife for clean cuts. A new blade cuts smoothly without tearing the vinyl. Hold the knife at a low angle to the surface. Cut slowly and steadily to follow your marks. Replace blades often to avoid jagged edges. Always cut on a protected surface or use a cutting mat.
Trimming Around Details
Trim carefully around handles, badges, and lights. These areas need extra attention to avoid damage. Use the knife tip for tight spots. Pull the vinyl gently away from raised parts. Cut small sections at a time for better control. Check the edges to make sure the vinyl sticks well.
Ensuring Clean Edges
After trimming, press down the edges firmly. Use a squeegee or soft cloth to smooth the edges. This prevents lifting and dirt buildup. Inspect the wrap for any uneven or loose parts. Clean edges give the vehicle a finished, sharp look. Take your time to perfect this last step.
Credit: www.housecallpro.com
Finishing Touches
After applying vinyl to your vehicle, the final steps make a big difference. These finishing touches help the wrap last longer and look smooth. Take your time and be careful with each step.
Reinstalling Accessories
Remove any parts like mirrors or handles before wrapping. Now, put them back carefully. Tighten screws and bolts to secure each piece. Check if everything fits well and looks good.
Post-application Heating
Use a heat gun on the vinyl after wrapping. Heat softens the vinyl, helping it stick better. Move the heat gun slowly and evenly. Avoid overheating to prevent damage or bubbles.
Curing Time And Care
Let the vinyl rest for at least 24 hours. This time helps the adhesive bond firmly. Avoid washing or touching the wrap during curing. Use gentle cleaning methods to keep the wrap safe.
Common Mistakes To Avoid
Wrapping a vehicle in vinyl can be a rewarding project. Avoiding common mistakes saves time and effort. Many beginners face similar challenges. Recognizing these errors helps achieve a smooth, lasting wrap. Focus on these key areas to improve your results.
Working In Poor Conditions
Vinyl wraps need a clean, dry, and dust-free space. Dirt or moisture can cause bubbles and poor adhesion. Avoid wrapping outdoors on windy or humid days. Low temperatures make vinyl stiff and hard to stretch. Ideal conditions boost the vinyl’s flexibility and stickiness.
Skipping Surface Prep
Surface preparation is crucial for a strong bond. Dirt, grease, or wax block the adhesive. Clean the vehicle thoroughly before starting. Use alcohol-based cleaners for best results. Skipping this step leads to peeling and uneven finish. Take time to prep well for a professional look.
Rushing Application
Patience is key during the vinyl wrap process. Stretching too fast can cause tears and wrinkles. Work slowly, section by section. Use a squeegee gently to push out air bubbles. Rushing often results in mistakes that require redoing. A careful approach ensures a smooth, flawless wrap.
Maintaining Your Vinyl Wrap
Keeping your vinyl wrap in great shape helps it last longer and look fresh. Proper care protects the colors and shine. It also prevents peeling and damage. Small daily habits make a big difference.
Cleaning Tips
Wash the wrap regularly with mild soap and water. Use a soft cloth or sponge to avoid scratches. Rinse well to remove all soap. Avoid harsh chemicals or abrasive cleaners. Dry the surface gently with a microfiber towel.
Avoiding Damage
Park in shaded areas to protect from sun damage. Avoid automatic car washes with strong brushes. Do not use sharp tools near the wrap. Be careful when opening doors near walls or other cars. Fix small tears or bubbles quickly to stop spreading.
When To Rewrap
Check the wrap for fading or peeling every few months. If colors look dull or edges lift, it may need rewrapping. Damage from accidents or weather also signals a rewrap. Timely action keeps your vehicle looking its best.
Credit: carlikewrap.com
Frequently Asked Questions
What Materials Are Needed To Wrap A Vehicle In Vinyl?
You need vinyl wrap film, a squeegee, a heat gun, a utility knife, and cleaning supplies. Proper tools ensure a smooth, bubble-free application.
How Long Does Vehicle Vinyl Wrapping Take?
Vinyl wrapping usually takes 1 to 3 days, depending on vehicle size and complexity. Preparation and curing time affect the total duration.
Can I Wrap My Vehicle Vinyl Myself?
Yes, DIY vehicle vinyl wrapping is possible but requires patience and skill. Practice on small areas first to avoid costly mistakes.
How To Maintain A Vinyl-wrapped Vehicle?
Clean vinyl with mild soap and water regularly. Avoid harsh chemicals and abrasive materials to preserve the wrap’s finish and longevity.
Conclusion
Wrapping a vehicle in vinyl takes patience and care. Start with a clean surface for best results. Use smooth, steady movements to avoid bubbles. Take your time around curves and edges. Small mistakes can be fixed with gentle heat. Vinyl wraps protect your paint and change your car’s look.
Practice helps you improve each time. Keep tools handy and work in a warm space. Enjoy the process and the fresh, new style on your vehicle.