Are you looking to give your car a fresh, stylish look without spending a fortune? Wrapping your car parts in vinyl is a smart, cost-effective way to transform your vehicle’s appearance.
Whether you want to protect your paint or add a personal touch, vinyl wrapping lets you do it yourself with impressive results. In this guide, you’ll discover simple steps and expert tips to wrap your car parts like a pro.
Ready to upgrade your ride and turn heads wherever you go? Keep reading to find out how you can make it happen easily and confidently.
Tools And Materials Needed
Wrapping car parts in vinyl needs the right tools and materials. These items make the job easier and help you get smooth results. Preparing well saves time and avoids problems later. Below, find the key supplies and tips to get started.
Essential Vinyl Wrap Supplies
Start with high-quality vinyl wrap film made for cars. Choose a color or finish that fits your style. You need a squeegee to smooth out air bubbles and wrinkles. A heat gun softens the vinyl, helping it bend around curves. Use a sharp utility knife or blade for clean cuts. Cleaning supplies like isopropyl alcohol and microfiber cloths remove dirt and oils from the surface. Gloves keep your hands clean and prevent fingerprints on the vinyl.
Preparing The Workspace
Work in a clean, dust-free area with good lighting. A flat surface helps lay out the vinyl and car parts. Keep tools within reach to avoid interruptions. Avoid windy places to stop dust or debris from sticking to the vinyl. Temperature matters; between 60°F and 80°F is best for vinyl flexibility. Make sure the car parts are cool to touch before wrapping. Proper setup leads to better results and less frustration.
Choosing The Right Vinyl
Choosing the right vinyl is key to a great car wrap. The vinyl must fit the part’s shape and purpose. Not all vinyl films work the same on different surfaces. The wrong choice can cause bubbles, peeling, or fading. Quality vinyl lasts longer and looks better. Understanding types and finishes helps make the best pick.
Types Of Vinyl Films
Cast vinyl is thin and flexible. It molds well around curves and edges. This type resists heat and shrinking. Ideal for detailed or complex parts.
Calendered vinyl is thicker and less flexible. It suits flat or simple surfaces. This film is cheaper but may not last as long.
There are also specialty vinyls with textures. Carbon fiber or brushed metal films add style. Choose based on the car part and desired effect.
Color And Finish Options
Vinyl comes in many colors. Bright, dark, or metallic shades are common. Pick a color that matches or contrasts well.
Finishes change the look and feel. Glossy vinyl shines like paint. Matte vinyl offers a smooth, flat look. Satin finish sits between gloss and matte.
Textured finishes add depth. Leather or brushed metal textures create unique style. Consider the car’s style when choosing finish.
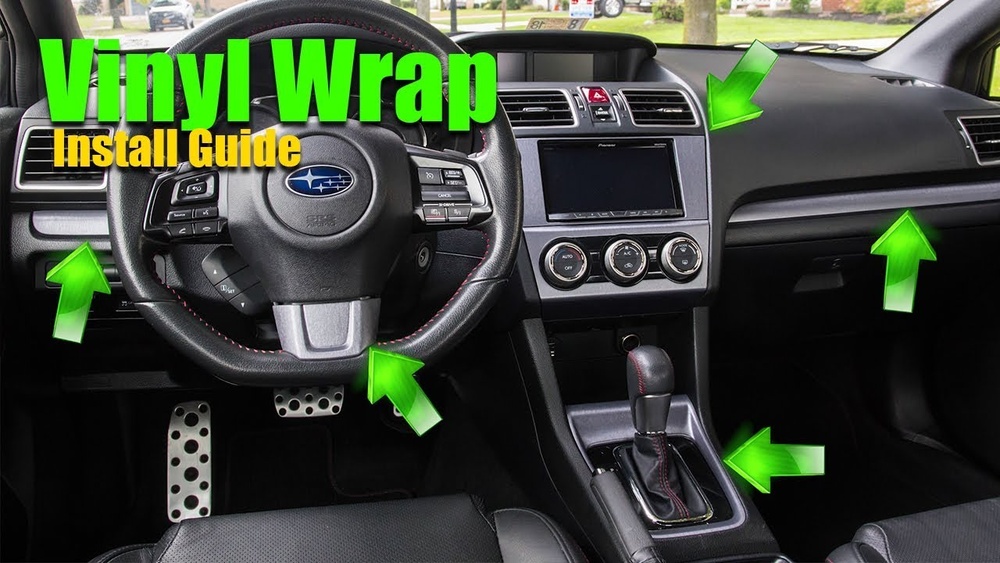
Preparing Car Parts
Preparing car parts is a crucial step before wrapping them in vinyl. It ensures the vinyl sticks well and looks smooth. Proper preparation helps avoid bubbles, wrinkles, or peeling later. Taking time here saves effort and frustration during the wrap process.
Cleaning And Degreasing
Clean the car parts thoroughly. Use soap and water to remove dirt and dust. Dry the parts completely before the next step. Next, apply a degreaser to remove oils and grease. Use a clean cloth to wipe the surface well. A clean, grease-free surface helps the vinyl stick firmly. Avoid touching the parts after cleaning to keep them free of oils from your fingers.
Removing Parts For Easier Wrapping
Remove parts that are easy to take off, like mirrors or badges. This makes wrapping simpler and neater. Wrapping parts separately allows better access to edges and curves. Use the correct tools to avoid damage when removing parts. Keep screws and small items safe for reassembly. Wrapping parts off the car helps you work in a comfortable space. It also reduces the risk of dirt or dust settling on the vinyl.
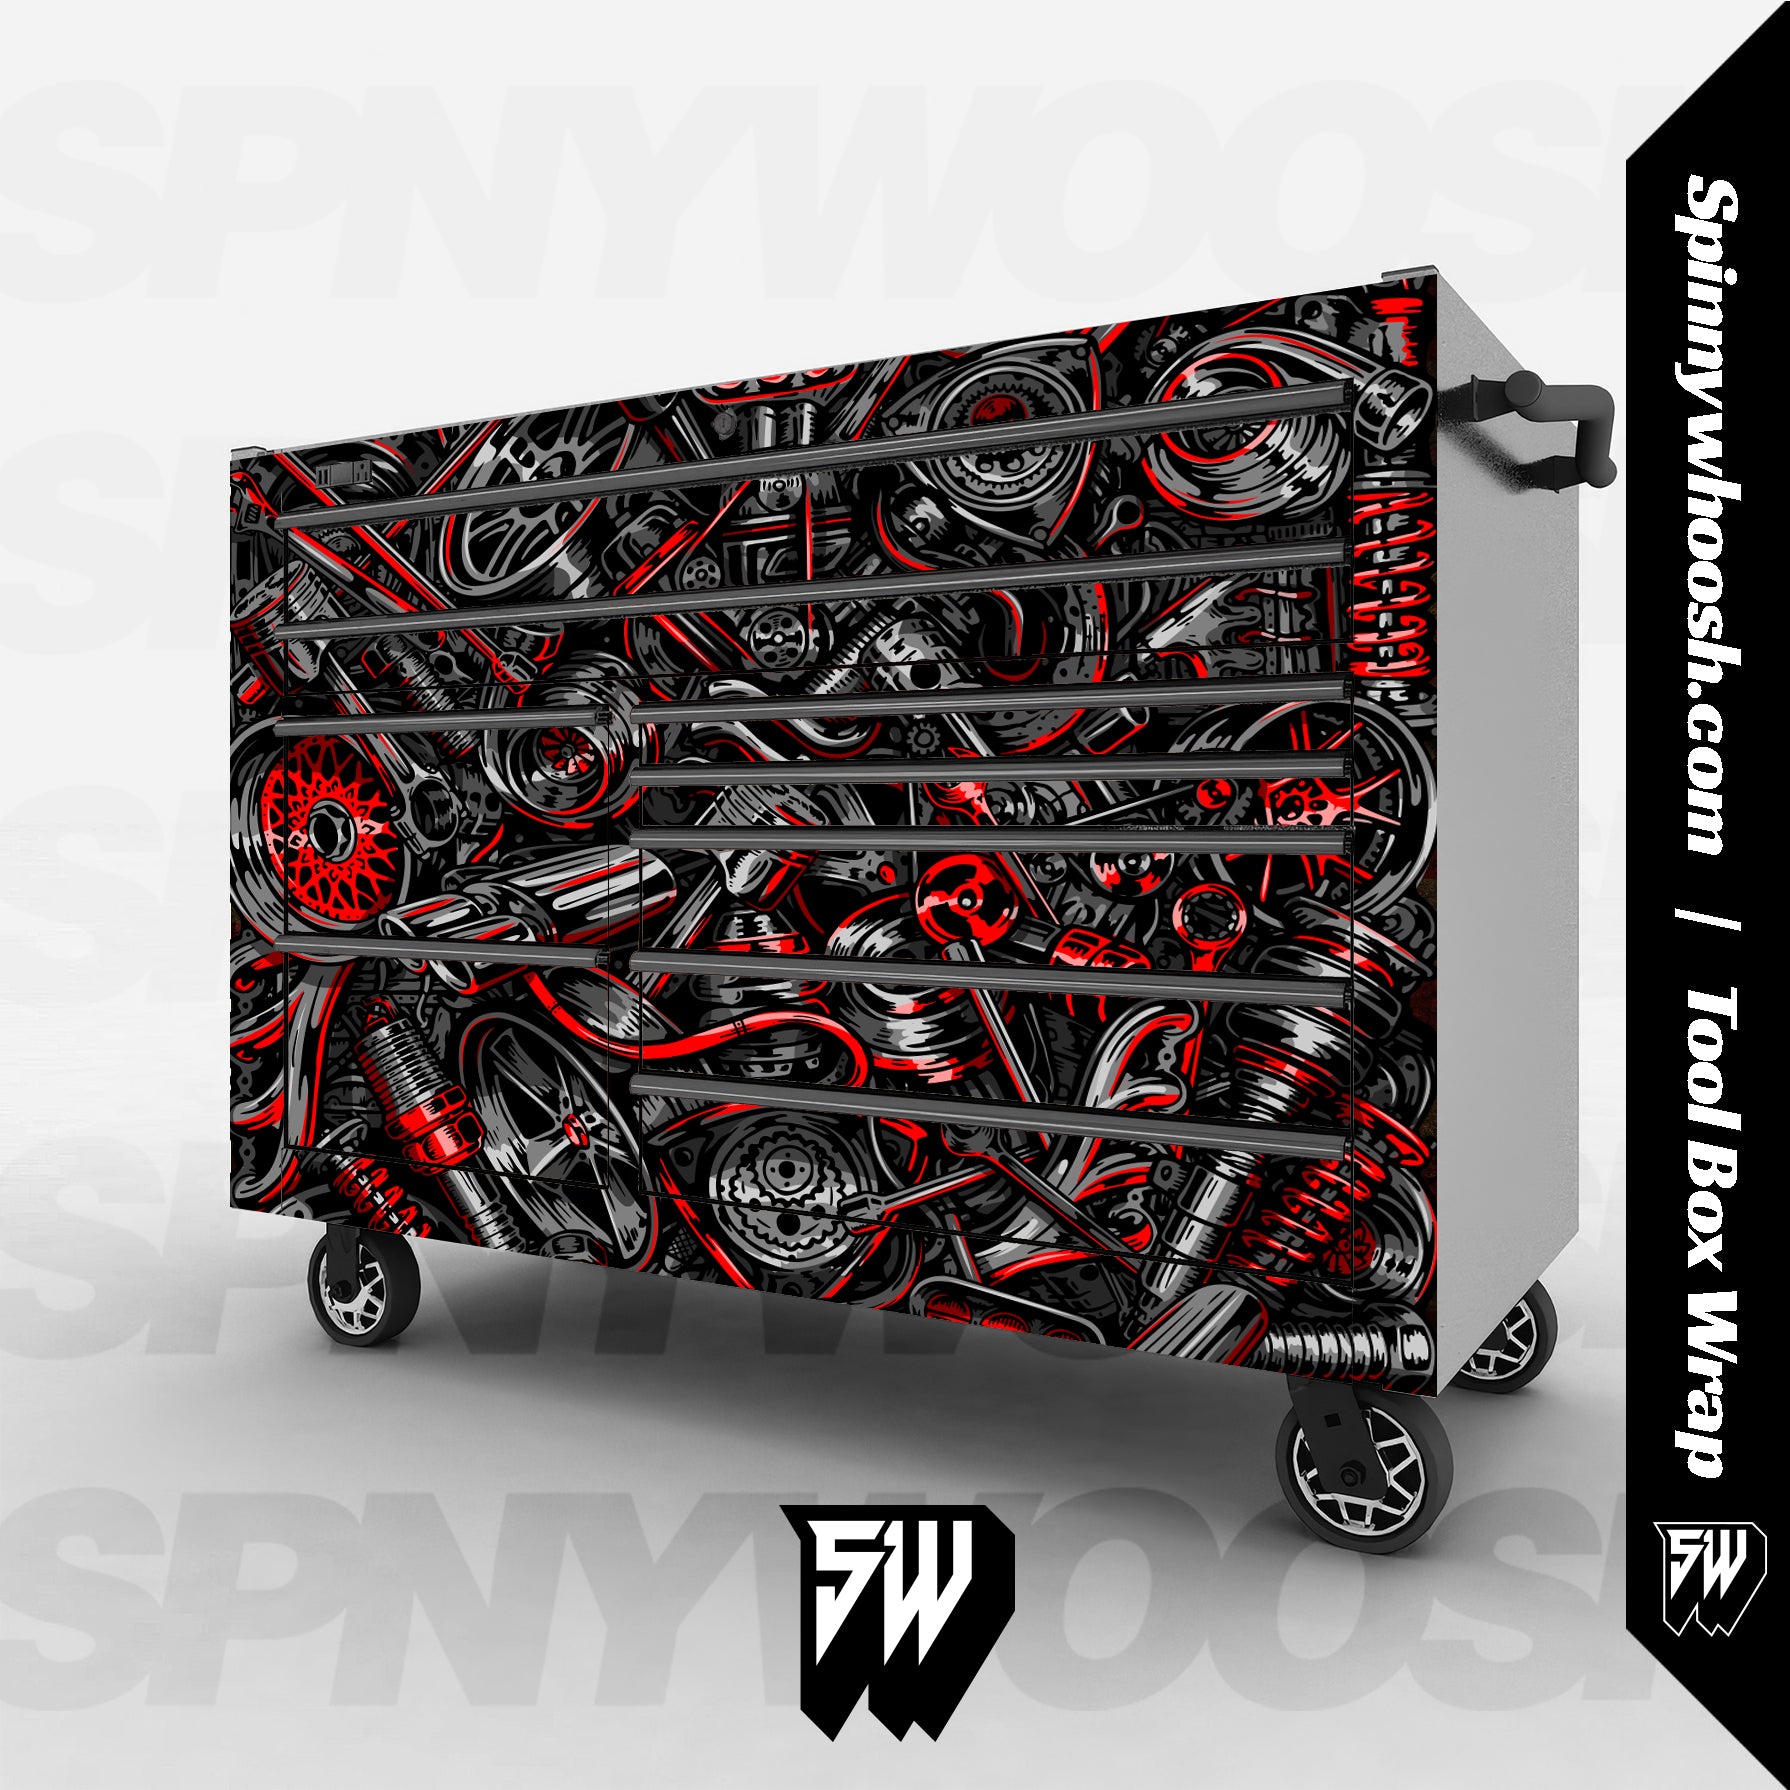
Credit: spinnywhoosh.com
Measuring And Cutting Vinyl
Measuring and cutting vinyl correctly is a key step in wrapping car parts. It ensures a smooth fit and reduces waste. Taking precise measurements saves time and material. Careful cutting helps avoid mistakes that can ruin your work.
Accurate Measurements
Start by cleaning the car part thoroughly. Use a soft cloth to remove dirt and dust. Then, use a flexible tape measure to get exact dimensions. Measure length, width, and curves if needed. Write down each measurement clearly. Double-check measurements to prevent errors.
Tips For Cutting Vinyl Sheets
Place the vinyl sheet on a flat surface. Use a straight edge or ruler for guidance. Cut slowly with a sharp utility knife or scissors. Avoid jagged edges by using steady pressure. Leave extra vinyl around edges to wrap corners easily. Trim excess vinyl after applying to the part.
Applying The Vinyl Wrap
Applying the vinyl wrap is an important step in the car wrapping process. This step decides how smooth and neat the finish looks. Careful work here helps avoid bubbles and wrinkles. Take your time and follow the right methods.
Positioning The Vinyl
First, place the vinyl carefully over the car part. Align it so it covers the entire area. Leave some extra vinyl around the edges. This extra helps during stretching and trimming. Use light pressure to hold the vinyl in place. Avoid sticking it down fully at first.
Smoothing And Stretching Techniques
Use a squeegee to smooth the vinyl from the center outwards. Push out air bubbles gently as you go. Stretch the vinyl slowly over curves and bends. Heat the vinyl slightly with a heat gun to make it flexible. Stretch carefully to avoid tears or distortion. Keep checking for bubbles or wrinkles and smooth them out.
Handling Curves And Edges
Vinyl around curves and edges needs extra care. Use heat to soften the vinyl and make it bendable. Pull the vinyl gently around tight corners. Avoid overstretching, which can cause damage. Trim excess vinyl close to edges with a sharp blade. Press down firmly to secure the vinyl on edges and corners. This stops peeling later.

Credit: raxtify.com
Trimming And Finishing
Trimming and finishing are the final steps in wrapping car parts with vinyl. These steps ensure the wrap fits perfectly and looks professional. Proper trimming removes extra vinyl, while finishing seals the edges. Both steps protect the vinyl and keep it from peeling.
Precise Cutting Along Edges
Cut the vinyl carefully along the edges of the car part. Use a sharp utility knife or a vinyl cutter. Cut slowly to avoid tearing or damaging the vinyl. Follow the shape of the part exactly. Leave a small margin for adjustments. Trim off any excess vinyl for a clean look.
Sealing And Heat Setting
Seal the edges with heat to help the vinyl stick firmly. Use a heat gun or a hairdryer on low heat. Warm the edges evenly without overheating. Press the vinyl down with a soft cloth or squeegee. This step prevents lifting and creates a smooth finish. Heat setting also improves vinyl durability over time.
Common Mistakes To Avoid
Wrapping car parts in vinyl can give your vehicle a fresh, new look. Avoiding common mistakes will save time and improve results. Small errors can cause big problems in the finish. Understanding these common pitfalls helps you achieve a smooth, clean wrap.
Air Bubbles And Wrinkles
Air bubbles and wrinkles ruin the vinyl’s smooth surface. They happen when air gets trapped under the film. Work slowly and use a squeegee to push air out. Start from the center and move towards edges. Heat the vinyl gently to make it more flexible. Avoid stretching too much here; it can cause new bubbles. Check carefully for hidden bubbles before finishing.
Incorrect Stretching
Stretching vinyl too much weakens the material. It can tear or lose color. Stretch only a little to fit curves and corners. Use heat to soften vinyl before stretching. Let it cool to keep the shape. Pulling too hard causes shrinkage later. This leads to wrinkles and poor adhesion. Practice on small parts to learn proper stretching.

Credit: www.youtube.com
Maintenance Tips For Vinyl Wraps
Keeping your vinyl wrap in good shape takes some care. Proper maintenance helps the wrap look fresh and last longer.
Simple habits can protect the vinyl from damage and fading. Follow these tips to keep your car parts wrapped nicely.
Cleaning Without Damage
Use a soft cloth or sponge with mild soap and water. Avoid abrasive cleaners or brushes that can scratch the vinyl.
Rinse thoroughly to remove all soap. Dry with a clean microfiber towel to prevent water spots.
Clean your wrap regularly to stop dirt buildup. This prevents stains and keeps the surface smooth.
Protecting From Sun And Weather
Park in shaded areas to reduce sun exposure. UV rays can cause colors to fade over time.
Cover your car during harsh weather like heavy rain or snow. This prevents dirt and moisture damage.
Use a UV protectant spray made for vinyl to add a layer of defense. This keeps the wrap bright and flexible.
Frequently Asked Questions
What Materials Are Needed To Wrap Car Parts In Vinyl?
You need vinyl wrap film, a heat gun, squeegee, utility knife, and cleaning supplies. Proper surface prep ensures better adhesion and finish.
How Do You Prepare Car Parts Before Vinyl Wrapping?
Clean parts thoroughly to remove dirt, grease, and wax. Use isopropyl alcohol for best results. Dry completely before applying vinyl.
Can Vinyl Wrap Be Applied On Curved Car Parts?
Yes, vinyl wrap is flexible and can conform to curves. Use heat to soften vinyl for smoother application on complex shapes.
How Long Does Vinyl Wrapping A Car Part Take?
It usually takes 30 minutes to a few hours per part. Time depends on part size and experience level.
Conclusion
Wrapping car parts in vinyl can change your vehicle’s look fast. It protects parts from scratches and weather damage. Remember to clean surfaces well before starting. Take your time to avoid bubbles and wrinkles. Use the right tools for smooth results.
Practice makes perfect, so don’t rush. Enjoy customizing your car with your own style. Vinyl wrapping is a cost-effective way to refresh your ride. Try it yourself and see the difference it makes.


