
Are you struggling to get vinyl to stick smoothly over plastic surfaces? Wrapping plastic in vinyl might sound tricky, but with the right steps, you can achieve a flawless, professional finish.
Whether you’re customizing your car parts, updating home décor, or working on a creative project, knowing how to wrap plastic in vinyl can save you time and money. Keep reading to discover simple tips and tricks that will make your vinyl wrap look clean, bubble-free, and built to last.
Your next project is about to get a serious upgrade!
Credit: www.alamy.com
Choosing The Right Vinyl
Choosing the right vinyl is key to a smooth plastic wrap job. The vinyl must stick well and look good. It also needs to handle the shape and texture of the plastic surface. Picking the right type ensures your wrap lasts longer and looks professional. Let’s explore how to select the best vinyl for plastic wrapping.
Types Of Vinyl For Plastic
Not all vinyl is made the same. Some types work better on plastic surfaces. Cast vinyl is flexible and strong. It molds well to curves and edges without bubbles. Calendered vinyl is thicker and less flexible. It suits flat or gently curved plastic parts. Choosing between cast and calendered vinyl depends on the plastic shape and use.
Evaluating Adhesion Qualities
Adhesion is how well the vinyl sticks to plastic. Some vinyl has stronger glue designed for smooth plastics. Others work better on rough or textured surfaces. Check if the vinyl’s adhesive is permanent or removable. Permanent adhesives offer a long-lasting hold. Removable ones allow changes without damage. Match the adhesive type with your project needs.
Color And Finish Options
Vinyl comes in many colors and finishes. Glossy vinyl gives a shiny, bright look. Matte vinyl offers a smooth, dull finish with less shine. Satin finish falls between glossy and matte. Pick a color that suits the plastic and your style. Dark colors hide dirt better, while light colors show details. The finish affects the final appearance and feel.
Preparing The Plastic Surface
Preparing the plastic surface is a vital step before wrapping it with vinyl. A clean and smooth surface helps the vinyl stick better and last longer. This process makes sure the vinyl wrap looks neat and stays in place without peeling.
Cleaning And Degreasing
Start by cleaning the plastic to remove dirt and dust. Use a mild soap and water solution for the first wash. After washing, use a degreaser to remove oils and grease. Grease can stop the vinyl from sticking properly. Wipe the surface with a clean cloth until it feels clean and free of residue.
Sanding And Smoothing
Lightly sand the plastic surface with fine-grit sandpaper. This step creates a slightly rough texture for better vinyl grip. Avoid deep scratches or damage. After sanding, wipe away the dust with a damp cloth. Smooth surfaces can cause the vinyl to peel off quickly.
Ensuring Surface Dryness
Make sure the plastic surface is completely dry before applying vinyl. Moisture can trap air and cause bubbles under the vinyl. Use a dry cloth to remove any water drops. Let the surface air dry for a few minutes to be sure. A dry surface improves the vinyl’s adhesion and finish.
Tools And Materials Needed
Wrapping plastic in vinyl requires specific tools and materials. These help you apply the vinyl smoothly and avoid mistakes. Having the right items makes the process easier and the finish better.
Gather everything before you start. This saves time and keeps your work neat. Below are the main tools and materials needed for vinyl wrapping.
Essential Wrapping Tools
A good squeegee is a must. It pushes out air bubbles under the vinyl. A sharp utility knife helps cut the vinyl cleanly. Heat guns soften the vinyl, making it stretch and fit curves. A measuring tape ensures accurate cuts. Clean cloths remove dust and dirt before wrapping.
Vinyl Application Accessories
Use masking tape to hold the vinyl in place. Application fluid helps adjust vinyl before it sticks permanently. A felt edge tool protects the vinyl surface while smoothing. Lint-free gloves keep fingerprints off the vinyl. Edge trimmers give clean, sharp edges after application.
Safety Equipment
Wear gloves to avoid cuts and keep hands clean. Use safety glasses to protect eyes from flying particles. Work in a well-ventilated area to avoid fumes from adhesives. Keep a first aid kit nearby for any small accidents. Proper safety keeps the project smooth and injury-free.
Cutting And Measuring Vinyl
Cutting and measuring vinyl is a key step in wrapping plastic surfaces. Getting these steps right saves time and makes the wrap look neat. Careful measurement avoids waste. Precise cutting ensures the vinyl fits well and sticks properly.
Taking time to measure and cut accurately helps the project go smoothly. It also makes the final result look professional and clean.
Accurate Measurement Techniques
Use a tape measure to get exact lengths and widths of the plastic surface. Measure twice to avoid mistakes. Write down measurements clearly. Check corners and curves carefully. Use a straight edge or ruler for straight lines. Small errors can cause big problems later.
Cutting Vinyl Sheets
Place the vinyl on a flat surface before cutting. Use a sharp utility knife or vinyl cutter for clean edges. Cut slowly and steadily to avoid jagged lines. Cut outside the measured lines first, then trim to fit. Keep your hands steady and tools sharp. This makes the vinyl easier to apply.
Planning For Overlaps And Edges
Leave extra vinyl around edges for overlaps. This helps cover corners fully without gaps. Overlaps also allow for small adjustments during application. Plan at least one inch extra on each side. Trim overlaps after the vinyl sticks firmly. This prevents peeling and bubbles at edges.
Applying Vinyl To Plastic
Applying vinyl to plastic requires care and patience. The process starts by placing the vinyl correctly. Using heat helps the vinyl bend and stick well. Removing air bubbles ensures a smooth, clean finish. Follow these steps to get the best results.
Positioning The Vinyl
Place the vinyl gently on the plastic surface. Align it carefully to cover the entire area. Avoid stretching the vinyl at this stage. Check the edges to ensure they line up correctly. Use light pressure to hold the vinyl in place.
Using Heat For Flexibility
Heat softens the vinyl, making it easier to shape. Use a heat gun or hair dryer on low heat. Move the heat source evenly over the vinyl. Avoid staying too long in one spot. Warm vinyl bends smoothly around curves and edges.
Smoothing Out Air Bubbles
Air bubbles can cause bumps and wrinkles. Use a squeegee or a soft cloth to press the vinyl. Start from the center and push air outwards. Work slowly to avoid tearing the vinyl. Check all areas for trapped air and smooth again.

Credit: www.youtube.com
Handling Curves And Edges
Wrapping plastic in vinyl requires special care around curves and edges. These areas can be tricky because the vinyl must stretch without tearing or wrinkling. Proper handling ensures a smooth, clean finish that lasts. Focus on stretching, trimming, and sealing for the best results.
Stretching Vinyl Properly
Stretch the vinyl gently over curves and edges. Use a heat gun to warm the vinyl slightly. Warm vinyl becomes more flexible and easier to stretch. Avoid pulling too hard to prevent tears. Work slowly and smooth out wrinkles as you go.
Trimming Excess Material
Trim extra vinyl carefully after wrapping. Use a sharp blade or scissors for clean cuts. Cut close to the edge but avoid cutting the plastic underneath. Leave a small margin to tuck under edges if needed. Proper trimming helps the wrap look neat and professional.
Sealing Edges For Durability
Seal edges to keep the vinyl in place. Use a roller or your fingers to press edges firmly. Heat the edges slightly to activate the adhesive. This step prevents lifting or peeling over time. Well-sealed edges protect the wrap and improve its lifespan.
Common Mistakes To Avoid
Wrapping plastic in vinyl is a delicate task. Many beginners make mistakes that cause poor results. Avoiding these common errors helps the wrap last longer and look better. Focus on careful steps to get a smooth finish.
Ignoring Surface Prep
Clean the plastic surface thoroughly before wrapping. Dirt, grease, or dust can stop the vinyl from sticking well. Use soap and water or a special cleaner. Dry the surface fully to avoid bubbles.
Skipping this step leads to peeling and uneven texture. The wrap may not hold during weather changes or washing.
Overstretching Vinyl
Stretching vinyl too much weakens the material. It can tear or lose its shape. Vinyl works best when gently pulled to fit curves and edges.
Overstretching causes bubbles and wrinkles. These flaws are hard to fix after the wrap is applied.
Rushing The Application Process
Take your time during each step of wrapping. Rushing can trap air or cause misalignment. Smooth the vinyl slowly with a squeegee to remove bubbles.
Allow the vinyl to settle on the plastic surface before pressing firmly. Patience ensures a neat and durable wrap.
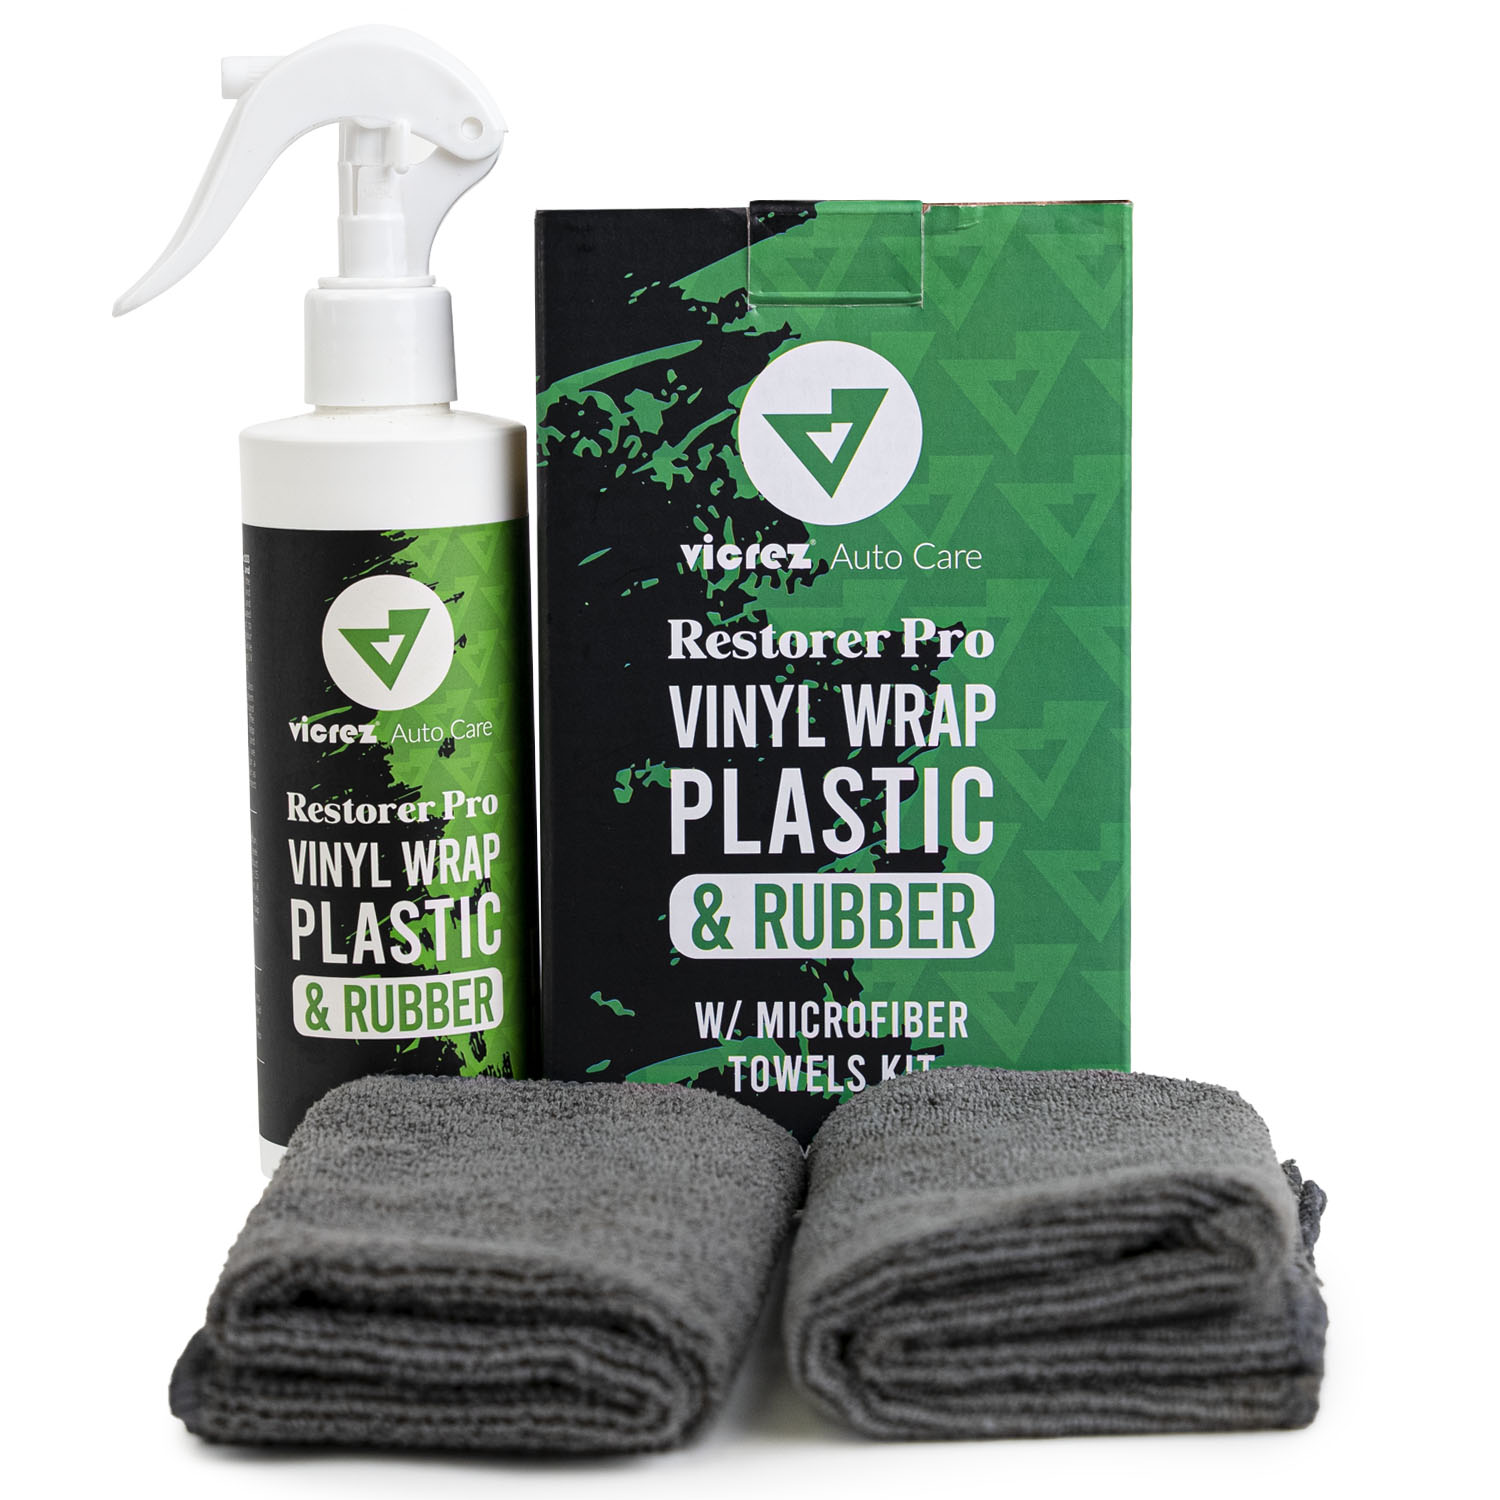
Credit: www.vicrez.com
Maintenance And Longevity
Proper care extends the life of vinyl wrapped plastic surfaces. Maintenance keeps the wrap looking fresh and protects it from damage. Simple steps help avoid costly repairs and fading. Follow these tips to keep your vinyl wrap in top condition.
Cleaning Wrapped Surfaces
Use a soft cloth or sponge to clean the wrap. Avoid harsh chemicals that can damage the vinyl. Mild soap and water work best for removing dirt. Rinse with clean water and dry gently. Clean regularly to stop dirt buildup and stains.
Protecting Against Sun Damage
Vinyl fades and cracks from too much sun exposure. Park vehicles or items in shaded areas when possible. Use a UV protectant spray made for vinyl surfaces. This spray helps block harmful rays and keeps colors bright. Reapply the protectant every few months for best results.
Repairing Minor Wrinkles And Peels
Small wrinkles or peels can appear over time. Use a heat gun or hair dryer to warm the area gently. Press the vinyl down with a soft cloth or squeegee to smooth it. For peels, carefully lift and reposition the vinyl. Avoid stretching the material to prevent more damage.
Frequently Asked Questions
How Do I Prepare Plastic For Vinyl Wrapping?
Clean the plastic surface thoroughly using soap and water. Remove all dirt, grease, and residues. Dry completely before applying vinyl. This ensures better adhesion and a smooth finish.
What Tools Are Needed To Wrap Plastic In Vinyl?
You need vinyl sheets, a heat gun, a squeegee, scissors, and a utility knife. These tools help stretch, smooth, and cut vinyl precisely on plastic surfaces.
Can Vinyl Wrap Adhere To All Plastic Types?
Vinyl wrap works best on smooth, non-porous plastics like ABS and polypropylene. Rough or textured plastics may require additional priming for better adhesion.
How Do I Avoid Air Bubbles When Wrapping Plastic?
Use a squeegee to press vinyl firmly while applying. Apply heat gently to soften vinyl. Work slowly to push air bubbles toward edges and out.
Conclusion
Wrapping plastic in vinyl takes patience and the right steps. Clean the surface well before you start. Use gentle heat to avoid bubbles and wrinkles. Smooth the vinyl carefully with a soft cloth or squeegee. Take your time to ensure a tight fit.
Small mistakes can be fixed if you act quickly. Practice makes the process easier and better each time. Follow these tips to get a neat, lasting finish on your project.


