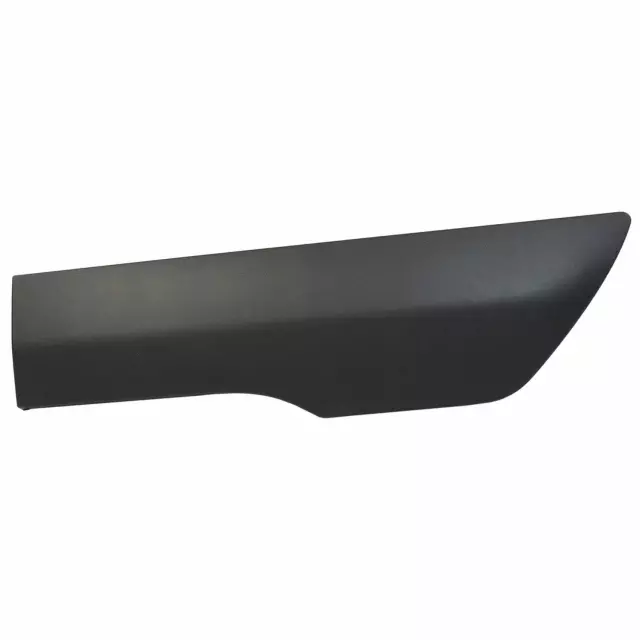
Have you ever wondered how those sleek strips running along the sides of your car stay firmly in place? Body side moldings do more than just add style—they protect your vehicle from dings and scratches.
But how exactly are these moldings connected to your car’s body? Understanding this can help you spot issues early and even tackle simple repairs yourself. Keep reading to discover the secrets behind the connection methods that keep your car looking sharp and protected every day.
Credit: parts.levittownfordparts.com
Types Of Body Side Moldings
Body side moldings come in different types. These types affect how they look and how they protect your vehicle. Knowing the types helps in choosing the right molding for your car.
Each type has unique features. These features impact durability, style, and installation methods. Understanding these options can help you make a smart choice.
Plastic Vs Metal Moldings
Plastic moldings are lightweight and resist rust. They are flexible and absorb minor impacts well. Metal moldings are stronger and offer better protection against dents. They give a classic look but can rust over time. Both materials have pros and cons depending on your needs.
Oem And Aftermarket Options
OEM moldings come from the car maker. They fit perfectly and match the car’s original style. Aftermarket moldings are made by other companies. They can be cheaper and offer more design choices. Quality varies, so choose carefully for the best fit and look.
Styles And Designs
Body side moldings come in many styles. Some are simple strips, while others have detailed patterns. Colors range from black and chrome to body-matched paint. The style you pick can change your car’s appearance a lot. Choose a design that fits your taste and car model.
Attachment Methods
Body side moldings attach to vehicles using different methods. These methods keep the moldings secure and protect the car’s body. Each method suits different car designs and user needs. Understanding attachment methods helps in choosing or fixing moldings correctly.
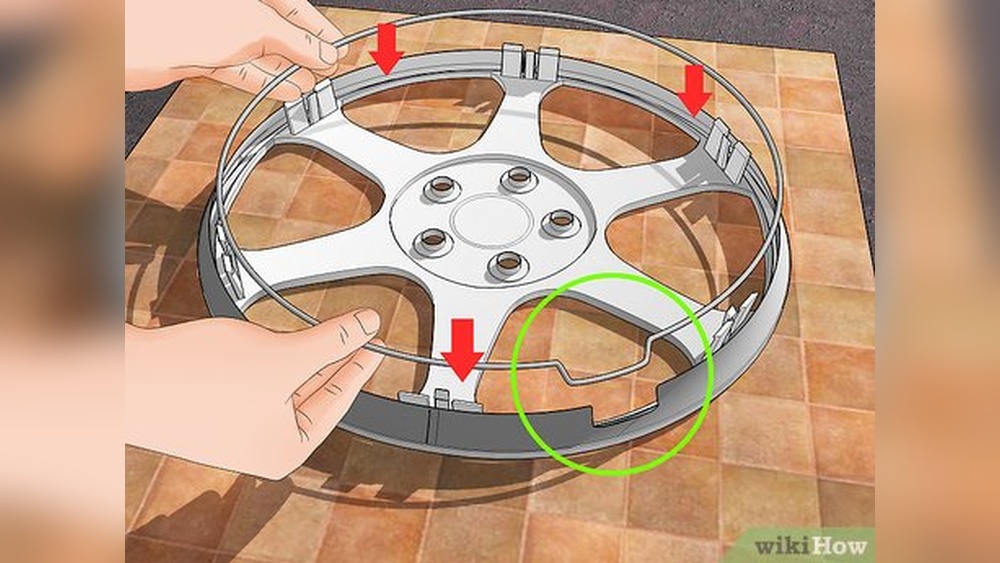
Clip-on Systems
Clip-on systems use plastic or metal clips to hold moldings. These clips snap into place on the car’s side. This method allows quick installation and removal. It avoids damage to the car’s paint or body. Clips fit tightly to prevent moldings from falling off.
Adhesive Backing
Adhesive backing uses strong glue to fix moldings. The glue sticks the molding directly to the car’s surface. This method is simple and clean, with no holes needed. It works best on smooth, clean surfaces. Proper surface preparation is important for strong adhesion.
Screw And Bolt Fastening
Screw and bolt fastening secures moldings with hardware. Small screws or bolts pass through the molding into the car body. This method provides strong, long-lasting attachment. It may require drilling holes in the car’s side. Proper tools and care prevent damage during installation.
Preparing The Surface
Preparing the surface is the first step in attaching body side moldings. A clean and smooth surface ensures the molding sticks well. This process helps avoid peeling or falling off later. It also makes the molding look neat and last longer.
Cleaning And Degreasing
Start by cleaning the car surface thoroughly. Use soap and water to remove dirt and dust. Dry the area completely before the next step. Apply a degreaser to remove oils and grease. This step is important for strong adhesion. Wipe the surface with a clean cloth after degreasing.
Surface Inspection
Check the surface for any damage or rust. Small scratches or dents can affect the molding’s fit. Sand down rough spots to make the surface even. Look for rust spots and treat them properly. A smooth, clean surface helps the molding stick better.
Primer Application
Apply a primer to the clean surface before attaching the molding. Primer helps the adhesive bond strongly to the car body. Use a thin, even coat and let it dry completely. Avoid thick layers to prevent uneven surfaces. Primer prepares the surface for the best molding connection.
Step-by-step Installation
Installing body side moldings needs careful steps. Each part must fit well to protect your car and look good. Follow this simple guide to connect the moldings correctly. This helps avoid damage and keeps the moldings secure for a long time.
Aligning The Molding
Place the molding on the car side to check its fit. Make sure it matches the car’s shape perfectly. Start from one end and line it up slowly. Adjust the position until the molding sits evenly along the side.
Check for any gaps or uneven spots. Proper alignment avoids problems during the next steps. Take your time to get it right.
Securing Clips Or Fasteners
Body moldings often use clips or fasteners to stay in place. Push the clips into the car’s side panel holes carefully. Ensure each clip locks firmly without forcing it. If screws are used, tighten them gently.
Secure all clips or fasteners evenly. This prevents the molding from moving or falling off while driving.
Applying Adhesive
Some moldings need adhesive for extra hold. Clean the car surface to remove dirt and grease first. Apply the adhesive evenly on the back of the molding. Press the molding firmly against the car side.
Hold it for a few minutes to set the glue. Avoid touching the molding until the adhesive dries fully.
Final Adjustments
Check the molding for any loose ends or misalignment. Press the edges to ensure full contact with the car body. Wipe off any excess adhesive immediately.
Inspect the entire molding once more. Make sure it looks smooth and fits snugly. Small corrections now prevent bigger issues later.
Ensuring A Secure Fit
Ensuring a secure fit for body side moldings is essential for vehicle protection and appearance. Proper installation prevents damage from road debris and weather. It also keeps the molding firmly attached, avoiding rattles or falling off. Attention to detail during fitting saves time and cost later.
Checking For Gaps
Inspect the molding edges closely after placing them on the car. Small gaps can let water or dirt enter and cause rust. Use a soft cloth to feel for uneven spaces. Adjust the molding until it fits tightly against the car body. Proper alignment ensures a smooth look and better protection.
Testing Adhesion Strength
Press the molding firmly onto the surface to activate the adhesive. Hold it for a few seconds to secure the bond. After installation, gently pull on the molding to check if it sticks well. Weak adhesion means the molding might fall off during driving. Use recommended adhesives for a stronger hold.
Weatherproofing Techniques
Apply a sealant along the edges to block moisture and dust. Choose a weatherproof product suitable for car exteriors. This layer protects the adhesive and the car paint beneath. Regularly check the sealant for cracks and reapply if needed. Proper weatherproofing extends the life of the molding.

Credit: www.ebay.com
Common Issues And Fixes
Body side moldings protect your car’s doors from dents and scratches. They stay attached through clips, screws, or strong adhesive. Over time, these connections can face problems. Knowing common issues and how to fix them helps keep moldings secure and looking good.
Loose Moldings
Loose moldings happen when clips or screws wear out or break. Moldings may wobble or fall off during driving. Fix this by tightening screws or replacing broken clips. Use new clips designed for your car model. Press the molding firmly back into place to secure it.
Peeling Adhesive
Adhesive can lose grip due to heat, moisture, or dirt. Peeling moldings create gaps and may fall off. Clean the surface with rubbing alcohol before reapplying adhesive tape. Use automotive-grade double-sided tape for a strong hold. Press the molding firmly to remove air bubbles.
Rust Around Fasteners
Rust forms around metal screws or clips exposed to water. It weakens the connection and damages the car’s body. Remove rust with a wire brush or sandpaper. Apply rust inhibitor before reinstalling fasteners. Replace badly rusted screws with stainless steel ones for better durability.
Maintenance Tips
Body side moldings protect your car from scratches and dents. They also add style to your vehicle. Keeping them in good shape is important. Simple maintenance helps moldings last longer and look better.
Cleaning Moldings
Clean moldings regularly to remove dirt and grime. Use a soft cloth and mild soap. Avoid harsh chemicals that can damage the surface. Rinse with water and dry with a clean towel. Clean moldings shine and stay strong.
Reapplying Adhesive
Over time, adhesive can weaken and peel off. Remove old glue carefully before applying new adhesive. Use a quality automotive adhesive for best results. Press the molding firmly to ensure it sticks well. Let the adhesive dry fully before driving.
Replacing Damaged Clips
Clips hold moldings tightly to the car body. Broken clips cause moldings to hang or fall off. Check clips often and replace any that are cracked or missing. Use clips made for your car model. Proper clips keep moldings secure and stable.

Credit: www.ebay.com
Frequently Asked Questions
How Are Body Side Moldings Attached To Vehicles?
Body side moldings are attached using clips, adhesive tapes, or screws. Clips snap into pre-drilled holes on the car body. Adhesive tapes offer a clean look without drilling. Some moldings use a combination of both for secure fitting and durability.
What Materials Are Used For Body Side Molding Connections?
Plastic clips, metal screws, and double-sided adhesive tapes are common materials. Clips and screws provide mechanical fastening. Adhesive tapes offer flexibility and prevent damage. These materials ensure moldings stay firmly in place despite vibrations and weather.
Can Body Side Moldings Be Removed Without Damage?
Yes, careful removal using plastic pry tools prevents damage. Heating adhesive areas softens the glue for easier detachment. Proper technique preserves paint and molding condition. It’s advisable to follow manufacturer guidelines or seek professional help.
Why Do Body Side Moldings Sometimes Loosen Over Time?
Exposure to heat, cold, and moisture weakens adhesives and clips. Repeated car washes and impacts also affect attachment strength. Aging materials lose elasticity, causing looseness. Regular inspection helps maintain secure moldings and avoid damage.
Conclusion
Body side moldings attach securely using clips, adhesive, or screws. They protect car doors from dents and scratches. Proper installation ensures a tight fit and lasting hold. Understanding their connection helps with repairs or upgrades. Keep moldings clean to maintain their look and function.
This small part plays a big role in vehicle protection. Simple steps keep your car’s sides safe and neat. A well-connected molding adds to your car’s durability and style.