
Are you wondering how to check your brake rotors but don’t know where to start? Your brake rotors play a crucial role in keeping you safe on the road.
If they’re worn out or damaged, your brakes won’t work properly—and that’s a risk you don’t want to take. The good news is, you don’t have to be a mechanic to spot the signs of rotor trouble. You’ll learn simple, clear steps to inspect your brake rotors yourself.
Keep reading to protect your car and your safety before it’s too late.
Credit: www.powerstop.com
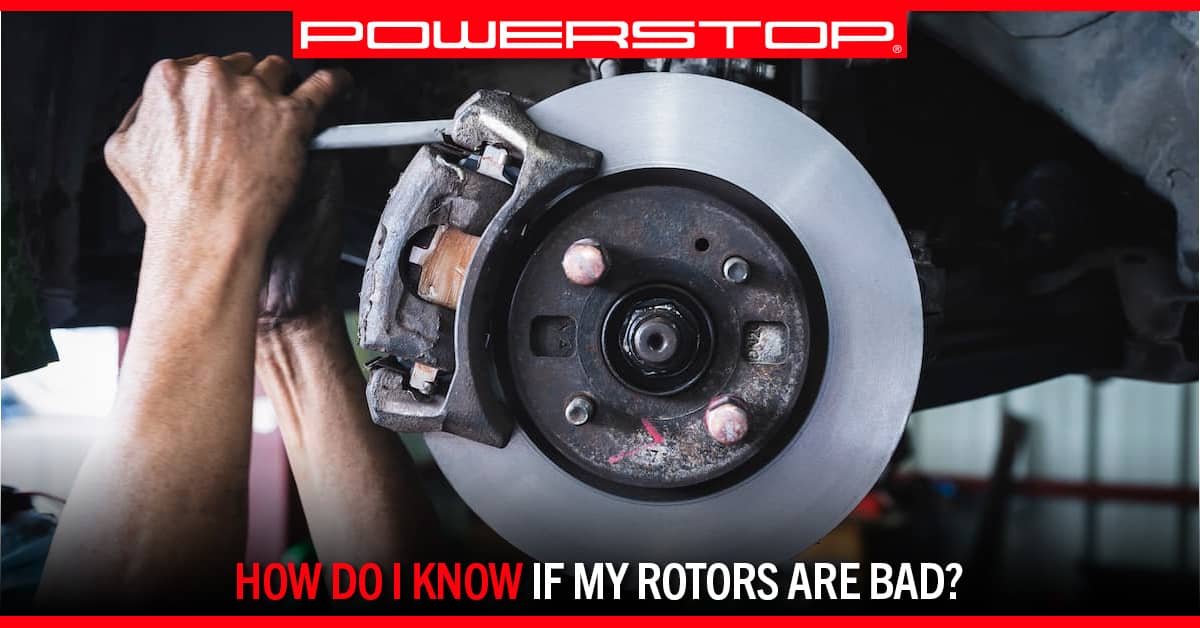
Signs Of Worn Brake Rotors
Worn brake rotors can cause serious problems while driving. Spotting early signs helps keep your car safe. Brake rotors wear down over time due to heat and friction. Watch for clear signs that show the rotors need checking or replacing. These signs affect how your brakes feel and sound.
Common Symptoms To Watch For
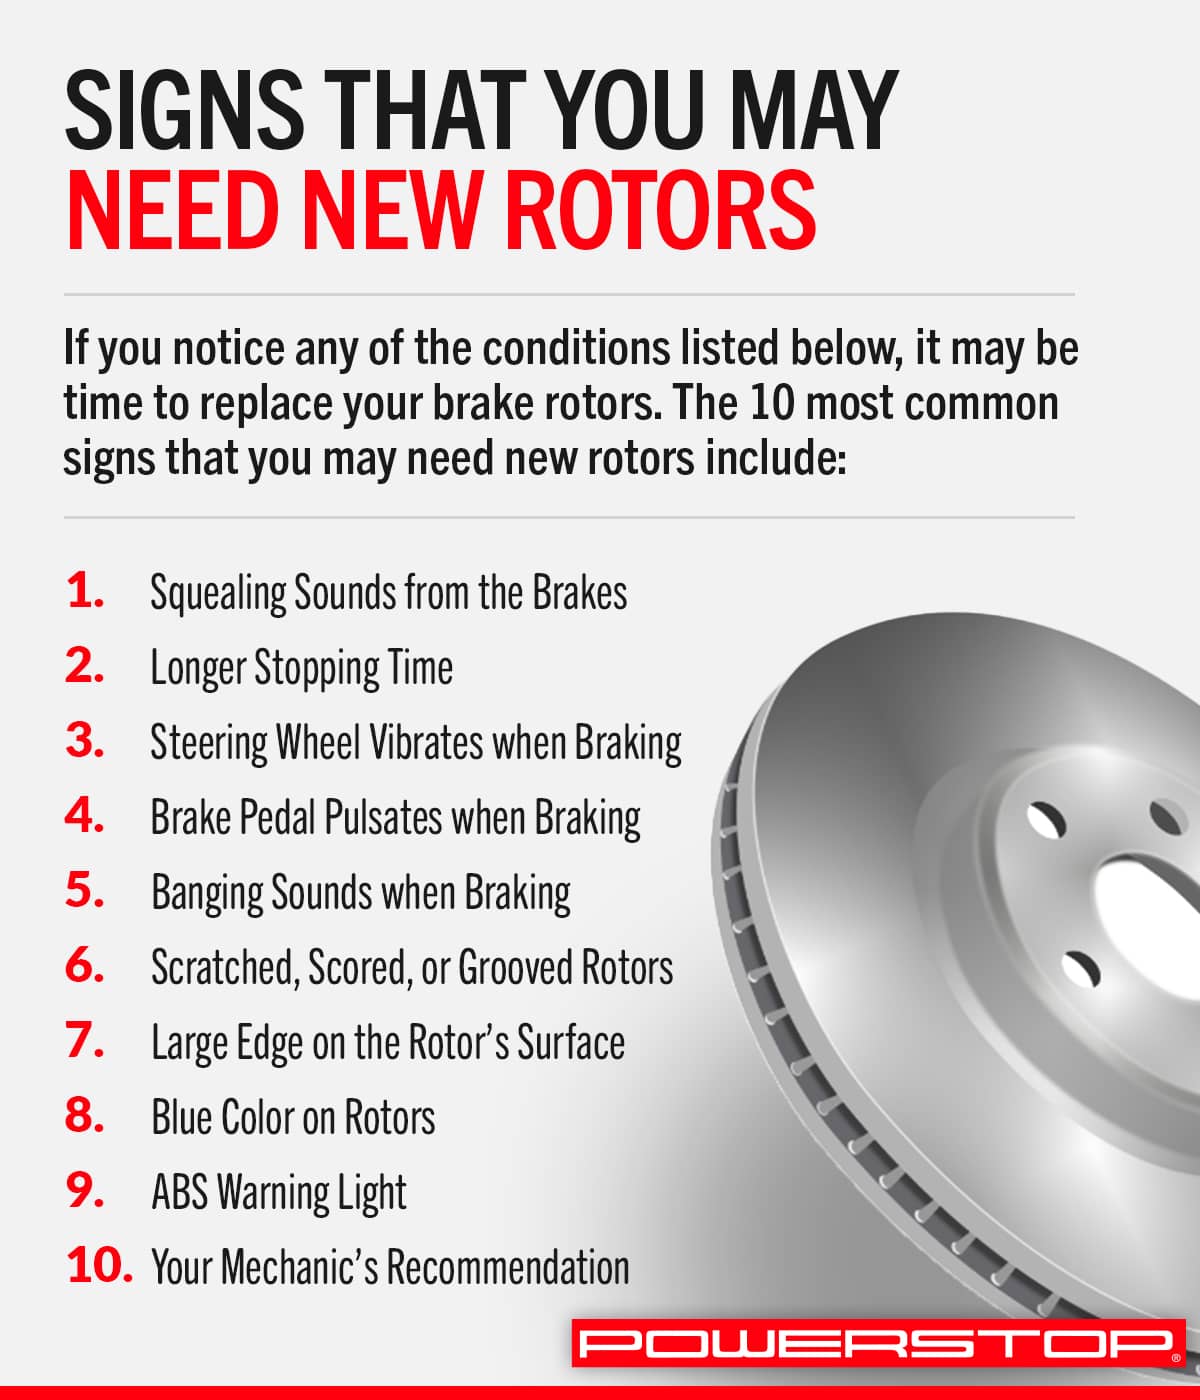
One common symptom is a longer stopping distance. Your car may take more space to stop than before. The brake pedal might feel soft or spongy. Sometimes, the brake warning light appears on the dashboard. Visual inspection can reveal grooves or cracks on the rotor surface. Deep grooves or rust patches mean the rotors are worn out. Also, uneven rotor wear can cause the car to pull to one side when braking.
Noise And Vibration Indicators
Noise is a clear indicator of worn rotors. A screeching or grinding sound during braking means the rotor surface is damaged. Vibrations or shaking in the brake pedal or steering wheel also point to rotor issues. These vibrations happen because the rotors are warped or uneven. The shaking feels stronger at higher speeds or when braking hard. Any strange noise or vibration should prompt an immediate brake check.

Credit: www.youtube.com
Tools Needed For Inspection
Checking brake rotors needs the right tools. Some tools help with a quick look. Others give a deep check. Using proper tools keeps you safe. It also helps find problems early.
Basic Tools For A Quick Check
A flashlight helps see the rotor clearly. A lug wrench removes the wheel. Gloves protect your hands from dirt and cuts. A jack lifts the car safely. A tire iron can also help remove wheels. These basic tools are enough for a simple rotor check.
Optional Tools For Detailed Inspection
A micrometer measures rotor thickness precisely. A dial indicator checks for rotor warping. Brake cleaner removes dirt and grease from rotors. Sandpaper smooths minor rough spots. These tools help find hidden rotor issues. They give a detailed view of rotor condition.
Preparing Your Vehicle
Preparing your vehicle properly makes checking brake rotors easier and safer. This step helps you avoid accidents and damage. Follow a clear process before you start the inspection.
First, focus on safety. Then, lift and secure your car. These steps set a solid base for the work ahead.
Safety Precautions
Park your car on a flat, stable surface. Avoid slopes or uneven ground. Engage the parking brake firmly. Turn off the engine and remove the keys. Wear gloves and safety glasses to protect yourself. Keep children and pets away from the work area. Have a fire extinguisher nearby in case of emergencies.
Lifting And Securing The Car
Use a reliable jack to lift the vehicle. Place it under the car’s recommended lift points. Raise the car slowly and steadily. Once lifted, place jack stands under the frame. Never rely only on the jack for support. Lower the car gently onto the stands. Shake the vehicle slightly to confirm stability. This prevents accidents during inspection and repair.
Visual Inspection Steps
Visual inspection of brake rotors helps find problems early. This step is simple and saves money. You do not need special tools for a basic check. Just follow the clear steps below. Take your time to see every part of the rotor.
Checking Rotor Surface Condition
Look at the rotor surface closely. It should be smooth and flat. Light rust is normal but deep rust is a problem. Notice any shiny spots or discoloration. These might show uneven wear. Uneven surfaces can reduce braking power. Make sure the rotor spins without wobbling.
Measuring Rotor Thickness
Rotor thickness affects brake safety. Use a micrometer to measure it. Measure at several points around the rotor. Compare your numbers to the minimum thickness in your car manual. If the rotor is too thin, it must be replaced. Thin rotors can crack or fail under stress.
Inspecting For Cracks And Grooves
Check the rotor for cracks and deep grooves. Cracks often appear near the edges. Grooves can form from worn brake pads or debris. Both issues cause noise and poor braking. Small cracks can grow bigger over time. Replace any rotor with visible cracks or deep grooves.
When To Replace Brake Rotors
Knowing when to replace brake rotors is key for safe driving. Rotors wear down over time and affect brake performance. Checking them regularly helps avoid accidents and costly repairs. Several factors determine the right time for replacement.
Thickness Limits
Brake rotors have a minimum thickness. This limit is set by the manufacturer. You can find it in the car manual or on the rotor itself. Use a micrometer to measure the rotor thickness. If it is below the limit, replace the rotor immediately. Thin rotors can crack or warp easily.
Damage Severity
Inspect rotors for visible damage. Look for deep grooves, cracks, or rust patches. Minor surface marks may be okay. Severe damage means the rotor can fail soon. Warped rotors cause vibration and noise when braking. Replace damaged rotors to keep braking smooth and safe.
Performance Impact
Brake rotors affect how well your car stops. Notice if the brake pedal feels soft or if stopping distance grows. Shaking or pulsing during braking points to rotor issues. Poor rotor condition can lead to brake fade. Replace rotors to restore proper braking power and control.
Tips For Maintaining Brake Rotors
Maintaining brake rotors is key for safe driving and longer rotor life. Good care prevents costly repairs and keeps your brakes working well. Small actions make a big difference over time.
Routine Checks
Check your brake rotors regularly for wear and damage. Look for cracks, grooves, or rust on the surface. Measure rotor thickness with a gauge to ensure it meets the minimum limit. Uneven wear can cause vibrations when braking. Replace rotors if they are too thin or warped. Clean rotors to remove dust and dirt for smooth braking.
Driving Habits To Extend Rotor Life
Avoid hard braking unless necessary. Slow down gradually to reduce rotor stress. Keep a safe distance from other cars to prevent sudden stops. Use engine braking on long downhill drives to ease brake use. Avoid riding the brakes, which wears rotors quickly. Smooth driving saves your brake system and your money.
Credit: www.powerstop.com
Frequently Asked Questions
How Can I Visually Inspect My Brake Rotors?
Look for grooves, cracks, or rust on the rotor surface. Uneven wear or discoloration may indicate rotor damage. Use a flashlight for better visibility during inspection.
What Tool Measures Brake Rotor Thickness?
A micrometer or brake rotor gauge accurately measures rotor thickness. Compare the reading with the manufacturer’s minimum thickness specification to ensure safety.
When Should Brake Rotors Be Replaced?
Replace rotors if they are warped, cracked, or below minimum thickness. Also, consider replacement if you experience vibration or noise during braking.
Can I Check Brake Rotors Without Removing Wheels?
Yes, you can inspect rotors by looking through the wheel spokes. However, a detailed check requires wheel removal for better access and accuracy.
Conclusion
Checking your brake rotors helps keep your car safe. Look for cracks, grooves, or uneven wear. Use a dial indicator or feel for vibration when braking. Regular checks can prevent costly repairs later. Stay alert to any changes in brake performance.
A simple inspection can save your life. Don’t ignore brake noises or pulling to one side. Keeping rotors in good shape ensures smooth stops every time. Remember, safety starts with good brakes. Take a few minutes to check them often.
Your car and passengers will thank you.


