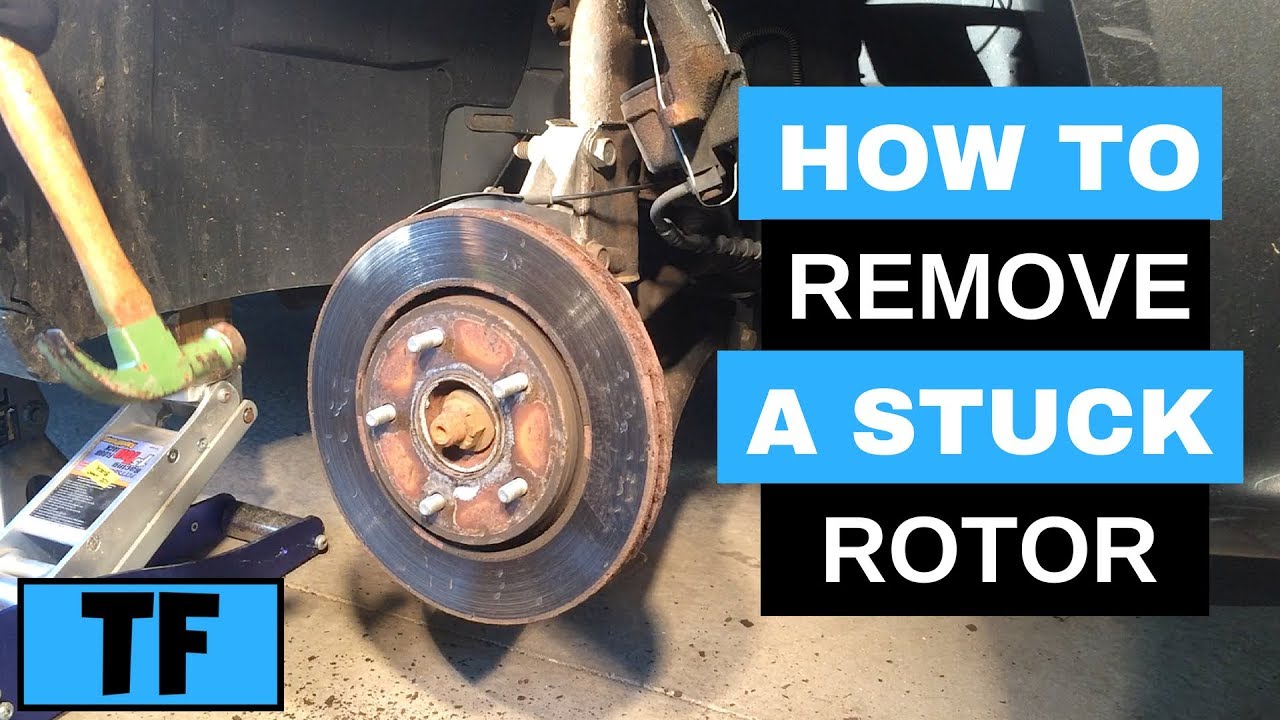
Are you ready to tackle a key part of your car’s maintenance? Knowing how to take off a brake rotor is a skill that can save you time and money.
Whether you want to replace worn-out rotors or upgrade your brakes, this simple step is essential. In this guide, you’ll learn exactly what to do, with clear instructions that anyone can follow. By the end, you’ll feel confident handling your brake rotors like a pro.
Keep reading, and let’s get started on making your car safer and smoother to drive!

Credit: www.wikihow.com
Tools Needed
Removing a brake rotor needs the right tools. Without them, the job can be hard and unsafe. This section explains the tools needed to take off a brake rotor. Knowing these tools helps you prepare and work smoothly.
Basic Hand Tools
Start with common hand tools. A lug wrench or tire iron removes wheel nuts. A socket set with ratchet helps take off brake caliper bolts. A screwdriver or pry bar can help lift the rotor if stuck. Use a hammer carefully to tap loose the rotor. These tools are simple but essential for the job.
Specialty Tools
Some rotors need special tools. A brake caliper hanger holds the caliper without stress on brake lines. A rotor puller removes stubborn rotors safely. A torque wrench ensures bolts fit with correct tightness. These tools protect parts and make removal easier.
Preparing The Vehicle
Preparing the vehicle is the first step before removing a brake rotor. It ensures the job is safe and smooth. Proper preparation prevents damage and injury. Follow these steps carefully to get started.
Safety Precautions
Wear gloves to protect your hands from dirt and sharp parts. Use safety glasses to guard your eyes. Make sure the car is on a flat, stable surface. Avoid loose clothing that can get caught in tools or parts. Keep a fire extinguisher nearby for emergencies.
Lifting The Car
Locate the car’s jack points using the owner’s manual. Place a jack under a solid frame area. Lift the car slowly until the wheel is off the ground. Use jack stands to support the vehicle securely. Never rely on the jack alone to hold the car.
Removing The Wheel
Loosen the lug nuts before lifting the car. Once lifted, remove the lug nuts completely. Pull the wheel straight off the hub. Set the wheel aside carefully to avoid damage. This step gives clear access to the brake rotor.
Accessing The Brake Rotor
Accessing the brake rotor is the first step to remove it safely. This process involves taking off parts that cover the rotor. You need to handle the brake caliper carefully. The caliper holds the brake pads and presses them against the rotor. Removing and securing the caliper properly will give you clear access to the rotor. This task requires some basic tools and a little patience.
Taking these steps correctly helps avoid damage to brake parts. It also makes the job faster and easier. Follow the instructions below to access the brake rotor efficiently.
Removing The Brake Caliper
Start by loosening the bolts that hold the brake caliper. These bolts are usually behind the caliper body. Use a wrench or socket set to remove them. Carefully slide the caliper off the rotor. Do not let the caliper hang by the brake hose. This can cause damage to the hose or connections.
Securing The Caliper
Use a hook or strong wire to hang the caliper. Attach it to a secure part of the suspension or frame. This keeps the caliper safe while you work. Avoid putting any weight on the brake hose. Proper securing prevents brake fluid leaks and hose damage. Now the rotor is free and ready for removal.
Removing The Brake Rotor
Removing the brake rotor is a key step in many brake repairs. It allows you to replace worn parts and keep your vehicle safe. The process requires some care and the right tools. Follow these steps to remove the rotor smoothly and safely.
Inspecting For Retaining Screws
Check the rotor for small screws holding it in place. These screws keep the rotor from moving. Use a screwdriver to remove any retaining screws. Missing this step can make rotor removal very hard.
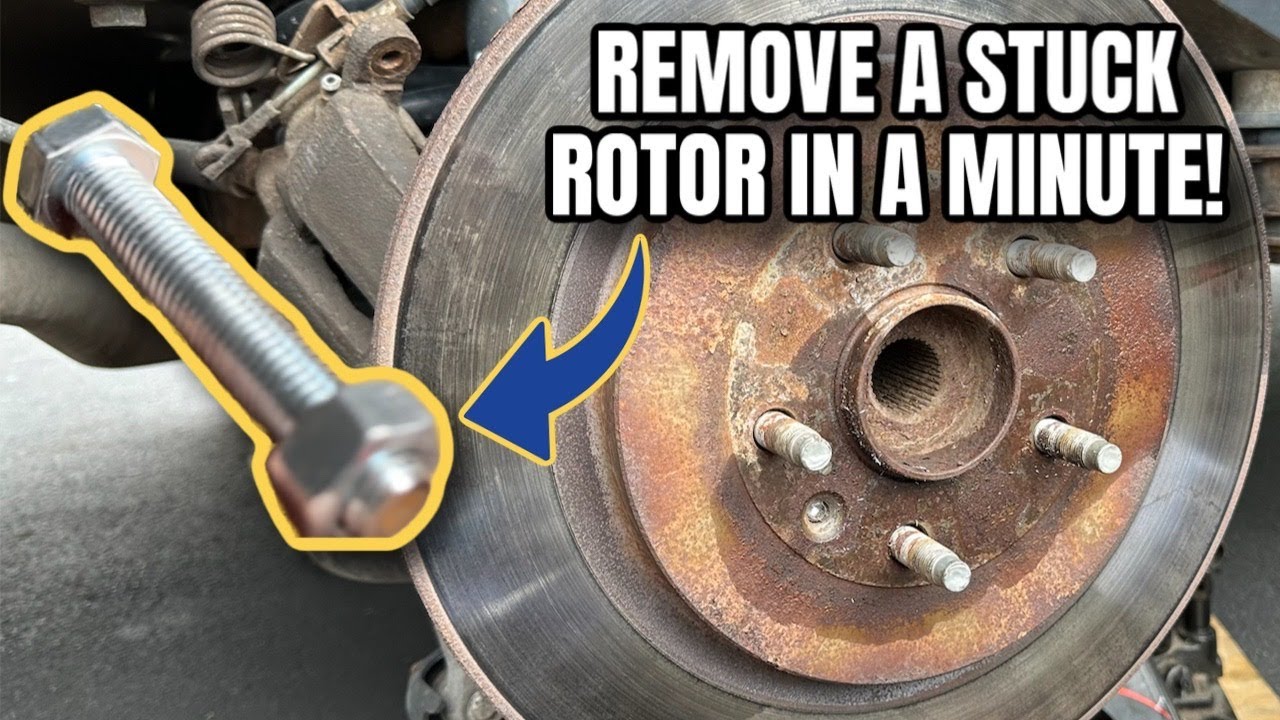
Loosening Stuck Rotors
Rotors often get stuck due to rust or dirt buildup. Tap the rotor gently with a rubber mallet to loosen it. Avoid hitting too hard to prevent damage. Applying a rust remover spray can help break the bond.
Pulling Off The Rotor
Grab the rotor firmly with both hands. Pull it straight out from the wheel hub. If it does not come off easily, try rotating it back and forth. Patience is key to avoid breaking parts.
Troubleshooting Common Issues
Removing a brake rotor can be tricky. Common problems often slow down the process. Knowing how to handle these issues saves time and effort. This section covers common troubles and how to fix them.
Dealing With Rust And Corrosion
Rust often sticks the rotor to the hub. It makes removal very hard. Spray a rust penetrant around the rotor hub. Let it sit for 10 to 15 minutes. Tap the rotor gently with a rubber mallet. This breaks the rust bond. Use a puller tool if the rotor still won’t move. Avoid using too much force. It can damage parts.
Handling Warped Rotors
Warped rotors cause vibration and noise. They may be hard to take off. Check for uneven thickness or bends. Loosen the rotor bolts gradually and evenly. Try to pull the rotor straight off. If stuck, tap the back side carefully. Avoid hitting the rotor face to prevent damage. Replace warped rotors to keep brakes safe.
Credit: www.youtube.com
Tips For Quick Removal
Removing a brake rotor can be tough without the right approach. Quick removal saves time and prevents damage to parts. Simple tips help make the task easier and faster. Focus on two main areas: using penetrating oil and choosing the correct tools. Both play a key role in smooth rotor removal.
Using Penetrating Oil
Spray penetrating oil on the rotor bolts and hub area. Let it sit for 10 to 15 minutes. This oil loosens rust and stuck parts. It reduces the effort needed to remove the rotor. Use a spray that can reach tight spots. Wipe off extra oil before working to avoid slipping.
Proper Tool Use
Use the correct tools for rotor removal. A breaker bar or impact wrench helps loosen tight bolts. Avoid using tools that can strip the bolts. A rubber mallet can tap the rotor gently to free it. Remove all screws and clips before pulling the rotor off. Proper tools reduce damage and speed up the job.
Credit: www.youtube.com
Frequently Asked Questions
How Do You Safely Remove A Brake Rotor?
To safely remove a brake rotor, first lift the vehicle and remove the wheel. Then, detach the caliper and caliper bracket. Finally, remove any retaining screws or clips before sliding off the rotor.
What Tools Are Needed To Take Off A Brake Rotor?
You need a jack, lug wrench, socket set, screwdriver, and possibly a rubber mallet. These tools help remove the wheel, caliper, and rotor efficiently.
Why Is The Brake Rotor Hard To Remove?
Brake rotors can be stuck due to rust or corrosion. Applying penetrating oil and tapping with a mallet usually helps loosen them.
Can I Reuse A Brake Rotor After Removal?
Reusing a brake rotor depends on its condition. Inspect for warping or deep grooves. If damaged, replace it for safety.
Conclusion
Removing a brake rotor takes some care and the right tools. Always keep safety first and work step by step. Clean the area and check for stuck bolts or rust. Use the correct tools to avoid damage. Taking your time helps prevent mistakes.
This simple process saves money and keeps your brakes working well. Practice makes the task easier next time. Stay patient, and soon you will feel confident doing this job yourself.

