If you want your engine to run smoothly and last longer, understanding how your inline fuel filter fits together is key. You might wonder why this small part matters so much or how to install it correctly.
By the end of this article, you’ll know exactly how your inline fuel filter connects to your fuel system and why each step is important. This knowledge will save you time, money, and headaches down the road. Ready to take control of your vehicle’s performance?
Let’s dive in.

Credit: www.pistonheads.com
Choosing The Right Fuel Filter
Choosing the right inline fuel filter is key to keeping your engine clean and running well. A good filter stops dirt and debris from reaching the engine. This helps avoid damage and keeps fuel flowing smoothly. Picking the correct filter can also improve your car’s fuel efficiency and performance.
Types Of Inline Fuel Filters
There are several types of inline fuel filters. Some use paper elements to catch dirt. Others use mesh screens that can be cleaned and reused. There are also spin-on filters that screw onto the fuel line. Each type has its own benefits and fits different needs.
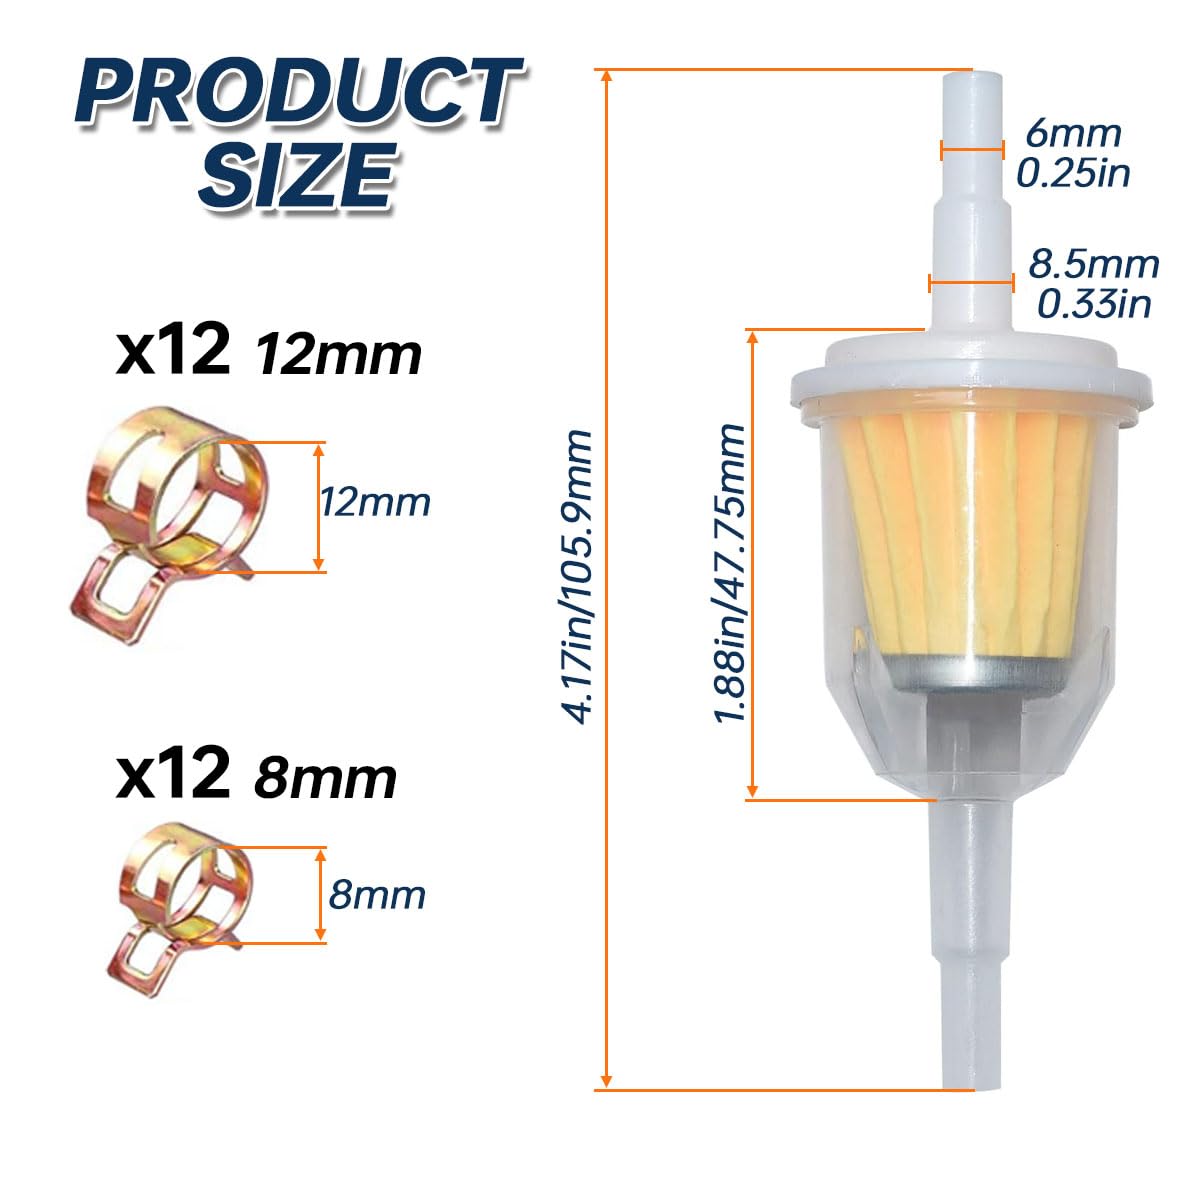
Material And Size Considerations
Fuel filters come in various materials like plastic, metal, and aluminum. Metal filters are more durable but cost more. Plastic filters are lighter and cheaper but less strong. The size of the filter matters too. It must fit well in the fuel line to avoid leaks or breaks.
Compatibility With Your Vehicle
Not all fuel filters fit every vehicle. Check your car’s manual for the right filter type. Some filters work only with gasoline engines, others with diesel. The filter should match your engine size and fuel system. Using the wrong filter can cause poor engine performance or damage.
Credit: riiroo.com
Tools And Materials Needed
Installing an inline fuel filter needs specific tools and materials. Having the right items makes the job easier and safer. Prepare everything before starting the installation.
Essential Tools For Installation
You will need a few basic tools to install the fuel filter. A pair of pliers helps to remove and attach hose clamps. A flathead screwdriver is useful for loosening clamps. A utility knife or sharp scissors cut the fuel line cleanly. A container to catch any spilled fuel is important to avoid mess. Finally, a wrench may be needed to remove old parts.
Safety Gear To Use
Safety is important when working with fuel. Wear safety glasses to protect your eyes from fuel splashes. Gloves keep your hands safe from fuel and sharp objects. Work in a well-ventilated area to avoid inhaling fumes. Keep a fire extinguisher nearby as a precaution. Avoid open flames or sparks near the work area.
Additional Supplies
You might need some extra supplies during installation. New hose clamps ensure a tight fit on the fuel line. Clean rags help wipe spills and keep the area tidy. Fuel-resistant sealant can improve connections if recommended. Have a manual or guide handy for specific instructions. These items help complete the installation smoothly and safely.
Preparing For Installation
Preparing for the installation of an inline fuel filter is an important first step. It ensures the process goes smoothly and safely. Taking time to prepare helps avoid mistakes and keeps the fuel system clean.
Locating The Fuel Line
First, find the fuel line where the filter will go. This line usually runs from the fuel tank to the engine. Check your vehicle’s manual for the exact location. The fuel line is often under the car or near the engine bay. Make sure you can access it easily before starting.
Relieving Fuel System Pressure
Next, release the pressure in the fuel system. Fuel lines carry pressurized fuel, which can spray out when disconnected. To avoid injury, turn off the engine and remove the fuel pump fuse. Then, start the engine until it stops. This step reduces pressure and makes handling safer.
Cleaning The Work Area
Clean the area around the fuel line before cutting or disconnecting it. Dirt and debris can enter the fuel system and cause problems. Use a clean cloth to wipe the area well. A clean workspace helps keep the fuel system free from contamination.
Removing The Old Fuel Filter
Removing the old fuel filter is the first step in replacing an inline fuel filter. It is important to handle this task carefully to avoid fuel leaks and damage. Taking proper safety measures makes the process smoother and safer. Follow each step with attention to keep your work clean and efficient.
Disconnecting Fuel Lines Safely
Start by turning off the engine and relieving fuel system pressure. This stops fuel from spraying out. Use tools designed for fuel line connections. Gently disconnect the fuel lines from the filter. Avoid pulling or twisting too hard. Keep a rag nearby to catch any small drips.
Handling Fuel Spillage
Fuel spills can be dangerous and messy. Use a container or cloth to catch any leaking fuel. Work in a well-ventilated area to avoid breathing fumes. Clean up any spills immediately. Dispose of fuel-soaked materials properly to prevent fire risks.
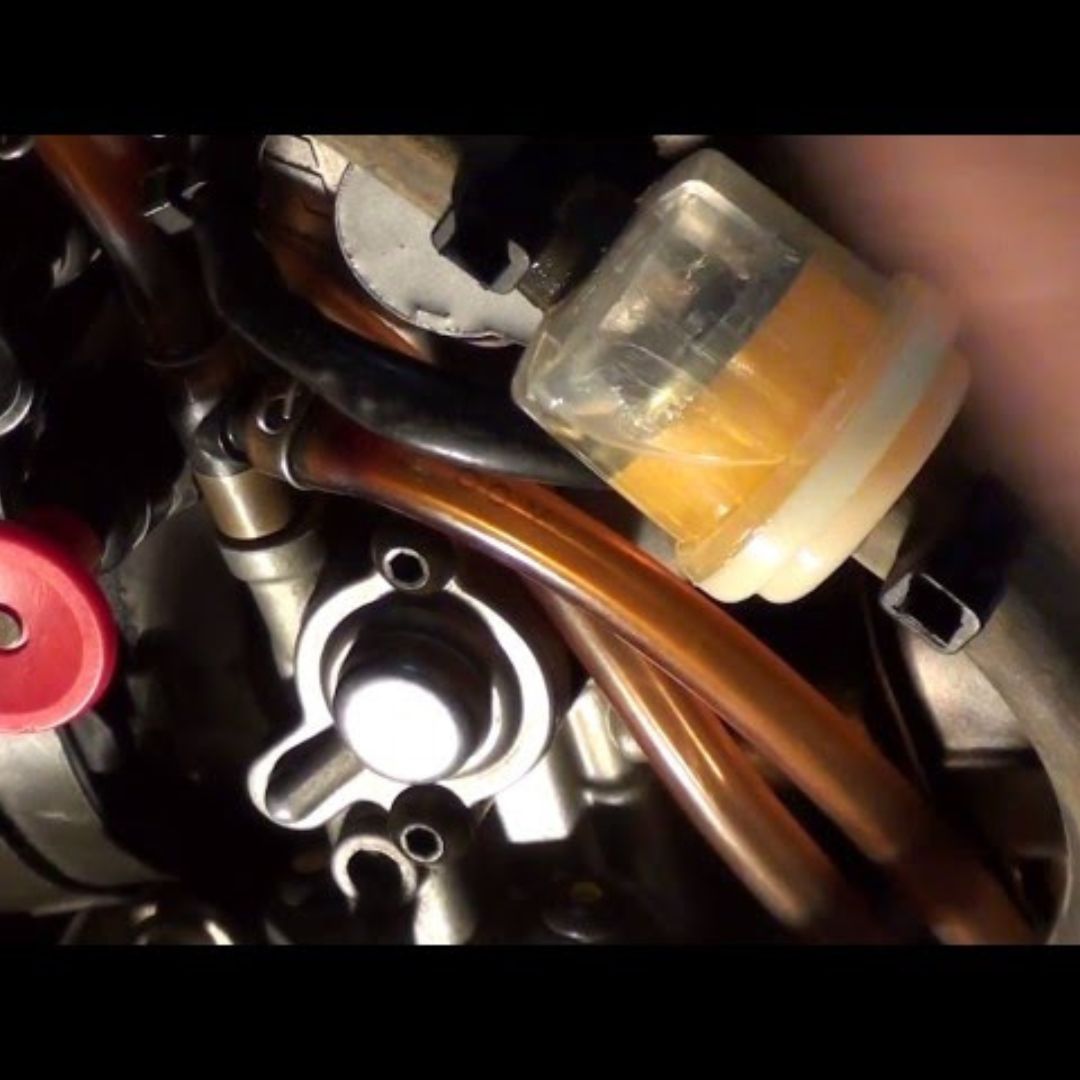
Inspecting The Old Filter
Check the old fuel filter for dirt and damage. Look inside for debris or rust particles. This gives clues about the fuel system’s condition. Note any unusual signs to share with a mechanic. Proper inspection helps decide if other parts need attention.
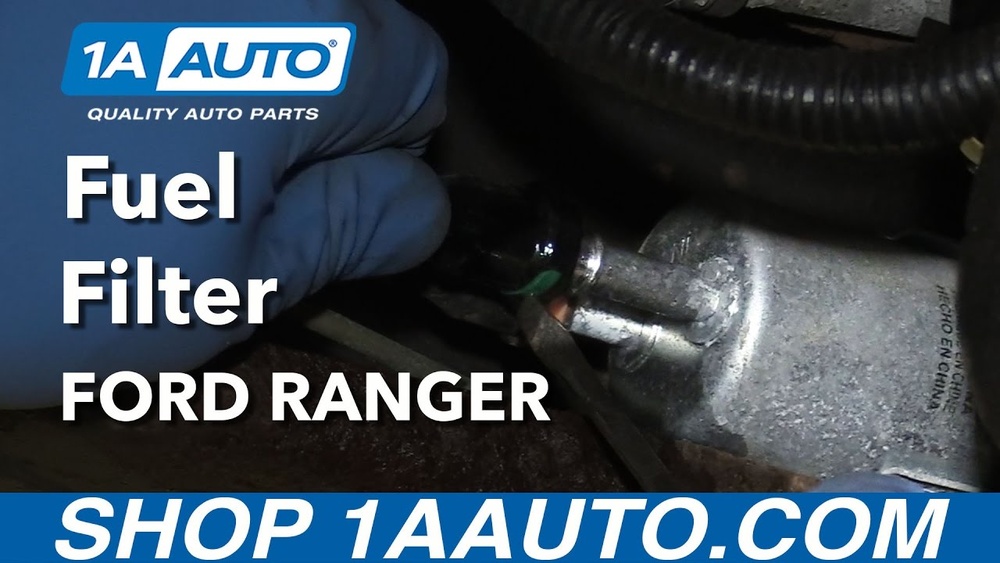
Installing The New Inline Fuel Filter
Installing a new inline fuel filter is a key step in keeping your engine running well. This process removes dirt and debris from the fuel before it reaches the engine. Proper installation ensures fuel flows smoothly and the filter lasts longer.
Follow these simple steps to install the filter correctly. Each part matters to avoid leaks or poor engine performance.
Checking Filter Direction
Most inline fuel filters have an arrow showing the fuel flow direction. This arrow must point from the fuel tank toward the engine. Installing the filter backward stops fuel flow and can damage the engine. Always check this arrow before connecting the filter.
Connecting Fuel Lines Securely
Push the fuel lines firmly onto the filter’s inlet and outlet. Loose connections cause fuel leaks and can create safety hazards. Use clamps to hold the fuel lines tight on the filter. Double-check the clamps to ensure they are snug but not too tight to damage the lines.
Ensuring Proper Fit And Seal
The filter should fit snugly inside the fuel line without gaps. A loose fit allows air to enter the fuel system, causing engine problems. Make sure the filter seals well at both ends. Replace any worn or cracked fuel lines before installing the filter.
Testing The Installation
Testing the installation of an inline fuel filter is a key step. It ensures the filter works well and keeps your engine safe. Skipping this step can cause fuel problems or engine damage. Follow these simple checks to confirm the filter fits and functions correctly.
Starting The Engine
Turn on the engine carefully after installing the filter. Listen for any unusual noises. The engine should run smoothly without hesitation. If the engine struggles, check the fuel filter connections again. A smooth start means the fuel flows properly.
Checking For Leaks
Look closely around the filter and hoses. Fuel leaks can be dangerous and cause poor engine performance. Use a clean cloth to wipe the area and watch for wet spots. Tighten all clamps and fittings if you see leaks. No leaks show a secure installation.
Monitoring Fuel Flow
Watch how the fuel moves through the filter while the engine runs. The flow should be steady and consistent. Slow or stopped flow may mean a clogged filter or wrong installation. Check the filter’s direction arrow and replace the filter if needed.
Maintenance Tips
Proper maintenance of your inline fuel filter is key to keeping your vehicle running smoothly. Regular care helps avoid costly repairs and improves fuel efficiency. Understanding when and how to maintain the filter can save time and money.
When To Replace The Filter
Replace the inline fuel filter every 12,000 to 15,000 miles. Check your vehicle’s manual for specific guidelines. If you drive in dusty or dirty conditions, change it more often. A timely replacement prevents fuel flow problems and engine damage.
Signs Of A Clogged Filter
Watch for engine hesitation or slow acceleration. Difficulty starting the engine may also signal a clogged filter. Poor fuel economy and rough idling are other signs. These symptoms mean the filter blocks fuel and needs replacement.
Keeping Your Fuel System Clean
Use clean fuel from trusted sources. Avoid letting your fuel tank run too low, as this can draw dirt into the filter. Regularly inspect fuel lines for damage or leaks. Clean fuel and good habits extend the filter’s life and boost performance.
Credit: yourpghlawyer.com
Frequently Asked Questions
What Is An Inline Fuel Filter And Its Function?
An inline fuel filter removes dirt and debris from fuel before it reaches the engine. It protects engine parts, ensuring smooth fuel flow and better performance.
How Do You Assemble An Inline Fuel Filter?
To assemble, align the filter’s inlet and outlet with fuel lines. Secure clamps tightly to prevent leaks and maintain proper fuel flow.
Can I Install An Inline Fuel Filter Myself?
Yes, with basic tools and safety precautions. Ensure engine is off, fuel lines depressurized, and connections are secure to avoid leaks.
How Often Should Inline Fuel Filters Be Replaced?
Replace every 12,000 to 15,000 miles or as per manufacturer’s advice. Frequent replacement prevents clogging and maintains engine efficiency.
Conclusion
Properly fitting an inline fuel filter is key for engine health. It keeps dirt and debris from reaching the engine parts. Clean fuel means better engine performance and longer life. Always check the filter for damage before installing. Make sure the fuel flows in the right direction.
Tighten connections to avoid leaks and fuel loss. Regular filter checks help prevent engine problems. Simple steps lead to smooth running and fewer repairs. A well-installed fuel filter protects your vehicle every time.