
Are you ready to transform your old furniture into something fresh and stylish without spending a fortune? Applying vinyl wrap on furniture is a simple way to give your pieces a brand-new look that stands out.
Whether you want to update a worn-out table or add personality to a plain dresser, this easy technique puts the power in your hands. In this guide, you’ll discover step-by-step tips to make the process smooth and satisfying. By the end, you’ll feel confident turning your furniture into a showstopper that reflects your style perfectly.
Keep reading to unlock the secrets of vinyl wrapping your furniture like a pro!
Credit: www.etsy.com
Choosing The Right Vinyl Wrap
Choosing the right vinyl wrap is key to a successful furniture makeover. The type of vinyl, color, and pattern impact the final look. Precise measurements help avoid waste and mistakes. This section guides you through important steps.
Types Of Vinyl Wraps
There are several vinyl wrap types for furniture. Glossy vinyl offers a shiny, smooth finish. Matte vinyl gives a soft, non-reflective look. Textured vinyl mimics wood, leather, or fabric. Choose the type that fits your style and furniture use.
Selecting Colors And Patterns
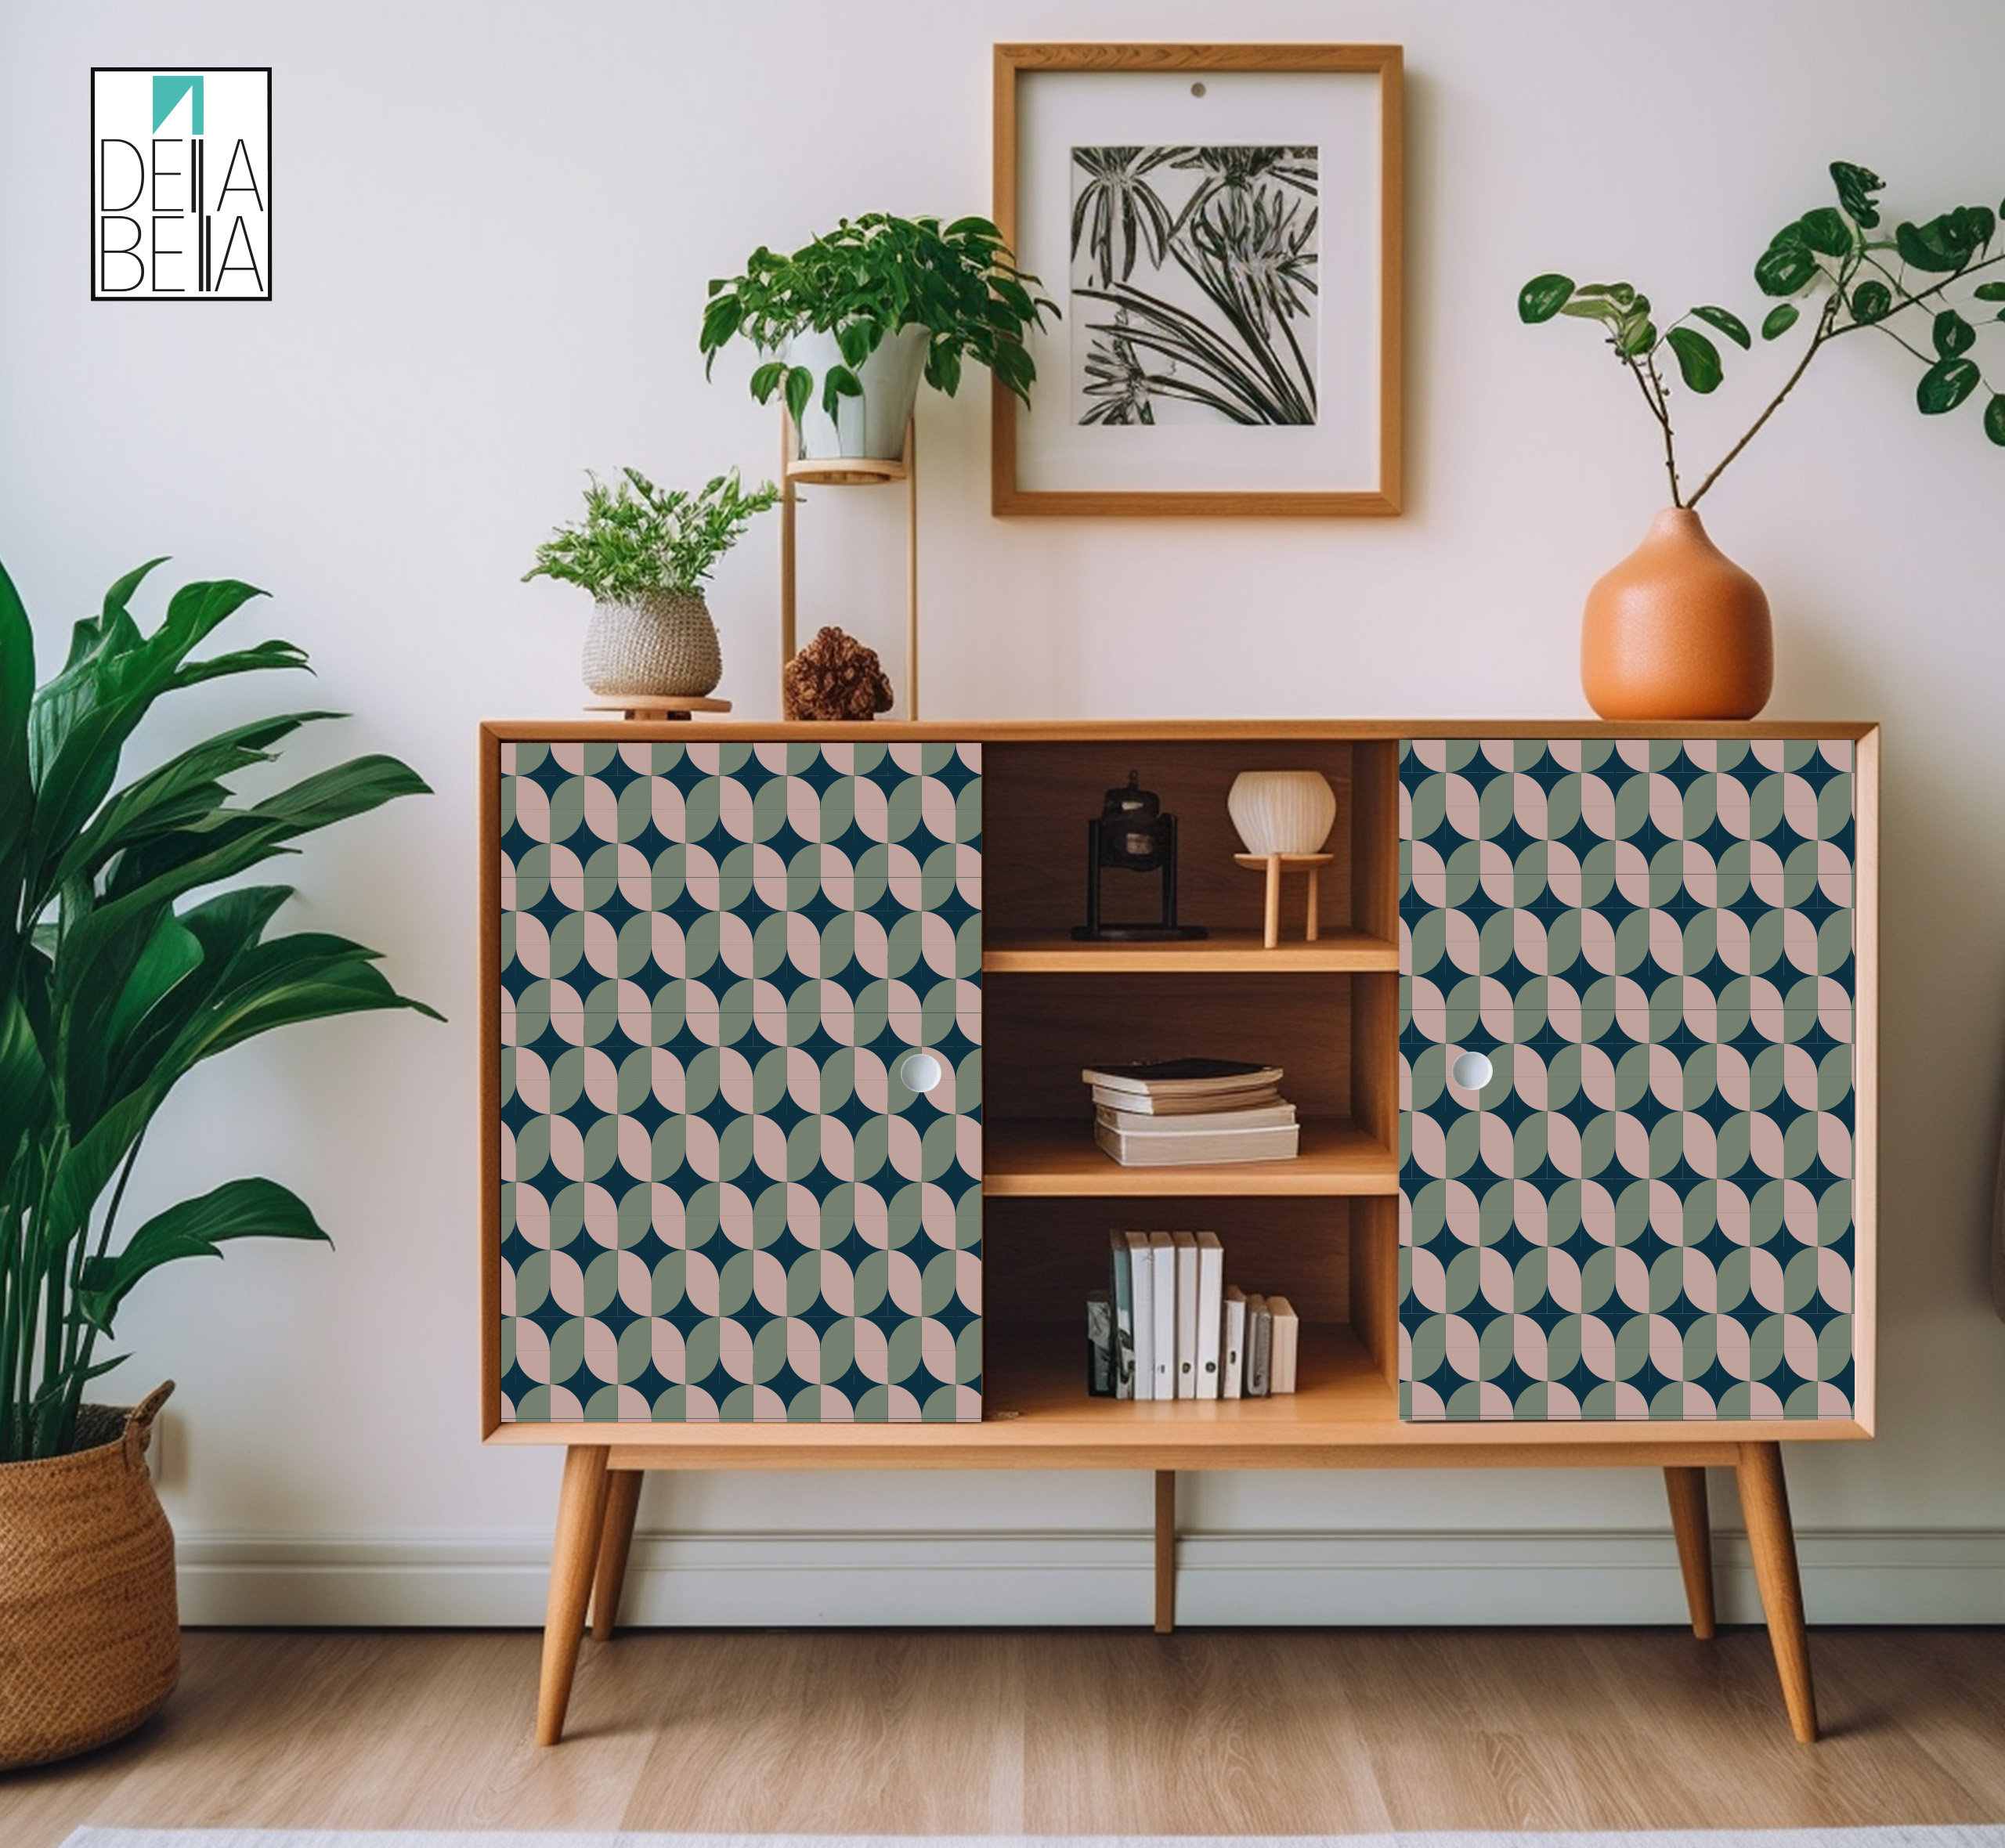
Colors affect mood and space feel. Light colors make rooms look bigger and brighter. Dark colors add warmth and depth. Patterns add personality. Stripes, wood grain, or geometric shapes create unique looks. Match colors and patterns with your room decor.
Measuring Furniture Surface
Measure the furniture carefully before buying vinyl. Use a tape measure for length, width, and height. Write down all dimensions. Add extra inches to cover edges and corners. Accurate measurements prevent running out of vinyl or buying too much.

Credit: www.amazon.com
Preparing Furniture For Wrapping
Preparing furniture for vinyl wrapping is a key step for a smooth finish. The surface needs to be clean and smooth. Small flaws can show through the vinyl, so fix them first. Also, remove any parts that might get in the way. This helps the vinyl stick better and look great.
Cleaning The Surface
Start by wiping the furniture with a damp cloth. Use mild soap if there is grease or dirt. Avoid harsh chemicals that can damage the surface. Dry the furniture completely before moving on. A clean surface helps the vinyl stick well and last longer.
Sanding And Repairing Imperfections
Check for scratches, dents, or old paint chips. Lightly sand these areas with fine-grit sandpaper. Smooth the surface carefully to avoid new marks. Fill deeper holes or cracks with wood filler. Let it dry, then sand again until even. A smooth base makes the vinyl wrap look flawless.
Removing Hardware
Take off handles, knobs, and other hardware. This prevents wrinkles and bubbles around these parts. Use a screwdriver and keep the screws safe. Removing hardware also makes it easier to wrap edges neatly. Wrap the furniture piece by piece for best results.
Tools And Materials Needed
Applying vinyl wrap on furniture needs the right tools and materials. These items help you get smooth, clean results. Prepare everything before starting to avoid interruptions. Good preparation saves time and effort.
Essential Tools
- Vinyl wrap sheets – choose the design and size you want.
- Utility knife – cuts vinyl precisely and cleanly.
- Heat gun – softens vinyl for better shaping.
- Squeegee – removes air bubbles and smooths vinyl.
- Measuring tape – measures furniture parts accurately.
- Scissors – trims vinyl edges easily.
- Cleaning cloth – wipes surface before wrapping.
Additional Supplies
- Rubbing alcohol – cleans and prepares the furniture surface.
- Gloves – protect hands and keep vinyl clean.
- Masking tape – holds vinyl in place during application.
- Soft cloth or microfiber towel – final smoothing tool.
- Sandpaper – smooths rough spots on furniture.
- Cutting mat – protects surfaces while cutting vinyl.
Cutting And Positioning The Vinyl
Cutting and positioning the vinyl wrap on furniture requires careful attention. Precise cuts and correct placement ensure a smooth, professional finish. Small mistakes can cause bubbles or wrinkles. Take your time to measure and align properly.
Measuring And Cutting Vinyl
Start by measuring the furniture surface accurately. Use a tape measure to note width and height. Add a few extra inches to each side for trimming. This extra material helps cover edges and corners fully.
Place the vinyl on a clean, flat surface. Use a sharp utility knife or scissors for cutting. Cut slowly along the measured lines to avoid mistakes. Keep the edges straight and smooth for a neat look.
Aligning The Wrap On Furniture
Peel a small section of the backing paper from the vinyl. Position this section on the furniture to check alignment. Adjust the vinyl until it matches the edges perfectly.
Slowly remove the backing paper while pressing the vinyl onto the surface. Use a squeegee or soft cloth to smooth out air bubbles. Work from the center outward for best results.
Carefully wrap excess vinyl around corners and edges. Trim off extra material with a sharp blade. Press down firmly to secure the wrap in place.
Applying The Vinyl Wrap
Applying vinyl wrap to furniture requires care and patience. The process starts with preparing the vinyl and the surface. This step ensures the wrap sticks well and looks smooth. Follow these simple steps for a neat and lasting finish.
Peeling The Backing
Begin by peeling the backing paper from the vinyl wrap. Peel slowly to avoid stretching the material. Hold the vinyl firmly to keep it flat. Remove only a small portion of the backing at first. This helps control the placement of the wrap on the furniture.
Smoothing And Stretching
Place the vinyl on the surface gently. Use a plastic squeegee or a soft cloth to smooth out bubbles. Stretch the vinyl lightly to fit the shape of the furniture. Work from the center outwards. This prevents wrinkles and air pockets from forming.
Handling Curves And Edges
For curves, heat the vinyl with a heat gun or hair dryer. Warm vinyl becomes more flexible and easier to shape. Press the vinyl carefully around edges and corners. Use a squeegee to press down firmly. Trim any extra vinyl for a clean edge.
Finishing Touches
Finishing touches make your vinyl wrap look neat and last longer. This stage is important for a smooth, professional appearance. Small steps here improve the overall look and durability.
Trimming Excess Vinyl
Use a sharp blade to cut off extra vinyl carefully. Cut close to edges but avoid damaging the furniture surface. Take your time and make small cuts for better control.
Trim vinyl around corners and curves neatly. This helps the wrap fit perfectly and look clean. Smooth edges prevent peeling later on.
Reattaching Hardware
Remove screws or knobs before wrapping to avoid wrinkles. After trimming, put all hardware back in place. Check that handles and knobs fit well and work smoothly.
Keep screws tight but do not overtighten. This stops damage to the vinyl or furniture. Make sure all parts are secure and aligned properly.
Sealing And Protecting The Wrap
Use a clear sealant or protective spray to guard the wrap. This protects against scratches, dirt, and water damage. Apply evenly and allow it to dry fully.
Check the wrap for any bubbles or loose spots. Press down or smooth them out gently. A sealed wrap lasts longer and stays attractive.
Common Mistakes To Avoid
Applying vinyl wrap on furniture can transform old pieces quickly. Avoid mistakes that ruin the look and waste materials. Knowing common errors helps you get smooth, professional results.
Air Bubbles And Wrinkles
Air bubbles trap under the vinyl and create bumps. Wrinkles happen when the wrap folds or stretches unevenly. Use a squeegee to press air out gently. Work slowly and smooth from the center out. Heat helps vinyl stretch and lay flat better.
Incorrect Measurements
Measuring furniture wrongly wastes vinyl and causes gaps. Measure twice, cut once. Add extra space for edges and corners. Check all angles and surfaces carefully. Use a straight edge and mark clearly before cutting.
Rushing The Process
Hurrying leads to poor adhesion and mistakes. Take your time to align the wrap perfectly. Peel backing slowly and avoid touching sticky sides. Smooth the vinyl steadily as you go. Patience gives cleaner and longer-lasting results.

Credit: www.youtube.com
Maintaining Your Vinyl Wrapped Furniture
Maintaining your vinyl wrapped furniture helps keep it looking fresh and new. Proper care can extend the life of the vinyl and protect your investment. Simple steps will preserve the color and texture of the wrap. Understanding how to clean and fix minor damage is important for long-term use.
Cleaning Tips
Use a soft cloth or sponge to clean the surface. Avoid abrasive materials that can scratch the vinyl. Mix mild soap with warm water for gentle cleaning. Wipe the furniture gently and dry with a clean cloth. Do not use harsh chemicals or strong solvents. Regular cleaning prevents dirt buildup and keeps the wrap shiny.
Repairing Minor Damage
Small scratches or tears can be fixed easily. Use vinyl repair kits available at most stores. Clean the damaged area before applying the repair compound. Follow the instructions on the repair kit carefully. Press the patch firmly to avoid air bubbles. Repairing quickly stops damage from getting worse.
Frequently Asked Questions
What Materials Are Needed To Vinyl Wrap Furniture?
You need vinyl wrap sheets, a squeegee, a heat gun, scissors, and a cleaning cloth. Prepare the surface for better adhesion by cleaning it thoroughly.
How Do You Prepare Furniture Before Applying Vinyl Wrap?
Clean the furniture surface with soap and water, then dry it completely. Remove any dust, grease, or old finishes for smooth application.
Can Vinyl Wrap Be Applied To Curved Furniture Surfaces?
Yes, vinyl wrap is flexible and can conform to curves. Use a heat gun to soften the vinyl for easier molding around edges.
How Long Does Vinyl Wrap On Furniture Last?
Vinyl wraps typically last 5 to 7 years with proper care. Avoid excessive moisture and sharp objects to maintain durability.
Conclusion
Applying vinyl wrap on furniture can refresh any old piece. Take your time and work carefully for best results. Smooth out bubbles as you go to keep the surface clean. Use the right tools to make the job easier. Practice on small areas before starting large projects.
Vinyl wrap offers a budget-friendly way to change your decor. Enjoy the new look and feel proud of your effort. Try different patterns and colors to match your style. Small changes can make a big difference in your space.


