
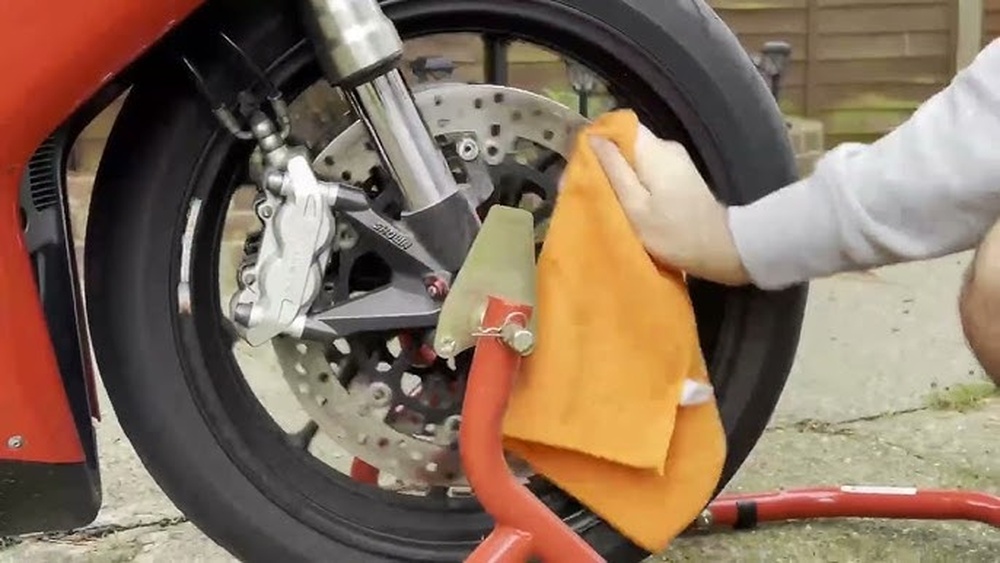
If you want your motorcycle to stop smoothly and safely, keeping your brake rotors clean is a must. Dirty rotors can cause squeaky brakes, reduced stopping power, and even damage to your bike.
But don’t worry—cleaning your brake rotors is easier than you think. In this guide, you’ll learn simple, step-by-step tips to get your rotors spotless and keep your brakes performing at their best. Ready to improve your ride and boost your safety?
Let’s get started.
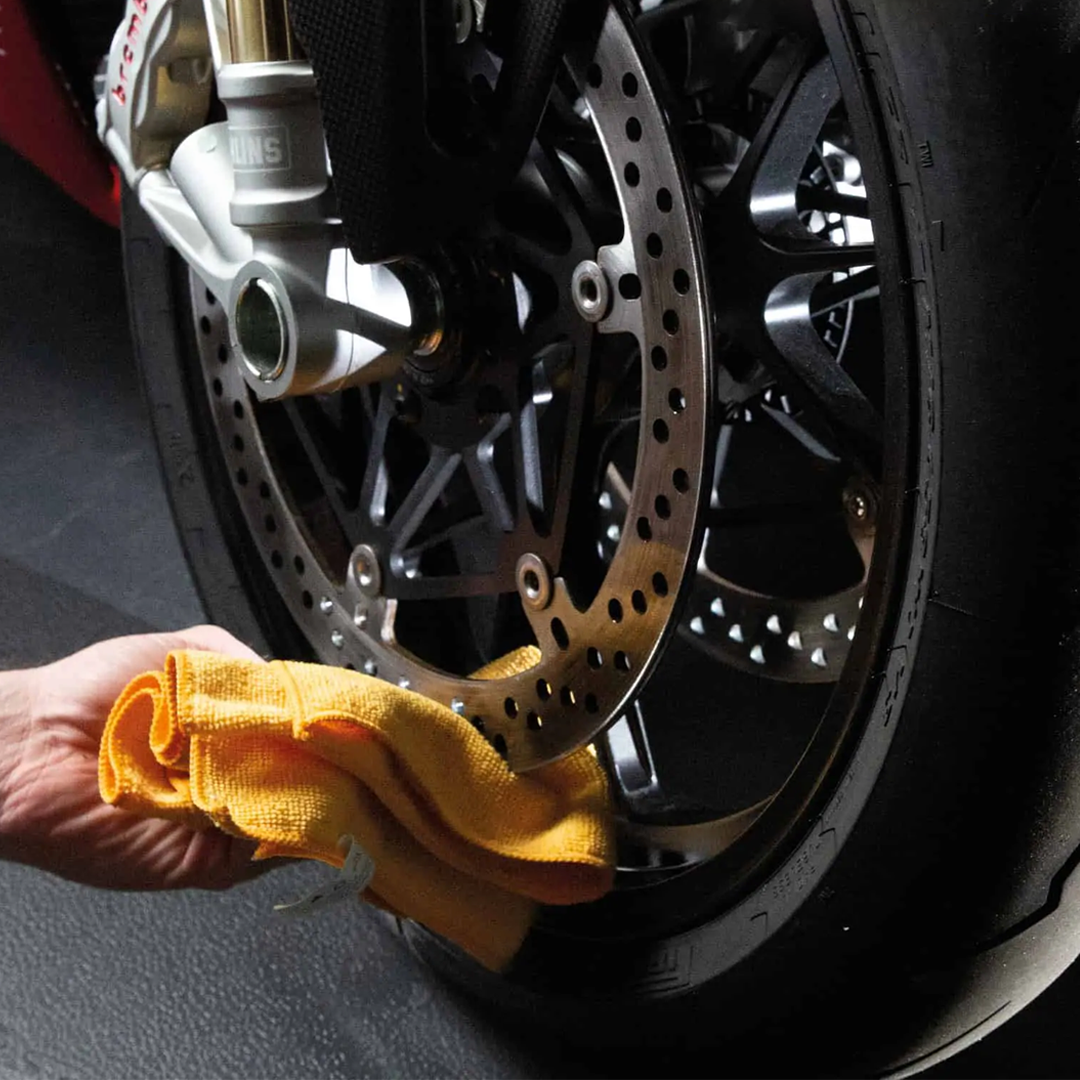
Credit: www.bikeshala.com
Signs Of Dirty Brake Rotors
Dirty brake rotors affect your motorcycle’s safety and performance. They can cause problems that are easy to notice. Spotting these signs early helps you clean the rotors before damage occurs. This keeps your brakes working well and your rides safe.
Noise And Vibration
Dirty rotors often cause unusual noise. You may hear squealing, grinding, or scraping sounds. These sounds happen because dirt and grime stick to the rotor surface. Vibrations felt through the brake lever or handlebars can also occur. These vibrations mean the rotor surface is uneven or dirty.
Reduced Braking Power
Brake rotors covered in dirt reduce stopping power. Your bike may take longer to stop or feel less responsive. This can be dangerous, especially in traffic or on wet roads. Dirty rotors stop the brake pads from gripping properly. This reduces your control over the motorcycle.
Visual Inspection Tips
Check your rotors regularly for dirt and damage. Look for rust, discoloration, or a rough surface. Dirt often appears as dark spots or patches on the rotor. Clean rotors should have a smooth, shiny surface. Inspect both sides of the rotor carefully to catch all dirt and grime.
Tools And Materials Needed
Cleaning motorcycle brake rotors requires the right tools and materials. Using proper supplies makes the job easier and safer. It also helps protect your bike’s braking system. Gather everything before starting to avoid interruptions. Below are the key items needed for a thorough cleaning.
Cleaning Solutions
Choose a brake cleaner made for motorcycles. Avoid harsh chemicals that can damage parts. Isopropyl alcohol is a good alternative for light cleaning. Avoid oil-based cleaners that leave residue. Cleaners should remove dirt, grease, and brake dust effectively.
Essential Tools
Use a soft brush to scrub the rotors gently. Microfiber cloths work well for wiping surfaces. A torque wrench helps when removing or tightening bolts. Have a container to hold small parts safely. A jack or stand keeps the motorcycle stable during cleaning.
Safety Gear
Wear gloves to protect your hands from chemicals. Safety goggles shield your eyes from splashes. Use a mask if working with strong cleaners in tight spaces. Wear old clothes to avoid stains. Good ventilation is important for breathing safety.
Preparing Your Motorcycle
Preparing your motorcycle before cleaning the brake rotors is important. It makes the process safer and easier. Taking time to get your bike ready helps avoid damage and ensures a thorough cleaning.
Securing The Bike
Place your motorcycle on a flat, stable surface. Use a center stand or paddock stand to keep it steady. If your bike has no stand, use wheel chocks to prevent movement. Make sure the bike cannot tip over during work.
Removing The Wheels
Cleaning rotors is easier with wheels off. Use the proper tools to remove the front and rear wheels carefully. Keep bolts and parts organized to avoid losing them. Follow your motorcycle manual for correct wheel removal steps.
Cleaning Workspace Setup
Prepare a clean, well-lit area to work. Lay out all cleaning supplies nearby, like brake cleaner, rags, and brushes. Ensure no dust or dirt can get on the rotors during cleaning. A tidy workspace helps you focus and work faster.
Step-by-step Cleaning Process
Cleaning motorcycle brake rotors is important for safety and bike performance. Dirt, oil, and brake dust reduce braking power. Follow this simple step-by-step process to clean your rotors properly. It helps keep your brakes working well and lasts longer.
Initial Wipe Down
Start by wiping the rotor with a dry cloth. Remove loose dirt and dust from the surface. This step makes the cleaning easier and more effective. Use a clean, soft cloth to avoid scratches.
Applying Cleaner
Spray a brake cleaner or rubbing alcohol on the rotor. These products remove oil and grime quickly. Use enough cleaner to cover the entire rotor surface. Avoid cleaners with harsh chemicals that may damage the metal.
Scrubbing Techniques
Use a soft brush or sponge to scrub the rotor gently. Focus on areas with stubborn dirt and brake dust. Move in small circles or back and forth for best results. Avoid using steel wool or harsh pads that can scratch.
Rinsing And Drying
Rinse the rotor with clean water to wash away cleaner and dirt. Use a low-pressure spray or a damp cloth. Dry the rotor fully with a clean towel to prevent rust. Make sure no moisture remains before riding.
Reinstalling And Testing
After cleaning your motorcycle brake rotors, reinstalling and testing are key steps. Proper reinstallation ensures safety and good brake performance. Testing confirms that everything works well before riding on the road.
Wheel Reinstallation Tips
Place the wheel carefully back into the forks or swingarm. Align the axle holes precisely to avoid damage. Tighten the axle nut or bolts to the correct torque using a torque wrench. Check that the wheel spins freely without rubbing the brake pads. Reattach any removed parts like the brake caliper or speed sensor with care.
Brake Function Check
Press the brake lever or pedal slowly to feel resistance. The brake pads should grip the rotors firmly. Look for any unusual noises or vibrations. Make sure the brake fluid level is correct and there are no leaks. Test the brake light to confirm it activates properly.
Test Ride Precautions
Start with a slow, short ride in a safe area. Apply the brakes gently at first to bed the pads to the rotor. Listen for strange sounds and feel for smooth braking. Avoid hard braking until you are sure the brakes work well. Stop and inspect the brakes again after the test ride.

Credit: www.airoxnigen.com
Maintenance Tips For Longevity
Maintaining your motorcycle brake rotors is key to keeping them in good shape. Proper care helps avoid costly repairs and ensures safe rides. Follow simple tips to extend the life of your rotors and keep braking smooth.
Regular Cleaning Schedule
Clean brake rotors often to stop dirt build-up. Dirt and brake dust reduce braking power and cause wear. Use a soft cloth and brake cleaner spray. Clean after every few rides or after wet rides. Regular cleaning keeps rotors in top condition.
Avoiding Contaminants
Keep oil, grease, and other liquids away from rotors. Contaminants reduce friction and make brakes unsafe. Avoid touching rotors with greasy hands. Store your bike in a clean, dry place. Protect rotors from road salt and chemicals.
When To Replace Rotors
Check rotors for deep grooves or warping. Thin or damaged rotors need replacement. Measure rotor thickness with a micrometer. Replace if below manufacturer’s minimum limit. Replace rotors if you feel vibration or poor braking.

Credit: www.youtube.com
Frequently Asked Questions
How Often Should I Clean Motorcycle Brake Rotors?
Clean your brake rotors every 3,000 to 6,000 miles or after riding in wet or dusty conditions. Regular cleaning prevents brake fade and maintains optimal stopping power. Inspect rotors during routine maintenance for any dirt buildup or corrosion.
What Materials Are Safe For Cleaning Brake Rotors?
Use isopropyl alcohol, brake cleaner spray, or mild soap with water. Avoid harsh chemicals or abrasive tools that can damage rotor surfaces. Always use a clean, lint-free cloth to wipe the rotors gently.
Can I Clean Brake Rotors Without Removing The Wheels?
Yes, you can clean rotors without wheel removal by spraying cleaner directly on the rotor. Wipe with a clean cloth to remove dirt and brake dust. However, removing wheels allows for a more thorough cleaning.
Why Is It Important To Clean Motorcycle Brake Rotors?
Cleaning rotors removes dirt, oil, and brake dust that reduce braking efficiency. Clean rotors ensure smooth brake pad contact and prevent squeaking or vibration. Proper cleaning enhances safety and extends rotor lifespan.
Conclusion
Cleaning motorcycle brake rotors keeps your bike safe and smooth. Dirt and grime can reduce brake power. Use simple tools and mild cleaners for best results. Regular cleaning helps avoid costly repairs later. Take your time and clean both sides well.
Safe brakes mean better control on every ride. Keep your motorcycle ready for the road by caring for its brake rotors often. Small steps lead to big safety gains.

