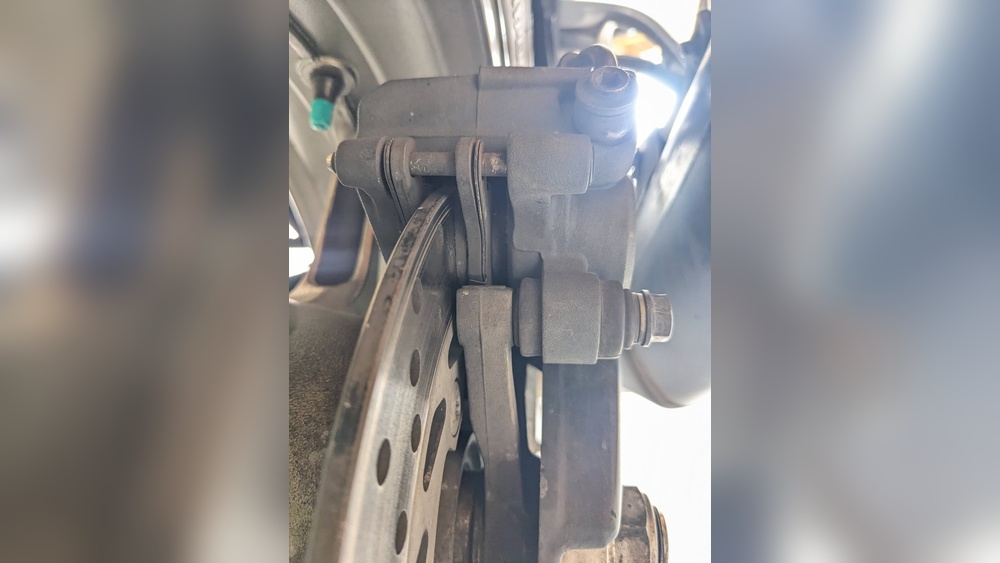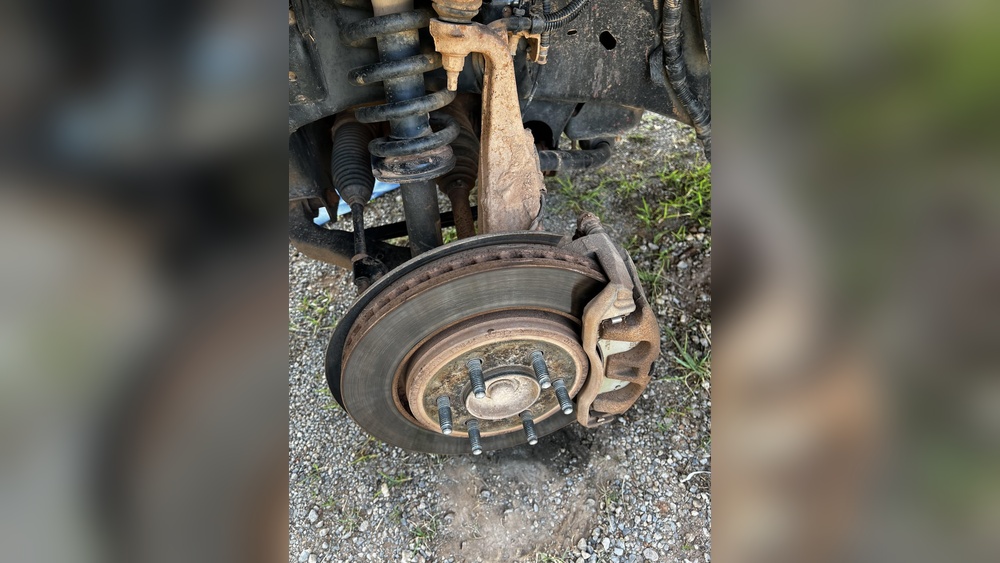
Are your brakes making strange noises or not working as smoothly as they used to? Dirty rotors and brake pads could be the reason.
Knowing how to clean rotors and brake pads yourself can save you time and money while keeping your vehicle safe. In this guide, you’ll learn simple, step-by-step tips to get your brakes back in top shape. Keep reading to discover easy ways you can improve your braking performance today!
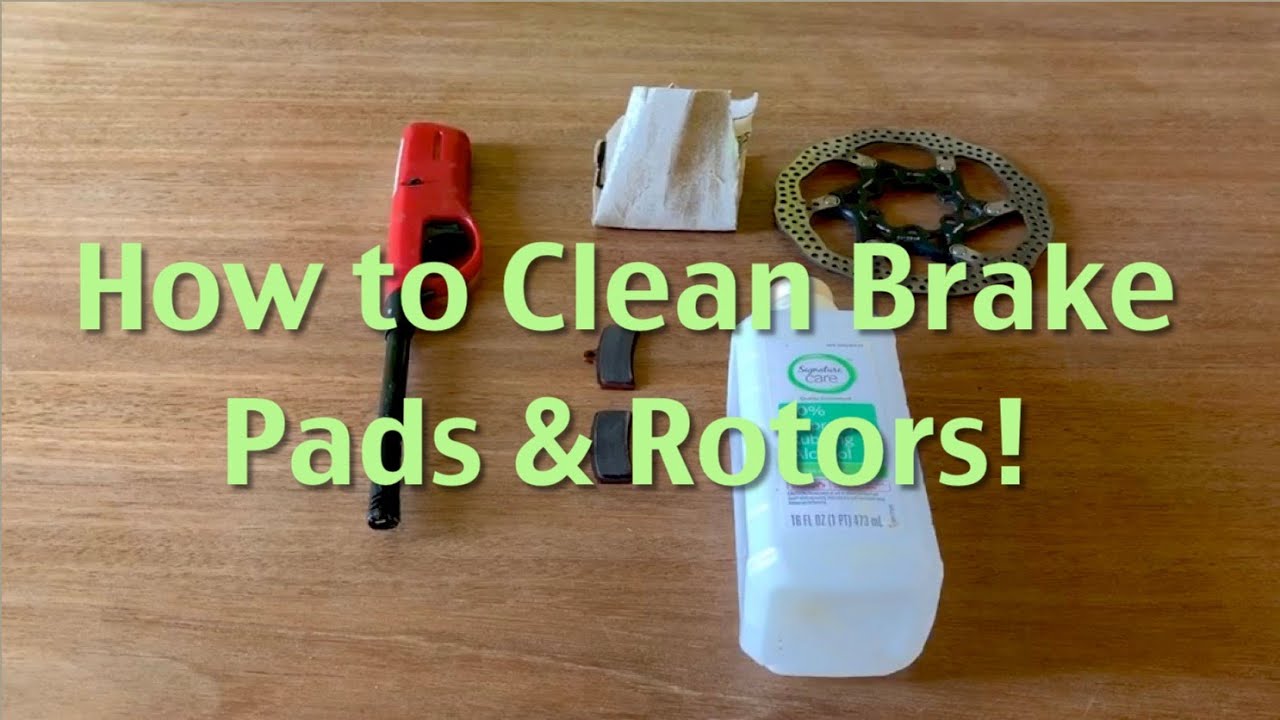
Credit: www.youtube.com
Signs Of Dirty Rotors And Pads
Dirty rotors and brake pads affect your vehicle’s safety and performance. They cause problems that you can notice easily. Knowing the signs helps you decide when to clean or replace them.
Noises During Braking
Squealing or grinding sounds come from dirty or worn brake parts. Dust and debris build up on rotors and pads. This causes noise when you press the brake pedal. These sounds warn that your brakes need attention.
Reduced Braking Efficiency
Your car takes longer to stop or feels less responsive. Dirt on the rotors and pads lowers friction needed for braking. This makes stopping distance longer and can be dangerous. Clean brakes work better and keep you safe.
Visible Dirt And Rust
Look through the wheel spokes to check the brakes. Dirt, dust, and rust often cover the rotors and pads. Rust appears as orange or brown spots on metal parts. Visible grime means it is time to clean the brakes.
Credit: www.buybrakes.com
Tools And Materials Needed
Cleaning rotors and brake pads requires specific tools and materials. These help remove dirt, dust, and grime effectively. Using the right items ensures safety and better results. Prepare all tools before starting the cleaning process.
Cleaning Solutions
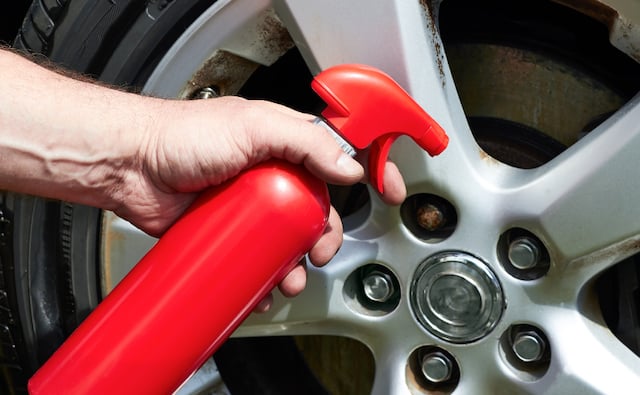
Choose a brake cleaner spray made for vehicle parts. It removes grease and brake dust without leaving residue. Avoid using oil-based cleaners that can damage brake parts. Some prefer isopropyl alcohol for light cleaning tasks. Use cleaning solutions in a well-ventilated area.
Brushes And Cloths
Use a stiff-bristled brush to scrub the rotors gently. Nylon brushes work well to avoid scratching metal surfaces. Soft microfiber cloths help wipe off loosened dirt and cleaner. Avoid using rough materials that could damage brake pads.
Protective Gear
Wear gloves to protect your hands from chemicals and sharp edges. Safety glasses shield your eyes from cleaning spray and dust. Use a mask to avoid inhaling brake dust, which can be harmful. Dress in old clothes to prevent stains from cleaning products.
Preparing Your Vehicle
Preparing your vehicle is the first step to clean rotors and brake pads safely. This process helps you work comfortably and avoid accidents. Taking time to set up your car right makes the job easier and safer.
Securing The Car
Park your car on a flat surface. Apply the parking brake firmly. Place wheel chocks behind the wheels that will stay on the ground. This stops the car from moving while you work. Double-check the car is stable before lifting it.
Removing The Wheels
Use a lug wrench to loosen the wheel nuts. Do this before raising the car. Then, use a jack to lift the vehicle. Place jack stands under the car for safety. Remove the nuts completely and take off the wheels carefully.
Accessing The Brake Components
With the wheels off, you can see the brake parts clearly. Locate the brake caliper and rotor. Use a wrench to remove the caliper bolts. Gently lift the caliper and support it without straining the brake line. Now, the rotor and brake pads are ready for cleaning.
Cleaning The Rotors
Cleaning the rotors is a key step in maintaining your brake system. Clean rotors ensure smooth braking and help avoid noise and vibration. Dirt, dust, and brake residue build up on the rotors over time. Removing this buildup improves brake performance and extends rotor life.
Applying Brake Cleaner
Start by spraying brake cleaner evenly on the rotor surface. This cleaner removes grease, oil, and dirt quickly. Use a cleaner made for brakes to avoid damage. Spray enough to cover the entire rotor but avoid soaking other parts.
Scrubbing Off Debris
Use a soft brush or cloth to scrub the rotor gently. Focus on areas with heavy dirt or rust. Avoid using wire brushes as they can scratch the rotor. Scrubbing helps lift off stubborn grime and brake dust.
Drying And Inspecting
Let the rotor air dry or use a clean cloth to wipe it down. Check for any cracks, deep grooves, or warping. These signs mean the rotor may need replacement. Clean and smooth rotors provide better braking safety.
Cleaning The Brake Pads
Cleaning the brake pads keeps your vehicle safe and improves braking performance. Dirt and dust build up quickly on brake pads. This build-up can reduce their effectiveness and cause noise. Regular cleaning helps maintain good contact between the pads and rotors. It also extends the life of the brake parts.
Use simple tools and take your time. Cleaning brake pads is an easy task anyone can do with care.
Removing Dust And Dirt
Start by removing loose dust and dirt from the brake pads. Use a soft brush or a clean cloth. Gently wipe the surface to avoid damage. Avoid using harsh chemicals, as they can harm the pads. A spray of brake cleaner works well to remove stubborn grime. Let the pads dry completely before moving to the next step.
Checking For Wear
Inspect the brake pads for signs of wear. Look for cracks, thinning, or uneven surfaces. Measure the pad thickness with a ruler or gauge. If the pad is less than 3 millimeters thick, replace it. Worn pads reduce braking power and can damage the rotors. Regular checks prevent costly repairs and keep braking safe.
Avoiding Contamination
Keep oil, grease, and other liquids away from the brake pads. Contamination reduces friction and braking ability. Use clean gloves to handle the pads. Store brake parts in a clean, dry place. Avoid touching the friction surface with bare hands. Contaminated pads often cause noise and poor brake response.

Credit: www.youtube.com
Reassembling And Testing
After cleaning the rotors and brake pads, putting everything back correctly is key. This step ensures your brakes work safely and smoothly. Take your time to reassemble parts carefully. Testing the brakes after reassembly confirms they perform well under real conditions.
Reinstalling Wheels
Place the wheel back onto the hub carefully. Align the wheel holes with the bolts exactly. Tighten each lug nut by hand first. Use a wrench to secure nuts in a star pattern. This method tightens the wheel evenly. Lower the vehicle slightly before final tightening. Use a torque wrench to finish securing nuts to the correct tightness. Proper wheel installation prevents wobbling and accidents.
Performing Brake Tests
Start the vehicle and press the brake pedal gently. Feel for any strange vibrations or noises. Test brakes at low speed in a safe area. Check if the vehicle stops smoothly and quickly. Avoid hard stops initially to let parts settle. Listen for squeaks or grinding sounds. Proper testing helps spot issues early and keeps you safe.
Monitoring Performance
Drive normally and pay attention to brake response. Notice any changes in pedal feel or stopping power. Check for unusual smells or smoke after braking. Keep an eye on brake warning lights on the dashboard. Regular monitoring helps catch problems before they grow. Good brake performance keeps your driving confident and safe.
Maintenance Tips For Longevity
Proper maintenance is key to making your rotors and brake pads last longer. Following simple tips helps keep your brakes working well. It also saves money on repairs and replacements. Clean and well-maintained brake parts improve your safety on the road. Here are some easy steps to extend the life of your brakes.
Regular Cleaning Schedule
Set a routine to clean your rotors and brake pads. Dirt and dust build up fast and reduce brake performance. Use a soft brush or cloth to remove grime. Clean every few thousand miles or after driving in dusty areas. This keeps parts free from harmful debris. Avoid letting dirt stay for too long.
Avoiding Harsh Conditions
Try to limit driving in heavy rain or mud. Water and dirt cause rust and wear on brake parts. Do not drive through deep water or rough roads often. These conditions damage the rotors and pads faster. When you face bad weather, clean your brakes soon after. This prevents corrosion and keeps brakes reliable.
Using Quality Brake Components
Choose good brake pads and rotors for replacements. Cheap parts wear out quickly and may harm your braking system. Invest in well-known brands with good reviews. Quality components fit better and last longer. They also provide safer stopping power. Always check compatibility with your vehicle model.
Frequently Asked Questions
How Often Should I Clean Rotors And Brake Pads?
Cleaning rotors and brake pads every 20,000 miles helps maintain brake efficiency. Regular cleaning prevents dirt buildup and improves safety. Check them during routine maintenance for wear or contamination. Clean more frequently in dusty or wet conditions to avoid damage and noise.
What Tools Are Needed To Clean Rotors And Brake Pads?
You need a brake cleaner spray, a wire brush, clean rags, and gloves. Avoid using oil-based cleaners as they reduce braking power. A jack and lug wrench help remove the wheel safely. Using the right tools ensures effective and safe cleaning.
Can I Use Household Cleaners On Brake Rotors?
No, household cleaners can damage brake components and reduce braking performance. Use only brake-specific cleaners that remove dust and grease safely. These cleaners evaporate quickly without leaving residue. Proper products protect rotors and pads from corrosion and wear.
Is It Necessary To Remove Brake Pads For Cleaning?
Removing brake pads is recommended for thorough cleaning and inspection. It allows access to hidden dirt and debris on rotors. Cleaning pads separately ensures better brake function and longevity. Always follow safety procedures when removing brake parts.
Conclusion
Cleaning rotors and brake pads keeps your brakes working well. Dirt and dust can cause noise and reduce brake power. Regular cleaning helps your car stop safely and lasts longer. Use simple tools and gentle cleaners to avoid damage. Take time to check for wear or cracks during cleaning.
Clean brakes mean safer drives and less repair cost. Keep this routine to enjoy smooth and quiet braking every day. Safe driving starts with well-maintained brakes.