Want to give your car’s interior a fresh, stylish look? Installing a steering wheel cover with a logo is one of the easiest and most effective ways to do just that.
But if you’re unsure how to put it on without hassle or damage, you’re in the right place. This guide will walk you through every step, making the process quick and stress-free. By the time you finish reading, you’ll know exactly how to install your steering wheel cover so it fits perfectly and shows off your style.
Ready to upgrade your driving experience? Let’s get started!
Choosing The Right Cover
Choosing the right steering wheel cover with a logo can make a big difference. The right cover improves grip and comfort. It also adds style to your car’s interior. Focus on three key points to pick the best cover for you.
Material Options
Steering wheel covers come in many materials. Leather feels smooth and looks classy. It also lasts a long time. Cloth covers are soft and easy to clean. They work well in hot or cold weather. Silicone covers give a good grip. They are flexible and simple to install.
Size And Fit
Measure your steering wheel before buying a cover. Covers come in standard sizes, but some fit better than others. A tight fit stops the cover from slipping. Too loose, and it can be unsafe. Check the product details to match your wheel size.
Logo Styles
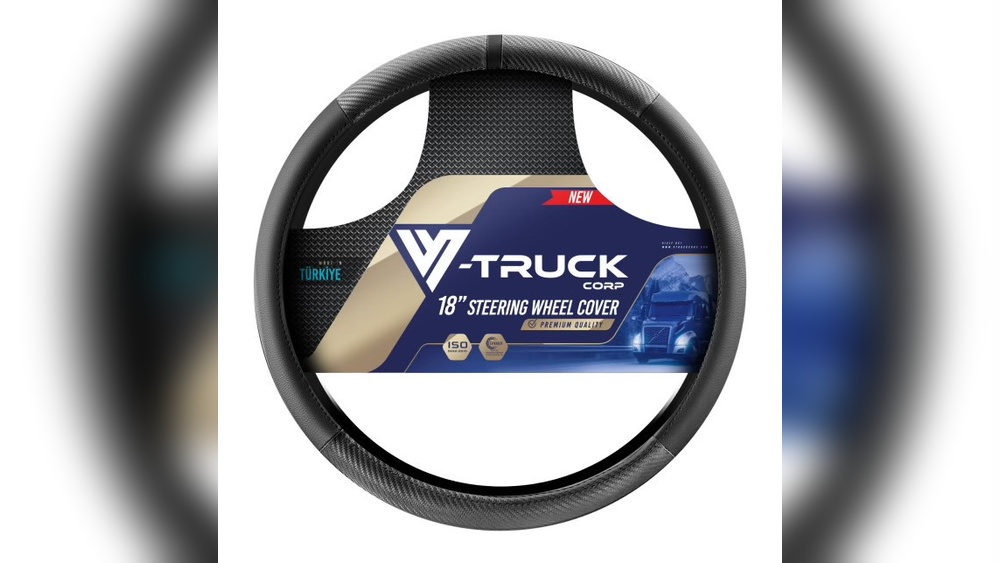
Logos add a personal touch to your cover. Some logos are embroidered for a neat look. Others are printed or embossed. Pick a logo style that matches your taste. A clear and simple logo often looks better while driving.

Credit: www.amazon.sg
Preparing Your Steering Wheel
Preparing your steering wheel is a key step before installing a cover with a logo. A clean and smooth surface helps the cover fit tightly and last longer.
Taking time to clean and remove old covers makes the new one look better. It also protects your steering wheel from damage and dirt.
Cleaning Tips
Start by wiping the steering wheel with a dry cloth to remove loose dust. Use a mild soap and water solution for deeper cleaning. Avoid harsh chemicals that can damage the wheel’s surface. Gently scrub with a soft brush or sponge. Dry the wheel completely with a clean towel. This prevents moisture from trapping under the new cover.
Removing Old Covers
Check if the old cover is glued or just slipped on. For slip-on covers, pull firmly but slowly to avoid tearing. If glued, carefully peel it off to protect the steering wheel. Use a plastic scraper to remove glue residue without scratching. Clean the area again to remove leftover dirt or adhesive. Your steering wheel is now ready for the new cover installation.
Gathering Tools And Materials
Before installing a steering wheel cover with a logo, gather all needed tools and materials. Having everything ready helps the process go smoothly and fast. Preparation avoids frustration and mistakes. This section lists must-have items and helpful extras.
Essential Tools
- Steering wheel cover with logo
- Clean cloth or towel
- Soap and water
- Flathead screwdriver (optional for tight fits)
Start by cleaning the steering wheel with soap and water. Dry it well with the cloth. The cover fits best on a clean, dry surface. The screwdriver may help loosen a tight cover edge.
Optional Accessories
- Hairdryer or heat gun
- Gloves for grip
- Plastic trim tool
Use a hairdryer to warm the cover for easier fitting. Gloves improve grip and control. A plastic trim tool helps tuck the cover edges neatly without damage.
Credit: www.youtube.com
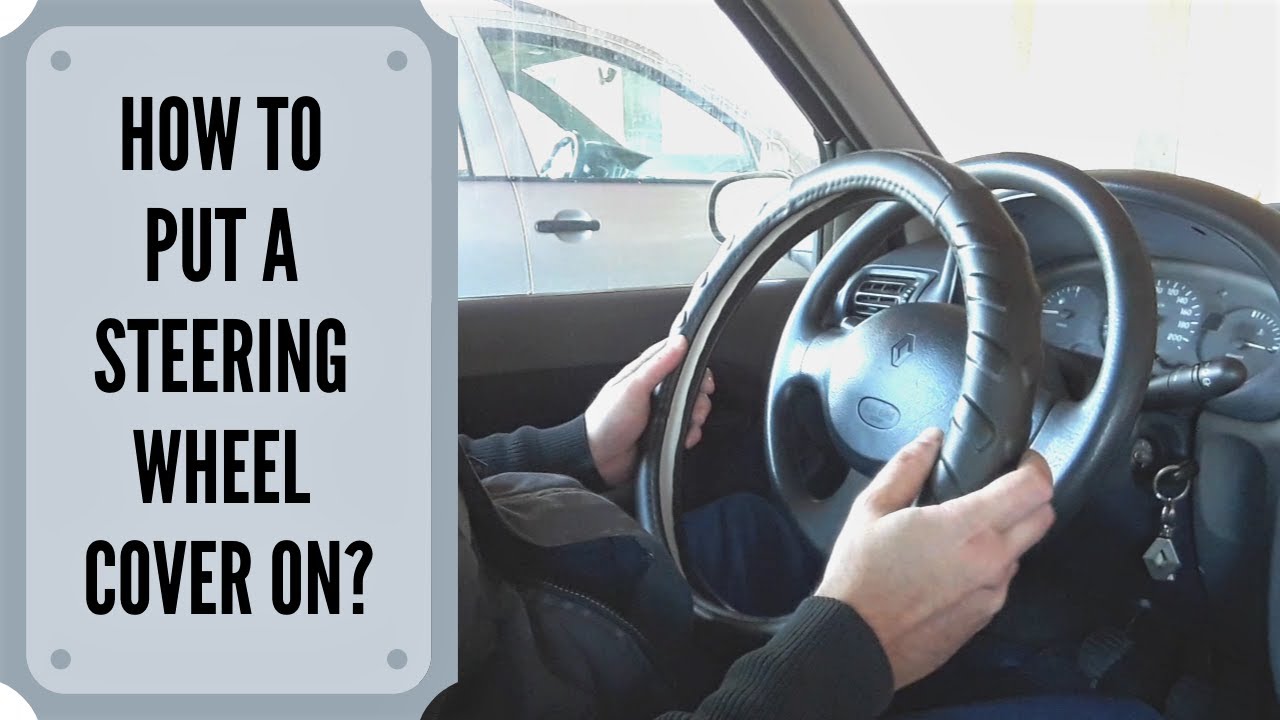
Step-by-step Installation
Installing a steering wheel cover with a logo is simple. Follow these steps carefully. The process ensures a snug fit and a clean look. Proper installation keeps the cover from slipping while driving. Let’s start with aligning the cover on your steering wheel.
Aligning The Cover
Place the cover over the top of the steering wheel. Make sure the logo faces the front center. Match the cover’s seams with the wheel’s edges. This step sets the foundation for a perfect fit. Take your time to position it correctly.
Stretching Techniques
Hold the cover firmly with both hands. Stretch it down slowly over the sides of the wheel. Use steady pressure to avoid tearing the material. Work your way evenly around the wheel. This helps the cover fit tightly and smoothly.
Securing The Edges
Check the bottom part of the cover last. Pull the edges firmly under the wheel. Tuck any loose parts inside the wheel’s back. Press the cover edges to lock them in place. Your steering wheel cover should now feel secure and look great.
Troubleshooting Common Issues
Installing a steering wheel cover with a logo can be tricky at times. Some common issues may arise during the process. Knowing how to fix these problems helps you get a perfect fit and look.
This section covers easy solutions for typical challenges. Follow these tips for a smooth installation.
Dealing With Tight Fits
Sometimes the cover feels too tight to stretch over the wheel. This is normal for new covers. Stretch the cover slowly and evenly around the wheel. Start at the top, then work your way down both sides.
Warm the cover slightly with a hairdryer. This softens the material for easier stretching. Avoid overheating to protect the logo. If needed, ask a helper to hold the cover while you pull.
Fixing Wrinkles And Bubbles
Wrinkles or bubbles may appear after fitting the cover. Smooth them out using your fingers. Press firmly from the center outwards to push air pockets away.
Use a soft cloth to avoid damaging the surface. Keep adjusting until the cover lies flat. If wrinkles persist, remove and reposition the cover carefully. Patience ensures a clean, smooth finish.

Credit: www.youtube.com
Maintaining Your Steering Wheel Cover
Maintaining your steering wheel cover is key to keeping it looking fresh and lasting longer. Dirt, sweat, and sun can damage the cover and fade the logo. Regular care helps preserve the material and the design.
Simple steps keep your cover clean and protect the logo’s sharp look. Caring for the cover also makes driving more comfortable. A clean cover feels better in your hands and improves your grip.
Cleaning Methods
Use a soft cloth and mild soap to clean the cover. Avoid harsh chemicals that can damage the material. Wipe the cover gently to remove dirt and sweat. Let the cover air dry completely before using it again. Do not use a washing machine or dryer, as they can ruin the cover.
Protecting The Logo
Keep the logo away from direct sunlight to prevent fading. Avoid scrubbing the logo area hard to keep it intact. Use a gentle cleaner around the logo for safe cleaning. Protect the logo by parking in shaded areas or using a sunshade. This helps the logo stay vibrant and clear for a long time.
Frequently Asked Questions
How Do I Choose The Right Steering Wheel Cover Size?
Measure your steering wheel’s diameter and circumference precisely. Choose a cover matching those dimensions for a snug fit and proper installation.
Can I Install A Steering Wheel Cover With A Logo Myself?
Yes, installing a logo steering wheel cover is simple. Align the logo, stretch the cover evenly, and fit it securely by hand.
What Tools Are Needed To Install A Steering Wheel Cover?
No special tools are required. You only need your hands to stretch and fit the cover tightly around the steering wheel.
How Long Does It Take To Install A Steering Wheel Cover?
It typically takes 5 to 10 minutes. The process is quick if you carefully stretch and align the cover.
Conclusion
Installing a steering wheel cover with a logo is simple and quick. Take your time to fit it tightly around the wheel. A well-installed cover improves your grip and adds style. It also protects the original steering wheel from wear and tear.
Enjoy the fresh look and better control while driving. Practice this easy step to keep your car’s interior neat. Try it yourself and feel the difference today.