
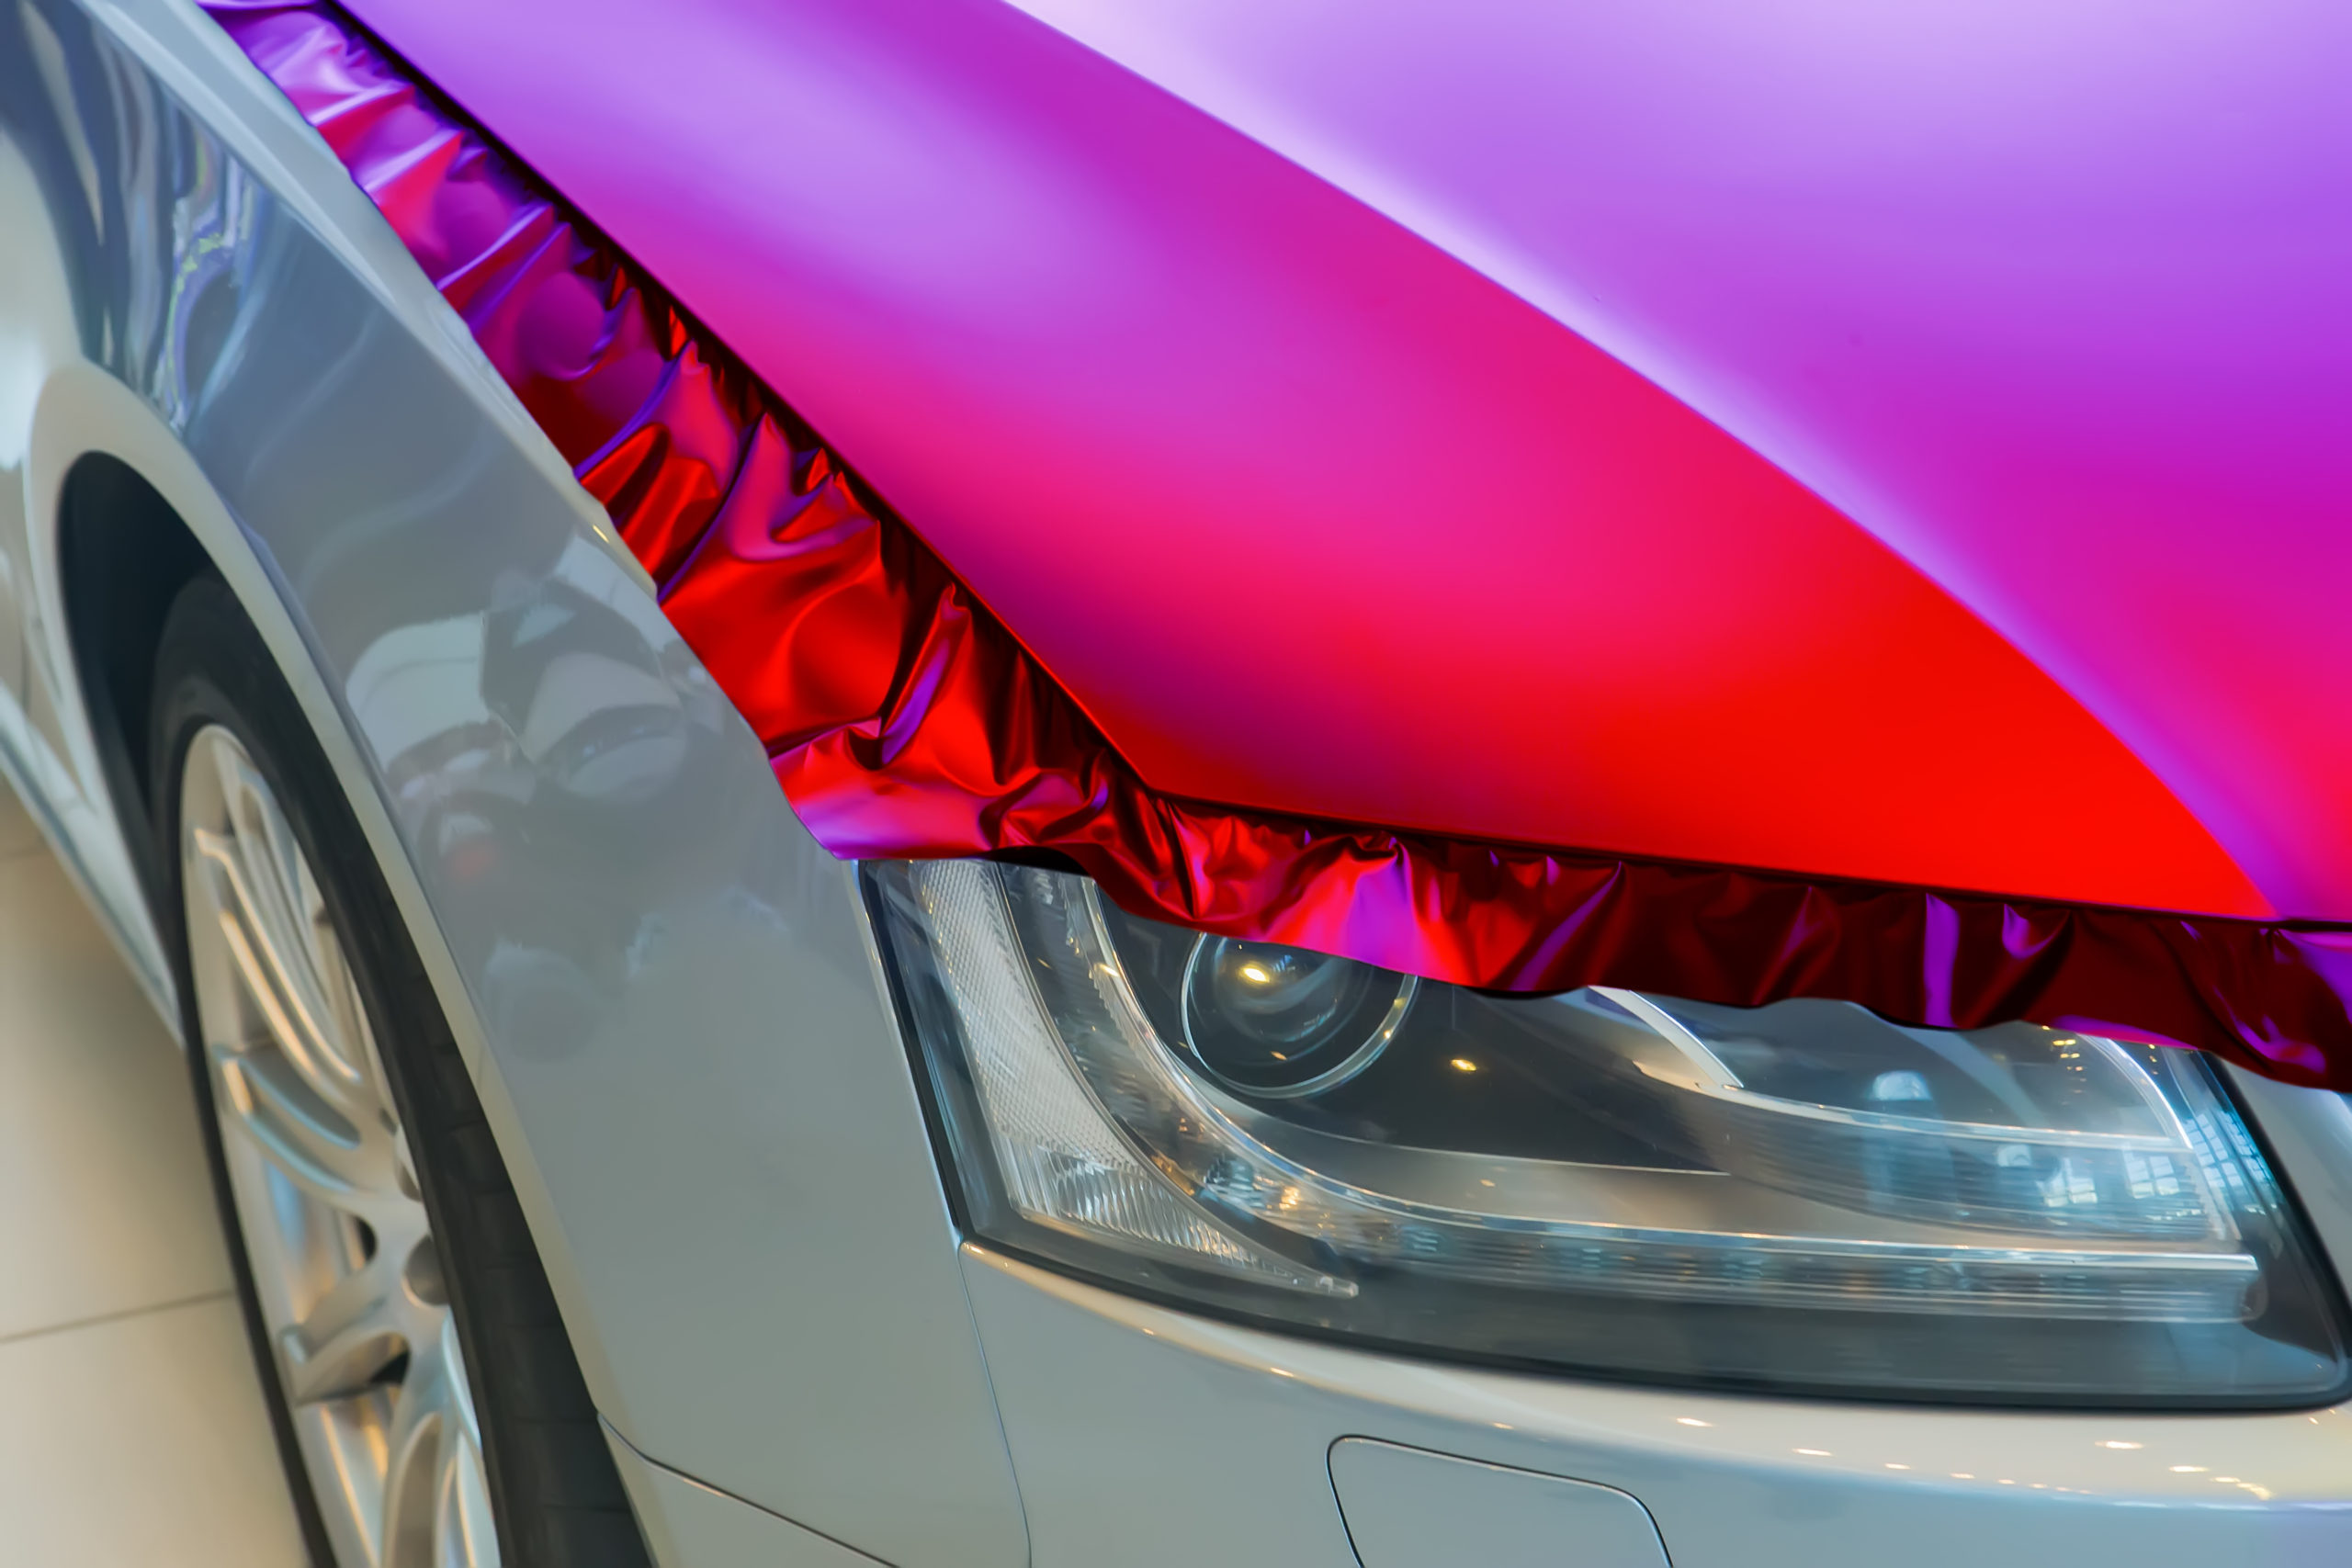
Want to give your car a fresh, sleek look without spending a fortune? Installing a vinyl wrap on your hood is a smart way to transform your ride quickly and affordably.
But if you’ve never tried it before, the process might seem tricky or overwhelming. Don’t worry—you’re about to learn simple, step-by-step tips that make wrapping your hood easier than you think. Keep reading, and you’ll discover how to achieve a smooth, professional finish that turns heads wherever you go.
Your car’s new look is just a few easy steps away!
Preparing The Hood Surface
Preparing the hood surface is a crucial step before applying a vinyl wrap. A clean and smooth hood helps the vinyl stick properly. It also prevents bubbles and wrinkles. Taking time to prepare will make the wrap last longer and look better.
Cleaning The Hood Thoroughly
Start by washing the hood with soap and water. Use a soft cloth or sponge. Remove all dirt, dust, and grease. Avoid harsh chemicals that can damage the paint. A clean surface ensures the vinyl will bond well.
Removing Old Wraps And Debris
Check for any old vinyl or stickers on the hood. Peel them off carefully. Use a plastic scraper if needed. Remove leftover glue or debris with a gentle adhesive remover. This step prevents bumps under the new wrap.
Drying And Inspecting For Imperfections
Dry the hood completely with a clean towel. Look closely for scratches, dents, or rust spots. Fix any damage before wrapping. A smooth and dry surface gives the best results for your vinyl wrap.
Credit: gforce-films.com
Gathering Necessary Tools
Before starting to install vinyl wrap on your car hood, gather all necessary tools. This step saves time and avoids frustration during the process. Having the right materials makes the job easier and improves the final look. Organize everything before you begin for a smooth experience.
Choosing The Right Vinyl Wrap
Select vinyl wrap designed for automotive use. It should be flexible and durable to fit hood curves. Matte, gloss, or satin finishes offer different styles. Pick a wrap with good adhesive that won’t peel easily. Consider color and texture to match your car’s style.
Essential Tools Checklist
Prepare these tools before starting:
- Vinyl wrap film
- Heat gun or hair dryer
- Plastic squeegee or application tool
- Sharp utility knife or blade
- Measuring tape
- Spray bottle with soapy water
- Microfiber cloths
- Gloves to avoid fingerprints
These tools help apply the wrap smoothly and avoid bubbles or tears.
Workspace Setup Tips
Work in a clean, dry, and dust-free area. A shaded spot prevents vinyl from drying too fast. Make sure the hood is cool to touch before wrapping. Lay down a soft cloth or mat to protect the paint. Good lighting helps spot imperfections early.
Measuring And Cutting The Vinyl
Measuring and cutting the vinyl correctly is key to a smooth wrap. It helps avoid waste and ensures a perfect fit on your hood. Take your time to get this step right. Small mistakes can cause big problems later.
Taking Accurate Measurements
Start by cleaning the hood surface. Use a soft cloth to remove dust and dirt. Use a tape measure to find the length and width of the hood. Measure at several points to account for curves and edges. Write down the largest measurements to cover the entire hood.
Cutting The Vinyl To Size
Lay the vinyl flat on a clean surface. Place a ruler or straight edge along the measured lines. Use a sharp utility knife or scissors to cut the vinyl. Cut slowly and carefully to keep straight edges. Avoid jagged cuts which can cause peeling later.
Allowing For Overhang
Add extra vinyl around the edges. Leave about 2 to 3 inches of overhang on all sides. This extra material helps to wrap around curves and corners. It also allows room for stretching without tearing. Trim the excess after the vinyl sticks firmly to the hood.

Credit: www.youtube.com
Applying The Vinyl Wrap
Applying the vinyl wrap on your car hood is a careful process. It needs attention to detail and patience. This step decides how smooth and neat your final look will be.
Start with clean hands and a dust-free hood. Take your time to place the vinyl correctly before sticking it down. This helps avoid mistakes and saves effort later.
Positioning The Vinyl On The Hood
Lay the vinyl carefully over the hood. Align the edges with the shape of the hood. Use light pressure to hold it in place. Do not press hard yet. Check all sides to make sure it fits well.
Using Heat For Flexibility
Use a heat gun or hairdryer to warm the vinyl gently. Warm vinyl stretches and bends easily. Heat helps the wrap fit curves and corners better. Keep the heat moving to avoid damage. Warm the vinyl just enough to make it soft.
Smoothing Out Air Bubbles
Use a squeegee to push air bubbles out. Start from the center and move toward edges. Work slowly to avoid new bubbles. If bubbles stay, lift the vinyl gently and press again. Heat can help remove stubborn bubbles by softening the vinyl.
Trimming And Finishing Edges
Trimming and finishing the edges is a key step in vinyl wrap installation on your hood. This step gives your car a clean, professional look. Proper edge work stops the vinyl from peeling or lifting over time. Take your time here for the best results.
Cutting Excess Vinyl Cleanly
Use a sharp utility knife for clean cuts. Cut slowly along the hood’s edges. Avoid cutting too close to the paint. Leave a small margin to tuck the vinyl under. This helps the wrap stay secure. Replace blades often for smooth, precise cutting.
Sealing The Edges
Press the edges firmly with a squeegee. This removes air and bonds the vinyl to the surface. Apply edge sealer or vinyl adhesive tape. Sealing stops moisture and dirt from getting underneath. Focus on corners and curves for strong hold.
Final Heat Application
Use a heat gun on a low setting. Warm the edges gently to activate the adhesive. Move the heat gun slowly to avoid damage. Press edges again with a squeegee while warm. This locks the vinyl in place for a lasting finish.
Maintaining The Vinyl Wrap
Maintaining the vinyl wrap on your hood keeps it looking fresh and extends its life. Proper care helps protect the wrap from dirt, sun, and damage. Small steps make a big difference in how long the wrap lasts.
Cleaning Tips For Longevity
Clean the vinyl wrap regularly to avoid buildup of dirt and grime. Use a soft cloth or sponge with mild soap and water. Do not use harsh chemicals or abrasive materials. Rinse well and dry with a microfiber towel. Avoid automatic car washes with brushes that can scratch the wrap.
Avoiding Damage And Peeling
Park in shaded areas to protect the wrap from sun damage. Avoid parking under trees where sap or bird droppings can fall. Remove any contaminants quickly with gentle cleaning. Do not use sharp tools or scrub hard. Peeling often starts at edges, so check those areas carefully.
When To Rewrap Or Repair
Small scratches or bubbles can sometimes be repaired at home. Large tears or fading require professional help. If the wrap shows signs of peeling or lifting, act fast to prevent more damage. Rewrapping may be needed after several years to keep the hood looking new.

Credit: www.youtube.com
Frequently Asked Questions
How Do I Prepare The Hood Before Vinyl Wrapping?
Clean the hood thoroughly to remove dirt and grease. Use soap and water, then wipe with isopropyl alcohol. Ensure the surface is dry and smooth for better vinyl adhesion.
What Tools Are Needed To Install Vinyl Wrap On A Hood?
You need a squeegee, heat gun, utility knife, microfiber cloth, and gloves. These tools help in smoothing, cutting, and applying the vinyl wrap efficiently.
Can I Install Vinyl Wrap On A Curved Hood Surface?
Yes, vinyl wrap is flexible and can conform to curves. Use a heat gun to soften the vinyl, making it easier to stretch and fit the hood’s shape.
How Long Does Vinyl Wrap Last On A Car Hood?
Vinyl wraps typically last 5 to 7 years with proper care. Avoid harsh chemicals and direct sunlight to extend the lifespan of the wrap.
Conclusion
Vinyl wrapping your hood adds style and protection. Take your time with each step for best results. Use the right tools to avoid bubbles and wrinkles. Clean the surface well before applying the wrap. Heat and smooth the vinyl carefully for a tight fit.
Small mistakes can be fixed with patience. Practice helps improve your wrapping skills. Enjoy your refreshed car look after finishing the job. This simple upgrade makes a big difference in appearance.


