Thinking about giving your car a fresh, new look without spending a fortune? You’re in the right place.
Installing Vvivid vinyl wrap is a smart way to transform your ride quickly and easily. But if you’ve never done it before, the process might seem a bit overwhelming. Don’t worry—this guide will walk you through every step, making it simple and stress-free.
By the end, you’ll have the skills to wrap your car like a pro and turn heads wherever you go. Ready to get started? Let’s dive in!
Preparing The Surface
Preparing the surface is the first step to a smooth Vvivid vinyl wrap installation. A clean and smooth surface helps the vinyl stick better and last longer. Take your time here. It makes a big difference in the final look and durability of your wrap.
Cleaning The Vehicle
Start by washing the vehicle thoroughly. Use soap made for cars to remove dirt and grease. Avoid household cleaners that may leave residue. Rinse the vehicle well with water. Dirt or oil can stop the vinyl from sticking properly. Use a microfiber cloth to wipe the surface clean.
Removing Old Wraps And Debris
Check for any old vinyl wrap or stickers on the vehicle. Peel off old wraps slowly to avoid damaging the paint. Remove any leftover glue with a gentle adhesive remover. Clean off dust, bugs, and tar spots. These can cause bumps under the new wrap.
Drying And Inspection
Dry the vehicle completely using a soft towel. Water spots can block the vinyl from sticking. Inspect the surface for scratches or dents. Fix any surface damage before wrapping. A smooth surface helps the vinyl look its best.
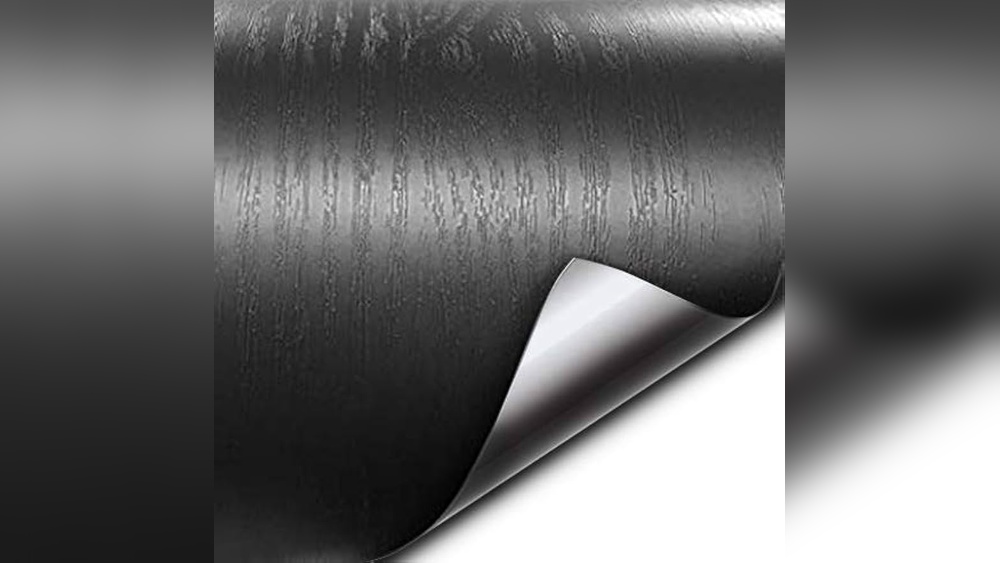
Credit: vvividshop.com
Gathering Necessary Tools
Before starting to install Vvivid vinyl wrap, gather all the needed tools. Having the right tools makes the process smooth. It saves time and avoids frustration. Prepare your workspace and organize everything for easy access.
Essential Tools List
- Vinyl wrap film
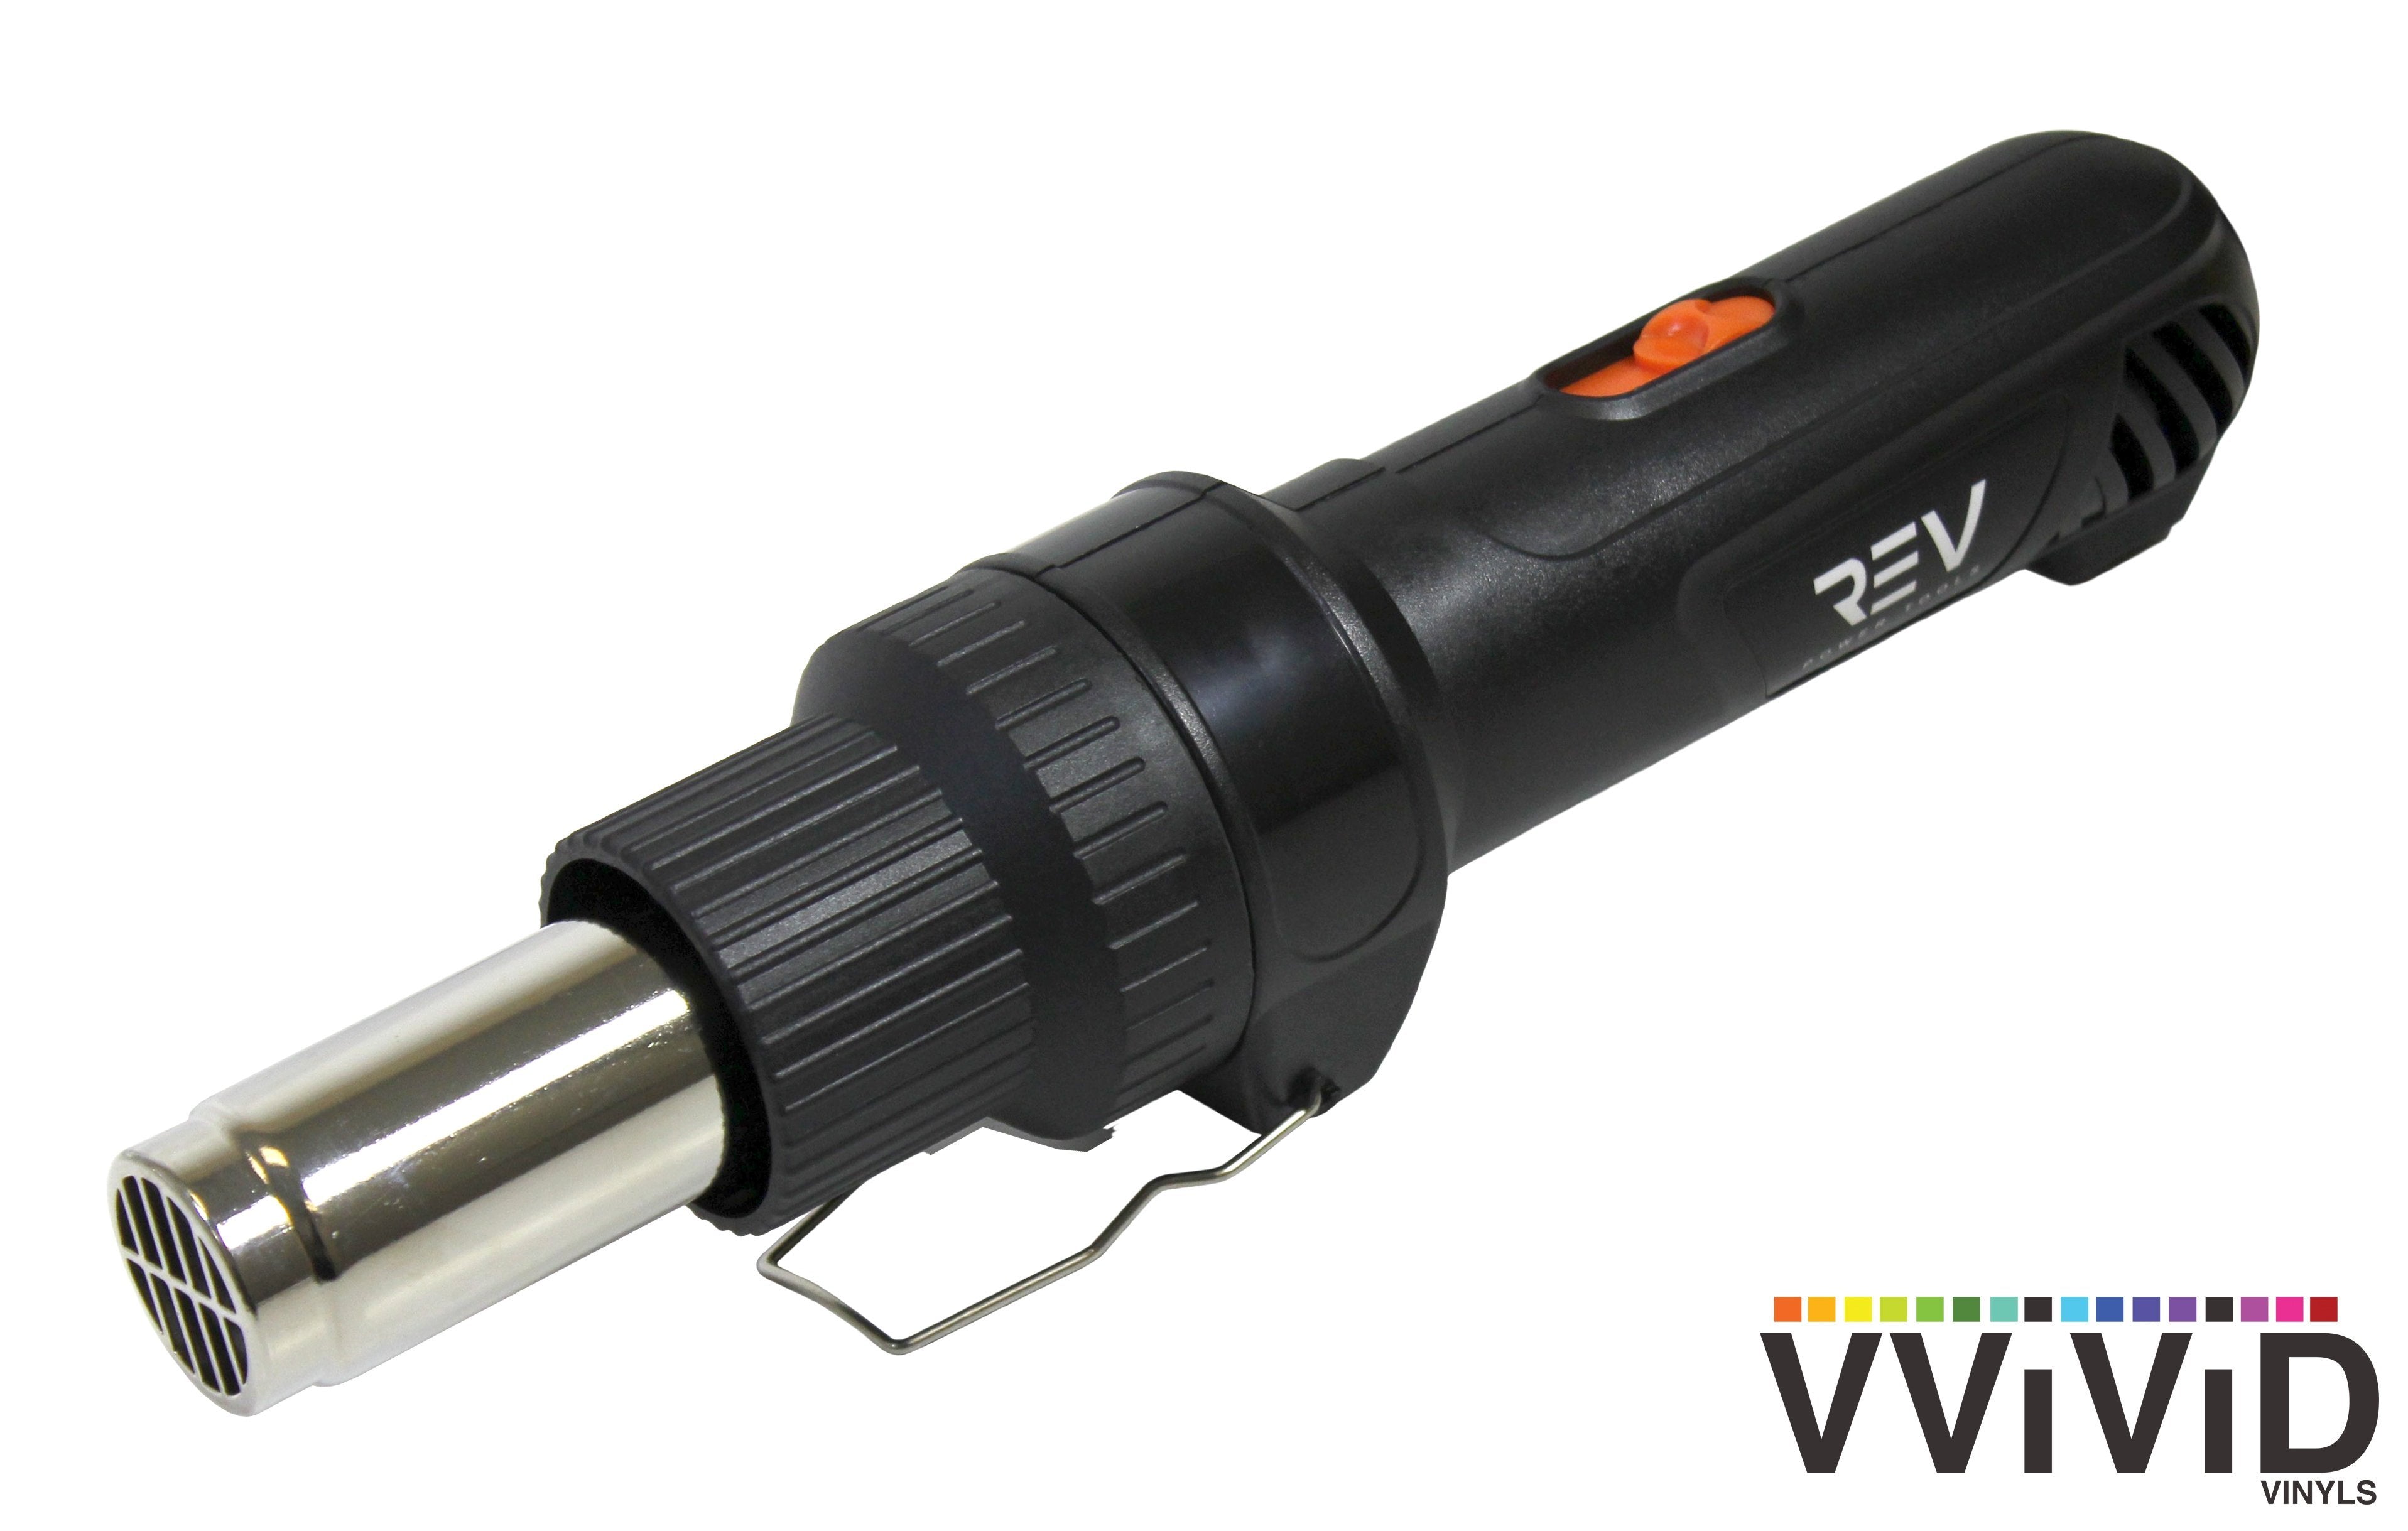
- Heat gun or hair dryer
- Plastic squeegee with felt edge
- Utility knife or sharp blade
- Isopropyl alcohol and clean cloth
- Measuring tape or ruler
- Gloves to prevent fingerprints
- Spray bottle with water and soap mix
Optional Accessories For Better Results
- Magnets to hold vinyl in place
- Microfiber towels for cleaning
- Edge trimmer for precise cuts
- Heat-resistant gloves for safety
- Plastic razor blade for removing bubbles
- Surface cleaner spray for stubborn dirt
Measuring And Cutting The Vinyl
Measuring and cutting the vinyl wrap is an important step in the installation process. Proper measurements help avoid waste and ensure the wrap fits perfectly. Cutting the vinyl carefully prevents damage and keeps edges clean. Taking time with these steps makes the whole job easier and more successful.
Accurate Measurements
Start by cleaning the surface you will wrap. Dirt or dust can affect the measurement. Use a tape measure to get the length and width of each section. Write down the numbers clearly. Add a few extra inches to your measurements. This extra material helps with adjustments and handling.
Measure twice to avoid mistakes. Check curves and edges separately. Vinyl needs a little more length on curves to wrap smoothly. Mark your measurements on the vinyl with a pencil or light marker. Clear marks guide your cutting and reduce errors.
Cutting Techniques
Use a sharp utility knife or vinyl cutter for clean cuts. Cut on a flat, stable surface to keep the vinyl steady. Avoid pressing too hard to prevent tearing. Follow your marks carefully and cut slowly. Straight lines are easier to handle during installation.
For curves, make small, gentle cuts. These cuts let the vinyl bend without wrinkling. Keep extra vinyl on the edges to tuck around corners. Trim excess only after you apply the wrap. This method reduces waste and keeps the wrap neat.

Credit: www.youtube.com
Applying The Vinyl Wrap
Applying the vinyl wrap is a key step in the installation process. It needs care and patience to get a smooth, clean look. This part transforms your surface into a fresh, new style.
Positioning The Wrap
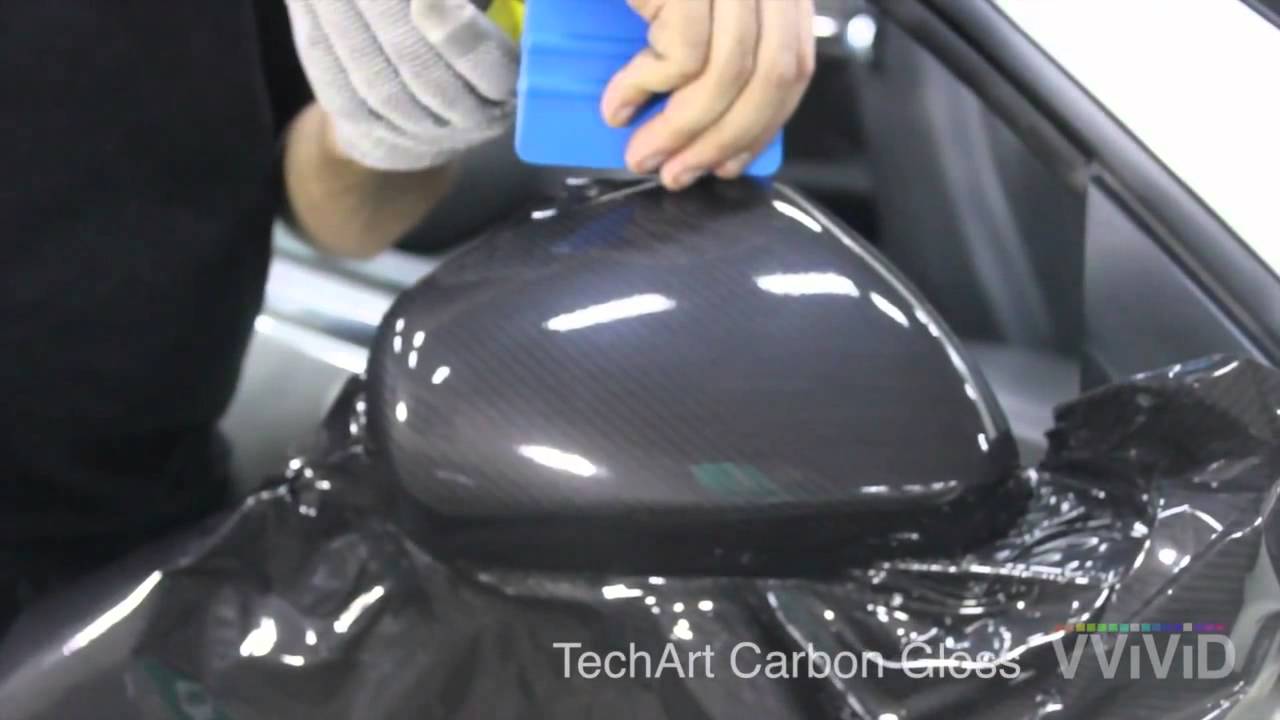
Start by placing the vinyl wrap on the surface carefully. Align it so it covers the area fully without stretching. Work slowly to avoid mistakes. Use light pressure to hold the wrap in place. Check the edges and corners for proper fit before sticking it down fully.
Using Heat For Flexibility
Heat makes the vinyl soft and easy to bend. Use a heat gun or a hair dryer on low heat. Warm the wrap gently, especially around curves and edges. This helps the vinyl fit tight without wrinkles or bubbles. Avoid too much heat to prevent damage.
Smoothing Out Bubbles And Wrinkles
Use a squeegee or a soft cloth to smooth the wrap. Push bubbles and wrinkles toward the edges carefully. Work from the center outward for best results. Small bubbles can be popped with a pin and pressed flat. Take your time to ensure a perfect finish.
Trimming Excess Vinyl
Trimming excess vinyl is an important step in wrapping your vehicle. It gives the wrap a clean and smooth finish. Removing extra material prevents wrinkles and bubbles. Careful trimming helps the wrap fit perfectly around curves and edges. This step requires patience and the right tools to avoid damage.
Safe Cutting Methods
Use a sharp blade for clean cuts. A new utility knife or vinyl cutter works best. Always cut on a flat surface to control the blade. Avoid pressing too hard to prevent scratches. Cut slowly and steadily along the edge of the wrap. Keep fingers clear of the blade to stay safe. Replace dull blades often to keep cuts smooth.
Handling Edges And Corners
Stretch vinyl slightly around corners for a tight fit. Use a heat gun to soften the vinyl before trimming. Trim excess vinyl close to the edge, but leave a small margin. Avoid cutting too close, which can cause peeling. Fold edges neatly and press down firmly. Use a squeegee to smooth out any air bubbles near edges. Take your time with corners to ensure neat results.
Finishing Touches
After applying the Vvivid vinyl wrap, the finishing touches make a big difference. These steps help protect your wrap and keep it looking fresh for a long time. A neat finish also gives your vehicle a professional look.
Sealing The Edges
Sealing the edges stops dirt and water from getting under the wrap. Use a heat gun to warm the edges gently. Press the edges down with a squeegee or your fingers. This helps the adhesive stick well. Be careful not to overheat the vinyl, as it can stretch or melt. Take your time to seal all the edges evenly.
Final Inspection
Look over your work carefully. Check for bubbles or wrinkles on the surface. Use a pin to pop small bubbles and smooth them out. Make sure all edges are firmly sealed. Check corners and curves thoroughly. Fix any loose parts to avoid peeling later. A careful final check keeps your wrap neat and strong.
Maintenance Tips
Proper maintenance keeps your Vvivid vinyl wrap looking fresh and lasting longer. Simple care steps protect the wrap from damage and fading. Follow these tips to maintain the wrap’s shine and texture.
Cleaning Wrapped Surfaces
Use a soft cloth or sponge to clean the wrap gently. Avoid rough brushes or scrubbers that can scratch the surface. Wash the wrap with mild soap and water only. Rinse thoroughly to remove all soap residue. Dry the surface with a soft towel to prevent water spots. Clean your wrap regularly to avoid dirt buildup and stains.
Avoiding Damage
Park your vehicle in shaded areas to limit sun exposure. Prolonged sun can cause fading and peeling. Avoid automatic car washes with harsh brushes. Hand washing is safer for your vinyl wrap. Keep sharp objects away from the wrap to prevent cuts or tears. Do not use abrasive cleaners or solvents that can weaken the vinyl.
Credit: hauslloguer.com
Frequently Asked Questions
What Tools Are Needed To Install Vvivid Vinyl Wrap?
You need a squeegee, heat gun, utility knife, cleaning solution, and microfiber cloth. These tools help ensure smooth application and avoid bubbles or creases for a professional finish.
How Do I Prepare My Car For Vinyl Wrapping?
Clean the surface thoroughly to remove dirt, grease, and wax. Use isopropyl alcohol for best results. Dry completely before applying vinyl to ensure strong adhesion and a smooth wrap.
Can I Install Vvivid Vinyl Wrap Myself?
Yes, you can install it yourself with patience and the right tools. Follow instructions carefully and work slowly to avoid mistakes. Practice on small areas first for better results.
How Long Does Vvivid Vinyl Wrap Installation Take?
Installation typically takes 2 to 4 hours depending on vehicle size and experience. Complex curves or large surfaces may require more time for a flawless finish.
Conclusion
Installing Vvivid vinyl wrap is simpler than it seems. Take your time and follow each step carefully. Clean the surface well before starting. Use a squeegee to remove air bubbles. Work slowly to avoid wrinkles and folds. Practice makes perfect, so don’t rush.
Your vehicle will look fresh and unique afterward. Enjoy the satisfaction of a job well done. This DIY project saves money and adds style. Try it yourself and see the great results.

