

Are you ready to take your car washing routine to the next level? Making your own homemade foam cannon is easier than you think—and it can save you money while giving your vehicle that professional, sparkling clean look.
Imagine covering your car in thick, rich foam that clings to every surface, loosening dirt and grime effortlessly. In this guide, you’ll discover simple steps to create your own foam cannon using everyday items. By the end, you’ll have everything you need to transform your cleaning game and enjoy a satisfying, fun experience every time you wash your car.
Keep reading, and let’s get started!
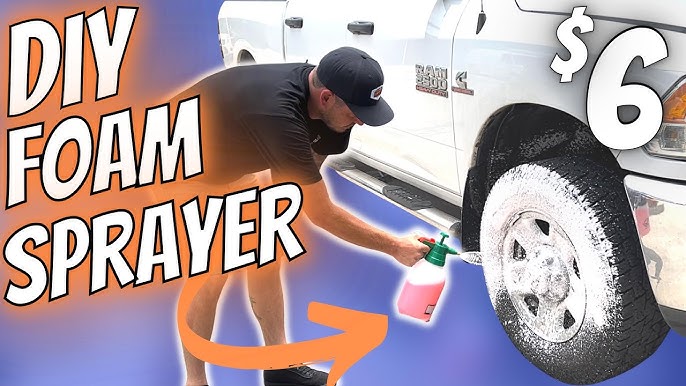
Credit: www.youtube.com
Materials Needed
Gathering the right materials is key to making a homemade foam cannon. Having all parts ready helps the process go smoothly. Use good quality items for the best foam and cleaning results.
Below are the main materials you need. Each part plays an important role in the foam cannon’s function.
Foam Cannon Components
- Plastic bottle or container with a secure lid
- Pressure washer spray gun or nozzle adapter
- Foam cannon connector or a simple hose adapter
- Tube or straw to draw soap from the bottle
- Adjustable nozzle for controlling foam thickness
Recommended Soap Solutions
- Car wash soap that produces rich foam
- Dish soap mixed with water (mild and safe for paint)
- Foam booster or snow foam concentrate (optional)
- Distilled water to avoid hard water spots
Additional Tools
- Measuring cup for accurate soap and water mixing
- Funnel for easy filling of the bottle
- Wrench or pliers to tighten fittings
- Cleaning brush for nozzle maintenance
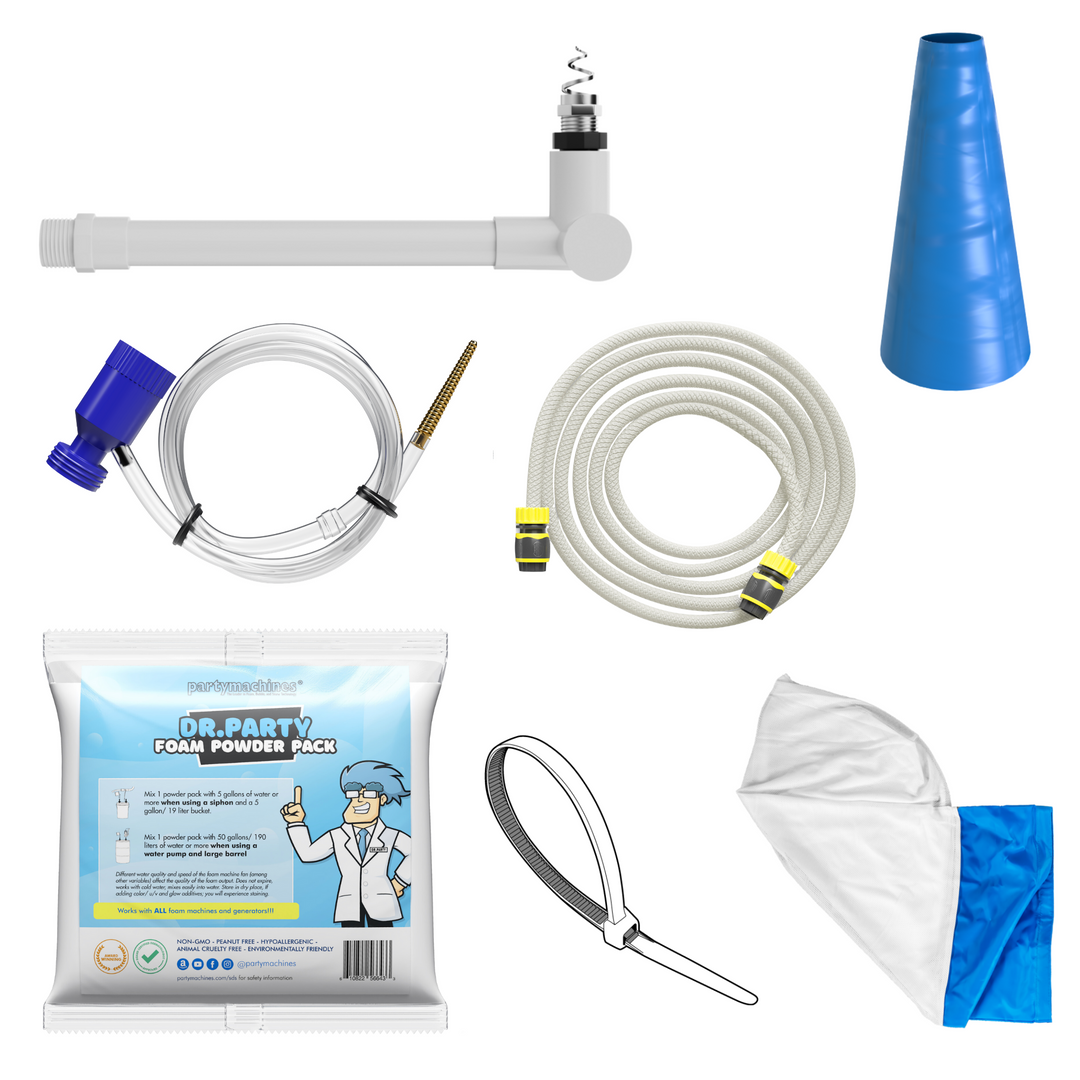
Credit: partymachines.com
Choosing The Right Soap
Choosing the right soap is key to making a great homemade foam cannon. The soap affects how thick and fluffy the foam will be. It also impacts how well the foam sticks to surfaces. Using the wrong soap can cause weak foam or damage to your paint. Selecting a soap made for foam cannons or car washing gives the best results.
Types Of Soaps For Foam
Car wash soaps are the best choice for foam cannons. They produce thick, rich foam that cleans gently. Avoid dish soaps or household cleaners. These soaps can strip wax and harm paint. Look for soaps labeled as pH balanced or safe for cars. Some foaming soaps are made specifically for foam cannons. These often create more bubbles and last longer on the surface.
Soap Concentration Tips
Mix soap with water carefully. Too much soap can clog the foam cannon nozzle. Too little soap will make weak foam. Start with a soap concentration of about 2-4%. Adjust the ratio based on foam thickness. Use soft water if possible. Hard water can reduce foam quality. Stir the mix gently to avoid breaking bubbles before spraying.
Assembling The Foam Cannon
Assembling the foam cannon is a simple process that makes your cleaning easier and more fun. This step brings all parts together to create a tool that sprays thick foam. Follow clear steps to attach the nozzle, connect to the pressure washer, and adjust the settings. Each part must fit well to work properly. A well-assembled foam cannon saves time and cleans better.
Attaching The Nozzle
Start by fixing the nozzle to the foam cannon body. The nozzle controls the foam spray pattern. Align the nozzle with the threads on the cannon. Turn it clockwise until tight. Avoid over-tightening to prevent damage. Check for a secure fit to avoid leaks during use.
Connecting To Pressure Washer
Next, connect the foam cannon to the pressure washer wand. Use the quick-connect adapter for easy attachment. Push the cannon onto the wand until it clicks. Make sure it fits firmly to stop water leaks. A loose connection can reduce foam pressure and spray quality.
Adjusting The Settings
Adjust the foam cannon settings for the best foam thickness. Twist the soap mixture knob to control soap flow. Turn the nozzle tip to change the spray angle. Narrow angles give a strong stream, wide angles cover more area. Test the foam spray and tweak settings as needed.
Mixing The Soap Solution
Mixing the soap solution is a key step for making a homemade foam cannon. The right mix creates thick foam that sticks well to surfaces. Too much soap or water can make the foam weak or too runny. Getting the balance right helps the foam cannon work better and last longer.
Ideal Ratios
Use a simple ratio for the best foam. Start with one part car wash soap to ten parts water. This mix creates thick foam without wasting soap. Some soaps work better with slightly different ratios. Test your mix by spraying a small amount. Adjust the soap if the foam is too thin or too thick.
Avoiding Common Mistakes
Do not use dish soap or harsh detergents. These can damage your car’s paint. Avoid using too much soap. It can clog the foam cannon. Do not add too much water. Thin foam will not clean well. Stir the solution gently to avoid bubbles in the bottle. Use clean water to prevent dirt from blocking the nozzle.
Testing The Foam Output
Testing the foam output is a key step in making a homemade foam cannon. It shows how well your device works. This step helps you see if the foam is thick enough and covers the surface properly. You can make small changes to improve foam quality. Testing also reveals any problems early.
Adjusting Foam Thickness
Start by spraying foam on a flat surface. Check how thick and creamy the foam looks. Thin foam means more soap or less air. Thick foam means less soap or more air. Change the soap-to-water ratio for better foam. Add more soap for thicker foam. Add more water for lighter foam. Adjust the foam cannon’s nozzle to control air mix. Test several times until you get the right foam.
Troubleshooting Issues
No foam or weak foam means a problem. Check if the soap bottle is empty or clogged. Clean the nozzle to remove dirt or blockages. Make sure the air pressure is strong enough. Weak pressure leads to poor foam. If foam sprays unevenly, check hose connections. Tighten loose fittings. Replace damaged parts if needed. Keep testing after each fix to find the best setup.
Safety Tips
Safety is very important when making a homemade foam cannon. Chemicals and equipment can be risky. Taking simple steps keeps you safe and protects your home. Always follow safety tips before starting your project.
Handling Chemicals
Wear gloves to protect your skin from harsh chemicals. Avoid touching your face while working. Use chemicals in a well-ventilated area to prevent breathing harmful fumes. Store chemicals in a safe place, away from children and pets. Read labels carefully to understand each chemical’s risks and instructions.
Equipment Precautions
Check all equipment for damage before use. Make sure connections are tight to avoid leaks. Use protective eyewear to guard against splashes. Keep the foam cannon away from electrical outlets. Clean equipment after each use to prevent buildup and damage. Always unplug power tools when assembling or adjusting parts.
Maintenance And Storage
Keeping your homemade foam cannon in good shape helps it last longer. Regular care stops clogs and wear. Storing it right prevents damage and saves money. This section covers simple steps to clean and store your foam cannon well.
Cleaning The Foam Cannon
Rinse the cannon with clean water after each use. Run water through the nozzle to clear soap residue. Use a soft brush to remove dirt from small parts. Avoid harsh chemicals that can damage the plastic. Let all parts dry completely before storing. Clean parts work better and prevent build-up that blocks foam flow.
Proper Storage Techniques
Store the foam cannon in a dry, cool place. Avoid direct sunlight to protect plastic parts. Keep the nozzle and container upright to avoid leaks. Use a sealed bag or box to stop dust and moisture. Check the cannon before use for any cracks or damage. Proper storage keeps your foam cannon ready for the next wash.

Credit: www.youtube.com
Frequently Asked Questions
What Materials Do I Need For A Homemade Foam Cannon?
You need a pressure washer, a foam cannon bottle, hose adapter, soap solution, and a spray nozzle. These items ensure effective foam generation and easy attachment to your washer.
How Do I Mix Soap For The Foam Cannon?
Mix car wash soap with water at a 1:10 ratio. Use a soap designed for foam cannons to create thick, lasting foam.
Can I Use Any Soap In A Foam Cannon?
No, use only pH-balanced, low-foam car wash soap. Harsh detergents can damage your car’s paint and reduce foam quality.
How To Connect The Foam Cannon To A Pressure Washer?
Attach the foam cannon’s quick-connect adapter to your pressure washer’s spray gun. Ensure a tight fit to prevent leaks and maintain pressure.
Conclusion
Making a homemade foam cannon is simple and fun. You only need a few tools and some soap. It helps clean your car faster and better. You can adjust the foam thickness to suit your needs. This project saves money compared to buying one.
Try it yourself and enjoy the foamy cleaning power. Keep safety in mind while assembling and using it. Now, you have a practical way to wash your vehicle with ease. Give it a shot and see the difference!


