Are your wheel covers looking worn out or missing altogether? Putting on new wheel covers can instantly boost your car’s appearance and protect your wheels from dirt and damage.
But if you’ve never done it before, the task might seem tricky. Don’t worry—you’re about to learn a simple, step-by-step way to put wheel covers on your Pilot with ease. Keep reading, and you’ll have your wheels looking sharp in no time.
Credit: bona-store.com
Tools Needed
Putting on wheel covers requires a few simple tools. These tools help you install the covers safely and quickly. Having the right items makes the job easier and prevents damage to your wheels or covers.
Gathering these tools before you start saves time. It also ensures a smooth and secure fit for the wheel covers. Here are the essential tools you need.
Flathead Screwdriver
A flathead screwdriver helps pry off old wheel covers gently. It also assists in adjusting clips on new covers. Choose one with a comfortable handle for better grip.
Rubber Mallet
A rubber mallet allows you to tap the wheel cover into place. It prevents scratches and dents that a metal hammer might cause. Use soft, controlled taps for best results.
Gloves
Wearing gloves protects your hands from sharp edges. They also improve your grip on the wheel covers. Choose gloves that fit well and are easy to move in.
Wheel Cleaner And Cloth
Cleaning the wheel surface before installation is important. Use a wheel cleaner and soft cloth to remove dirt and grease. A clean surface helps the cover stick firmly.

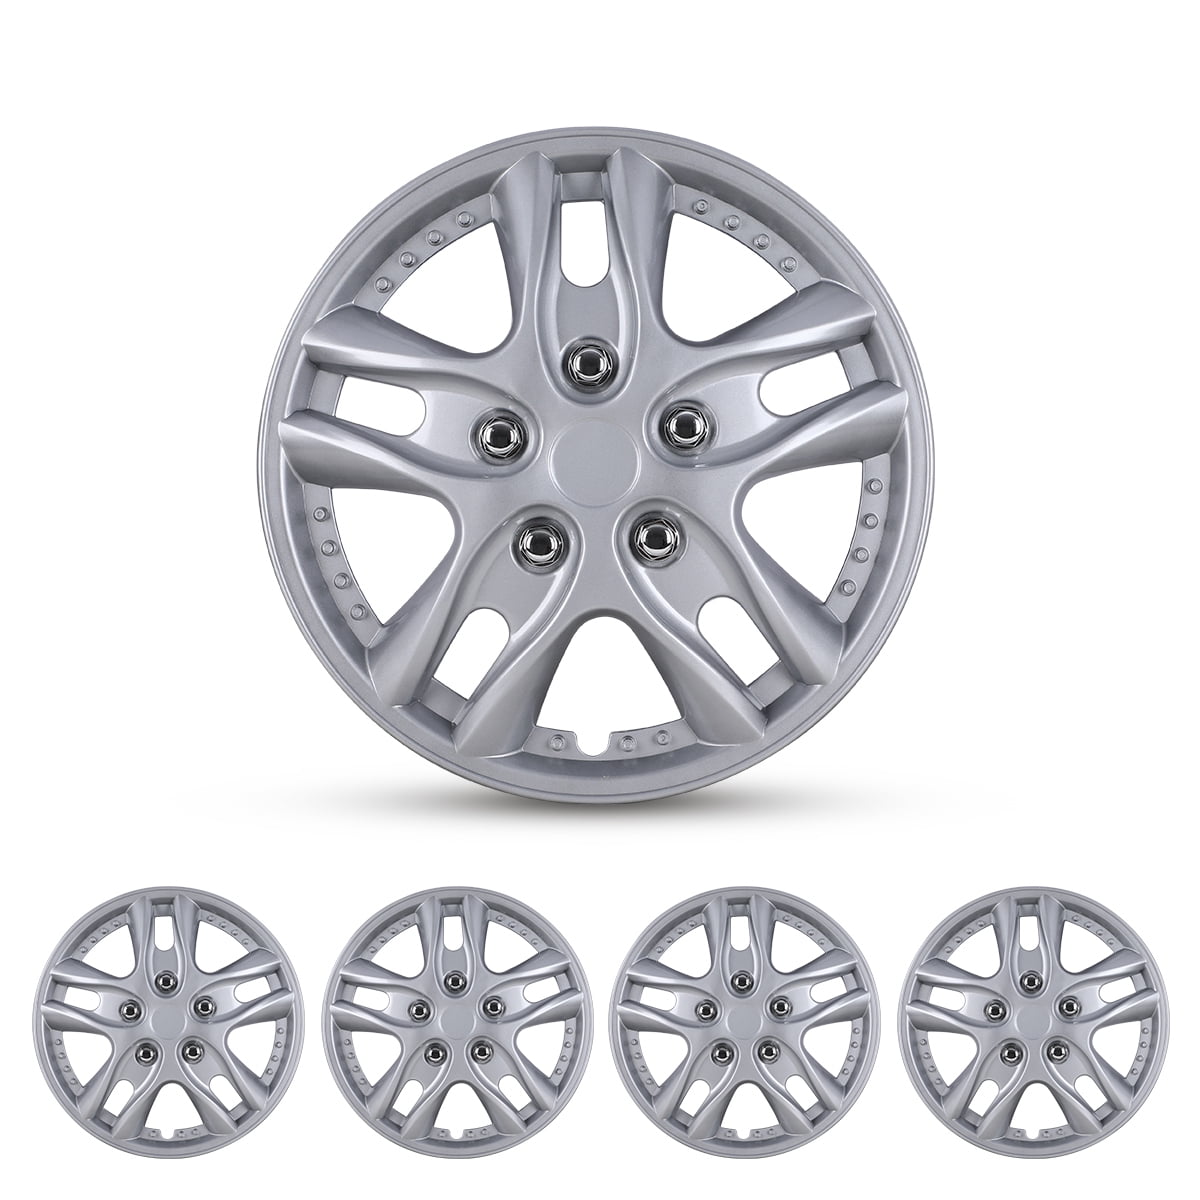
Credit: www.pirouette-editions.fr
Preparing The Wheel
Preparing the wheel is a key step before putting on wheel covers. It helps the covers fit well and last longer. Taking time to prepare the wheel keeps the look neat and protects your wheels from damage.
Cleaning The Wheel Surface
Start by cleaning the wheel surface. Dirt and dust stop the cover from fitting properly. Use a cloth and some water to wipe away all dirt. For tough grime, use mild soap and water. Make sure the wheel is dry before putting on the cover. A clean surface helps the cover stick better and look smooth.
Checking For Damage
Check the wheel for any damage next. Look for cracks, dents, or rust spots. Damaged wheels can cause the cover to fit poorly or fall off. Fix minor damage or replace the wheel if needed. A healthy wheel ensures the cover stays secure and looks good.
Aligning The Wheel Cover
Aligning the wheel cover is a key step in fitting it properly. This step ensures the cover stays secure and looks neat. Careful alignment helps avoid damage to the cover or the wheel. It also keeps the cover from falling off while driving. Follow simple steps to align the cover perfectly.
Matching Clips And Slots
Check the wheel cover for clips and slots. These parts connect the cover to the wheel. Match each clip on the cover with the slot on the wheel. This helps the cover fit tightly. Press gently but firmly to snap the clips in place. Avoid forcing the cover to prevent breaking clips.
Positioning The Cover Correctly
Place the cover so the valve stem hole lines up with the tire valve. This prevents blocking air access. Hold the cover evenly around the edges. Push the cover toward the wheel in a smooth motion. Make sure all clips lock in place. Test by pressing lightly on the cover to check its fit.

Credit: sudrecruiting.com
Securing The Wheel Cover
Securing the wheel cover is a key step in the installation process. A properly secured cover stays in place while driving. It also protects your wheels from dirt and damage. Taking time to secure the cover ensures safety and durability.
Pressing Evenly Around The Rim
Press the wheel cover gently but firmly. Start at one point on the rim. Move your hands around the rim in a circle. Press down evenly to avoid gaps. Uneven pressure can cause the cover to pop off. Make sure each section clicks or snaps into place.
Ensuring A Tight Fit
Check the fit by trying to wiggle the cover. It should feel snug and not move easily. A loose cover can fall off while driving. Adjust by pressing more firmly on loose areas. Confirm all clips or fasteners are secure. A tight fit keeps the cover safe and stable.
Troubleshooting Fit Issues
Wheel covers can sometimes be tricky to fit properly. You might notice they are too loose or hard to push onto the wheel. These issues can make the covers fall off or damage your wheels. Fixing fit problems helps keep covers secure and looking good.
Check the size of the wheel cover against your wheel. Sometimes covers are made for slightly different wheel sizes. Knowing the right size helps avoid many fit problems.
Handling Loose Covers
Loose wheel covers can fall off while driving. Try cleaning the wheel rim and cover edges. Dirt or grease can prevent a tight fit. Use a cloth and mild cleaner for best results.
Check the clips or fasteners on the back of the cover. Bent or broken clips cause looseness. Gently bend clips back or replace the cover if clips are damaged.
You can add foam tape or rubber strips inside the cover. This creates a snugger fit on the wheel. Make sure the tape does not block clips or edges.
Dealing With Stubborn Covers
Stubborn covers are hard to push onto the wheel. Apply some soapy water on the wheel edge. This acts as a lubricant and makes sliding easier.
Use gentle pressure and push evenly around the cover. Avoid forcing one side too much. Even pressure helps the cover snap into place smoothly.
Warm the cover slightly in the sun or with warm water. This softens the plastic and makes fitting easier. Do not use hot water as it can warp the cover.
Maintenance Tips
Taking care of your wheel covers keeps them looking good and lasting longer. Simple maintenance helps avoid damage and keeps your car neat. Follow easy steps to keep your wheel covers clean and safe.
Regular Cleaning
Clean wheel covers often to remove dirt and brake dust. Use a soft cloth and mild soap with water. Avoid harsh chemicals that can harm the cover’s surface. Dry them well to stop water spots and rust. Regular cleaning keeps covers shiny and fresh.
Avoiding Damage
Handle wheel covers carefully when removing or putting them on. Avoid hitting curbs or rough surfaces that can cause scratches or cracks. Check covers for loose parts and fix them quickly. Proper care prevents costly repairs or replacements.
Frequently Asked Questions
How Do I Remove Old Wheel Covers From A Pilot?
To remove old wheel covers, carefully pry off the edges using a flat tool. Work slowly to avoid damage. Clean the wheel surface before installing new covers for better fit and appearance.
What Tools Are Needed To Put Wheel Covers On A Pilot?
No special tools are required. You only need your hands for most wheel covers. Sometimes a rubber mallet helps secure them firmly without damage. Always check the cover’s fitting instructions.
How Can I Ensure A Secure Fit For Pilot Wheel Covers?
Align the wheel cover clips with the rim properly. Press firmly around the edges until you hear clicks. This ensures the cover is fully seated and won’t fall off during driving.
How Often Should I Check Pilot Wheel Covers After Installation?
Check wheel covers after every few drives or after rough roads. Ensure clips remain tight and covers are undamaged. Regular checks prevent unexpected loss and maintain your vehicle’s look.
Conclusion
Putting wheel covers on your pilot is simple and quick. Follow the steps carefully to avoid damage. Use gentle pressure and check the fit often. Proper installation keeps your wheels looking neat and protected. Practice makes the process easier each time.
Now, you can enjoy a clean and stylish look for your vehicle. Keep your wheel covers secure for safe driving.