
If you want to keep your engine running smoothly and avoid costly repairs, learning how to replace your water separating fuel filter is a smart move. This small but vital part protects your engine from water contamination, which can cause serious damage.
You don’t need to be a mechanic to do it yourself, and with the right steps, you can save time and money. In this guide, you’ll discover simple, clear instructions that make the process easy to follow. By the end, you’ll feel confident handling this task on your own—and your engine will thank you for it.
Keep reading to find out exactly how to replace your water separating fuel filter quickly and safely.
Tools And Materials Needed
Essential tools include a wrench, new fuel filter, and container for old fuel. Materials like gloves and clean rags help keep the work area tidy. These items make the replacement process smooth and safe.
Essential Tools For The Job
Replacing a water separating fuel filter requires specific tools. Prepare these to make the task easier and safer. Start with a wrench or socket set. These help loosen and tighten the filter housing. You will also need a screwdriver to remove any clamps or covers.
Have a container ready to catch spilled fuel. This keeps your workspace clean and prevents waste. Gloves protect your hands from fuel and dirt. Safety glasses shield your eyes from splashes.
Materials You Will Need
Get a new water separating fuel filter that matches your vehicle model. Use clean rags or paper towels to wipe spills and dirt. Fuel-resistant sealant or O-rings might be necessary for a tight fit. Check your vehicle manual for specific material requirements.
Keep a small funnel handy to refill fuel without spills. A flashlight is useful to see in dark engine areas. Prepare all materials before starting the replacement process.
Locating The Fuel Filter
Finding the water separating fuel filter is the first step in replacing it. This filter plays a key role in keeping water out of your engine’s fuel system. Knowing its exact location saves time and avoids mistakes during replacement.
Fuel filters can be in different spots depending on the vehicle model. Some are easy to reach, while others may need tools or removing parts to access. Understanding where to look helps prepare for the task ahead.
Check Near The Fuel Tank
Many water separating fuel filters sit close to the fuel tank. Look underneath the vehicle near the tank area. The filter may be attached to a bracket or mounted on the frame.
Inspect The Engine Compartment
Some filters are found inside the engine bay. Open the hood and search around the fuel lines. The filter usually looks like a small canister with fuel lines connected.
Consult The Owner’s Manual
The owner’s manual often shows the fuel filter location. It provides clear diagrams and instructions. This is a reliable source to avoid guesswork.
Use Online Resources
Search for your vehicle model online for exact filter location. Many forums and websites share detailed guides. Photos and videos can offer extra help.
Preparing Your Vehicle
Preparing your vehicle before replacing the water separating fuel filter is important. This step ensures safety and helps the process go smoothly. Taking time to get ready saves effort and avoids mistakes.
Follow these key steps to prepare your vehicle properly. This will make the filter replacement easier and more effective.
Park Your Vehicle On A Level Surface
Choose a flat, stable place to park. This prevents fuel spills and keeps the vehicle steady. Turn off the engine and apply the parking brake. Safety first.
Gather Necessary Tools And Materials
Collect all tools you need before starting. Common tools include wrenches, screwdrivers, and a container for old fuel. Have a new fuel filter ready to install.
Wear Protective Gear
Use gloves and safety glasses to protect your hands and eyes. Fuel can irritate skin and cause injury. Clean work clothes help keep you safe too.
Relieve Fuel System Pressure
Release pressure from the fuel system carefully. This step reduces fuel spray when disconnecting the filter. Follow your vehicle manual for the exact method.
Locate The Fuel Filter
Find the fuel filter’s position under the hood or near the fuel tank. Check your vehicle’s guide for the exact location. Knowing this saves time during replacement.
Credit: myfuse.education
Draining The Water From The Filter
Draining the water from the fuel filter is an important step. Water in the fuel can cause engine problems. Removing it keeps your engine running smoothly and prevents damage.
Most water separating fuel filters have a drain valve. This valve allows water to exit without removing the entire filter. Draining is simple and quick with the right tools.
Locate The Drain Valve
Look for the drain valve at the bottom of the fuel filter. It is usually a small screw or knob. Check your vehicle manual if unsure. Clean around the valve before opening it.
Prepare A Container
Place a small container under the drain valve. This will catch the water and fuel mix. Use a container that seals well to avoid spills. Have rags ready for any drips.
Open The Drain Valve Slowly
Turn the valve gently to start draining. Water will come out first, followed by fuel. Watch carefully and close the valve once fuel appears. Avoid draining too much fuel.
Dispose Of The Water Safely
Pour the drained water and fuel into a safe container. Take it to a recycling or disposal center. Do not pour it on the ground or down drains. Protect the environment with proper disposal.
Removing The Old Fuel Filter
Removing the old fuel filter is the first step in replacing a water separating fuel filter. It clears the way for a new filter to work properly. This process helps keep your engine safe from water and dirt in the fuel. Taking care during removal prevents damage and fuel leaks.
Follow each step carefully for a smooth removal. Prepare your tools and workspace before starting. Safety matters most, so wear gloves and eye protection.
Locate The Fuel Filter
Find the fuel filter in your engine bay. It is usually near the fuel tank or engine. Look for a small canister with fuel lines attached. Check your vehicle manual if unsure.
Relieve Fuel System Pressure
Stop fuel flow by relieving system pressure. Turn off the engine and remove the fuel pump fuse. Start the engine and wait until it stops. This releases pressure from the fuel lines safely.
Disconnect Fuel Lines
Use pliers or a wrench to loosen the clamps. Carefully pull off the fuel lines from the filter. Keep a rag nearby to catch any fuel drips. Avoid twisting or bending the lines harshly.
Remove The Old Filter
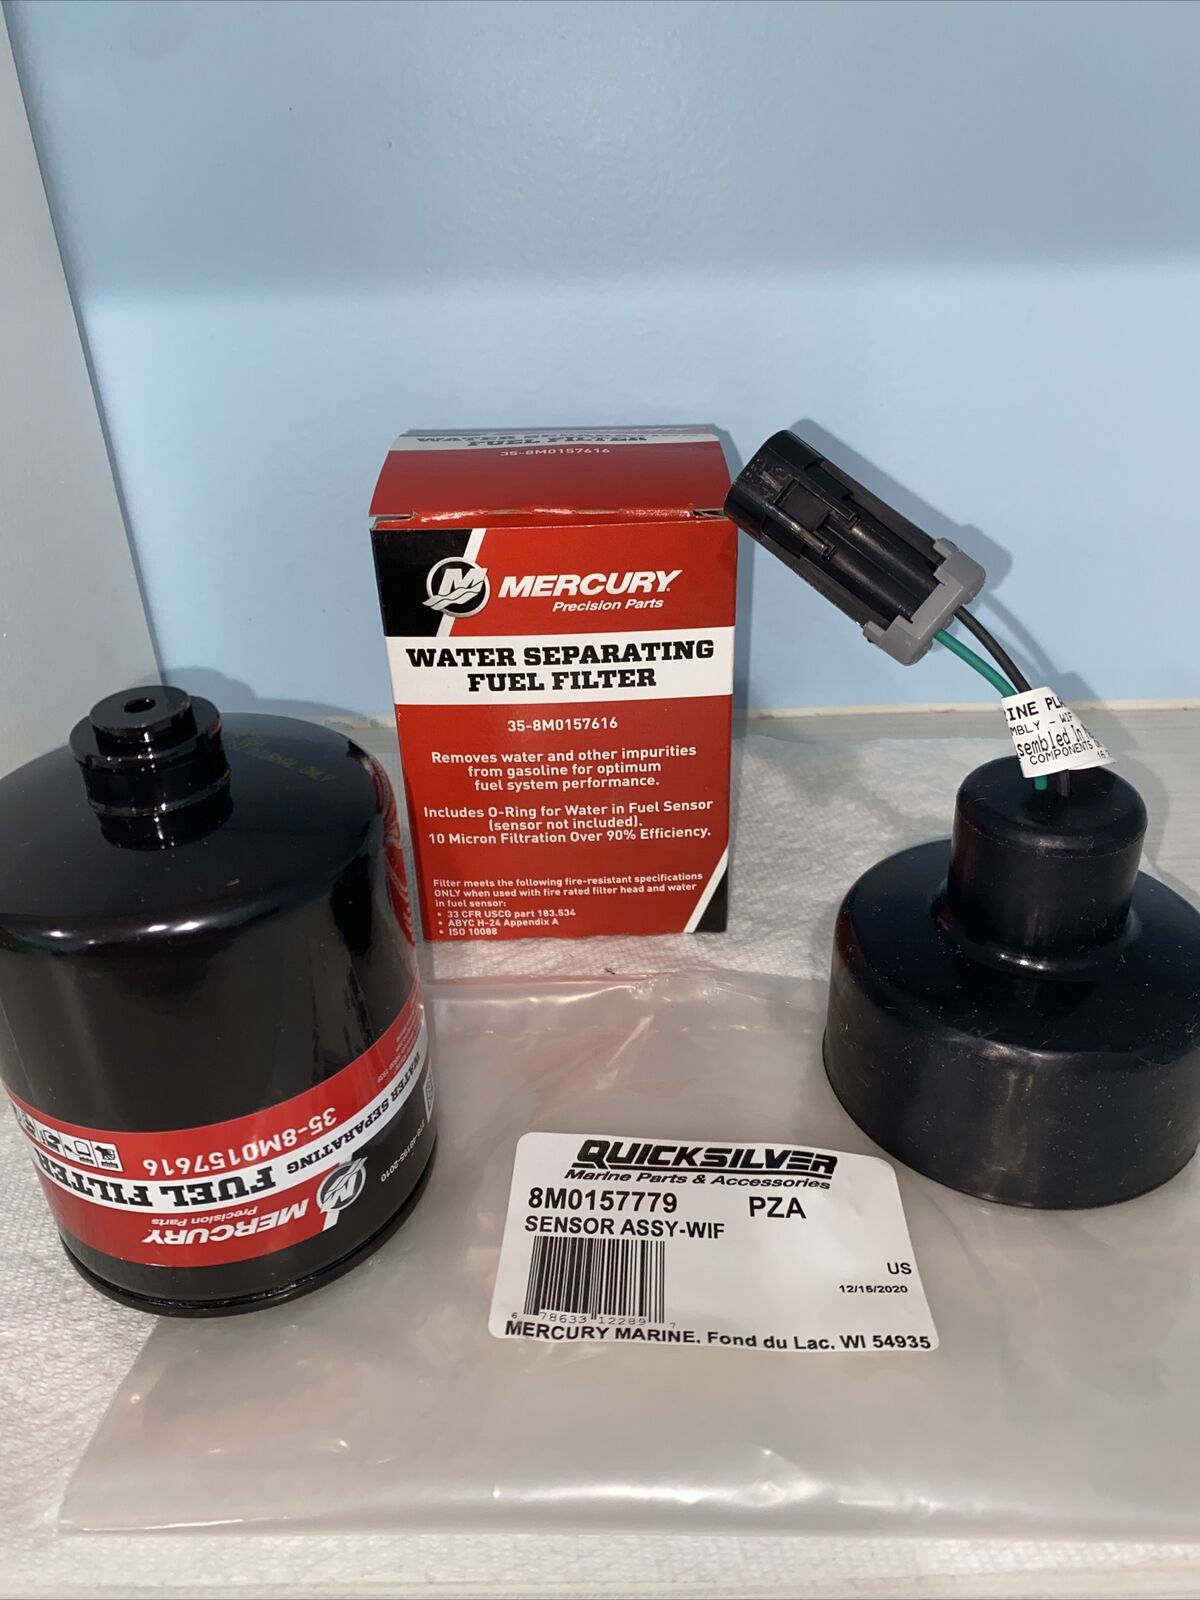
Unscrew or unclip the old filter from its mount. Hold it upright to avoid spilling fuel inside. Check for any rubber seals or O-rings attached. Dispose of the old filter according to local rules.

Credit: www.quicksilver-products.com
Installing The New Fuel Filter
Installing the new fuel filter is a key step in replacing a water separating fuel filter. It ensures your engine gets clean fuel without water contamination. Careful installation helps avoid leaks and keeps the fuel system safe.
Follow these simple steps to install your new filter correctly. Take your time and check each step to avoid mistakes.
Preparing The New Fuel Filter
Start by checking the new filter for damage. Look for cracks or dents that could cause leaks. Remove any protective caps or plugs from the filter. Make sure the filter matches the old one in size and type.
Positioning The Filter Correctly
Notice the flow direction marked on the filter. Align it with the fuel flow in your system. The arrow should point toward the engine. Position the filter so the drain valve is accessible for future use.
Securing The Fuel Filter In Place
Attach the filter to the mounting bracket or clip. Tighten any screws or clamps to hold it firmly. Avoid overtightening, which can damage the filter or fittings. Ensure the filter does not move when you gently push it.
Connecting Fuel Lines To The Filter
Attach the fuel lines to the correct filter ports. Push hoses firmly onto the fittings. Use hose clamps to secure the connections. Check that clamps are tight enough to prevent leaks but not too tight.
Priming The Fuel System
Priming the fuel system is a key step after replacing the water separating fuel filter. It helps remove air from the fuel lines. Air in the system can stop the engine from starting or cause it to run rough. This step ensures smooth fuel flow and proper engine function.
Locate The Primer Pump
First, find the primer pump near the fuel filter. It looks like a small hand pump. Some vehicles have a built-in primer, while others use a bulb or lever. Check your owner’s manual for the exact location.
Use The Primer Pump Correctly
Press the primer pump slowly and repeatedly. This action pushes fuel through the lines. Watch for air bubbles in the fuel line. Stop pumping once the bubbles disappear and fuel flows steadily.
Check For Leaks
Look around the filter and fuel lines. Make sure no fuel leaks during priming. Tighten any loose fittings if needed. Leaks can cause air to enter the system again.
Start The Engine
Try starting the engine after priming. It may take a few tries. If it does not start, prime a little more. The engine should run smoothly once all air is removed.
Checking For Leaks
Checking for leaks after replacing a water separating fuel filter is vital. Leaks can cause fuel loss and engine problems. Carefully inspecting your work ensures safety and proper engine function.
Visual Inspection For Fuel Leaks
Look around the filter and connections for wet spots. Fuel stains or drops show a leak. Use a clean cloth to wipe the area before checking.
Feeling For Fuel Moisture
Run your fingers gently near the filter base. Sticky or wet areas mean fuel is escaping. Be cautious to avoid direct skin contact with fuel.
Starting The Engine And Watching Closely
Start the engine and watch the filter area. Small leaks can appear under pressure. Stop the engine immediately if you see fuel spray or drips.
Tightening Connections If Needed
Tighten clamps and fittings carefully. Avoid over-tightening to prevent damage. Check again after tightening to confirm no leaks remain.
Tips For Maintenance
Maintaining a water separating fuel filter is key to keeping your engine running smoothly. Regular care prevents blockages and protects the fuel system. Follow simple steps to extend the filter’s life and avoid costly repairs.
Check The Filter Regularly
Inspect the fuel filter every few weeks. Look for signs of water or dirt inside. A dirty or wet filter reduces engine performance and can cause damage.
Drain Water Often
Use the drain valve to remove water from the filter bowl. Do this as part of routine maintenance. Draining stops water from reaching the engine and causing rust or corrosion.
Use Clean Fuel
Always fill your tank with clean fuel. Contaminated fuel increases the water and dirt in the filter. Clean fuel helps the filter last longer and keeps the engine safe.
Replace The Filter On Time
Follow the manufacturer’s schedule for filter replacement. Old filters may not trap water and dirt well. Timely replacement ensures your engine stays protected.
Keep The Area Clean
Clean around the filter before replacing it. Dirt can enter the fuel system during replacement. A clean workspace helps avoid contamination and engine trouble.

Credit: www.youtube.com
Frequently Asked Questions
What Is A Water Separating Fuel Filter?
A water separating fuel filter removes water from fuel before it reaches the engine. It prevents engine damage and improves performance. This filter is essential for diesel engines to avoid corrosion and maintain fuel purity.
How Often Should I Replace The Fuel Filter?
Replace the water separating fuel filter every 10,000 to 15,000 miles or as recommended by your vehicle’s manual. Frequent replacement ensures clean fuel flow, better engine efficiency, and avoids costly repairs due to water contamination.
What Tools Do I Need For Replacement?
You need a wrench, screwdrivers, a catch pan, and a new fuel filter. Safety gloves and eye protection are recommended. These tools help you safely remove and install the filter without fuel spillage.
Can I Replace The Filter Myself?
Yes, you can replace it yourself with basic mechanical skills. Follow safety steps, relieve fuel pressure, and carefully remove the old filter. Proper installation and priming are crucial for effective filter function.
Conclusion
Replacing a water separating fuel filter keeps your engine running smooth. It stops water from damaging fuel parts. Changing the filter regularly helps avoid costly repairs. Follow the steps carefully for a safe process. A clean filter means better fuel flow and engine life.
Take your time and double-check each step. You will save money and prevent engine trouble. Simple care goes a long way in vehicle maintenance. Keep your fuel system clean and your engine happy.


