Thinking about removing your vinyl wrap but worried about damaging your vehicle or leaving sticky residue behind? You’re not alone.
Taking off a vinyl wrap might seem tricky, but with the right steps, it can be simple and stress-free. You’ll discover easy-to-follow tips that protect your car’s surface and save you time and money. Keep reading, and you’ll learn exactly how to peel off your vinyl wrap like a pro—no frustration, no mess.
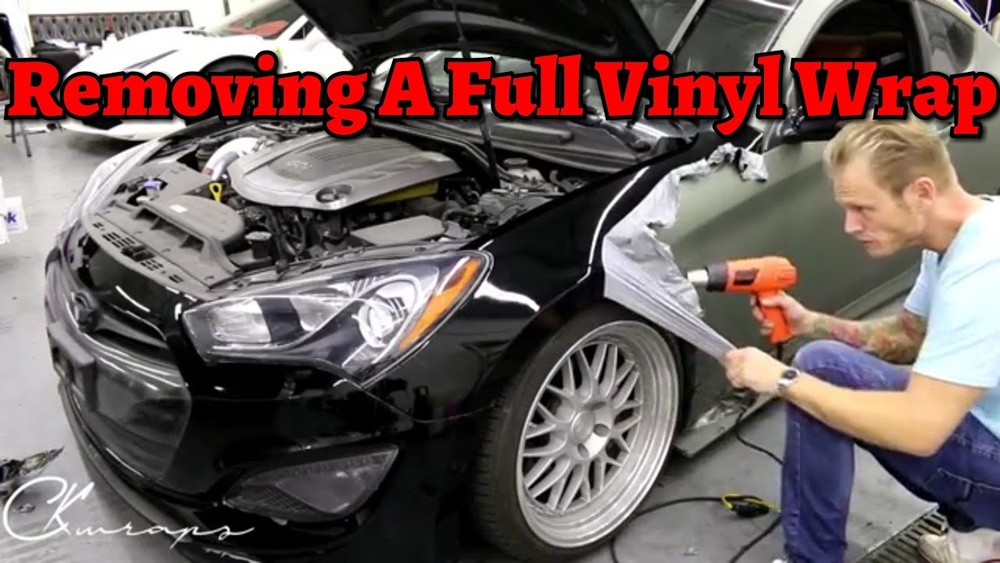
Credit: crgdesigns.com.au
Preparing For Removal
Preparing for vinyl wrap removal is important to avoid damage and make the process easier. Proper preparation helps protect your vehicle’s surface and saves time. It also reduces the chance of mistakes that can harm the paint underneath.
Taking simple steps before starting can make a big difference. The right tools and environment are key parts of this preparation.
Gathering Necessary Tools
Start by collecting all the tools you need for the job. A heat gun or hair dryer will soften the vinyl. Use a plastic scraper or a credit card to lift the edges without scratching the paint.
Have a clean microfiber cloth ready for wiping away adhesive residue. Use adhesive remover or rubbing alcohol to clean stubborn glue. Gloves protect your hands from heat and chemicals.
Keep a spray bottle with water nearby to help with sticky spots. Having these tools at hand saves time and keeps the process smooth.
Choosing The Right Environment
Choose a shaded, clean, and dry place for removing the vinyl wrap. Direct sunlight can make the vinyl too hot and harder to handle. Cold temperatures may cause the vinyl to crack or tear.
A garage or covered area works best to control temperature and avoid dust. Good lighting helps you see edges and spots clearly. Avoid windy areas to prevent dirt from sticking to the adhesive.
Working indoors or in calm weather helps keep the process safe and neat.
Credit: www.youtube.com
Heating The Vinyl Wrap
Heating the vinyl wrap is a key step in removing it smoothly. Warm vinyl becomes soft and flexible. This makes peeling easier and reduces the chance of tearing. Proper heating helps protect your vehicle’s paint underneath. Use heat carefully to avoid damage.
Using A Heat Gun Safely
A heat gun is the best tool to warm vinyl wrap. Hold it about 6 to 8 inches from the surface. Move the gun slowly in a sweeping motion. Keep the heat even to prevent burning the wrap.
Do not stay in one spot too long. High heat can melt or warp the wrap. Wear gloves to protect your hands from heat. Turn off the gun when not in use to stay safe.
Alternative Heating Methods
If you do not have a heat gun, try a hairdryer. It works well for small areas and gentle warming. Use the highest heat setting and keep it moving.
Warm sunlight can also help soften vinyl wrap. Park your car in direct sun for a few hours. Check the vinyl often to see if it feels soft. Avoid using open flames or hot water to heat the wrap.
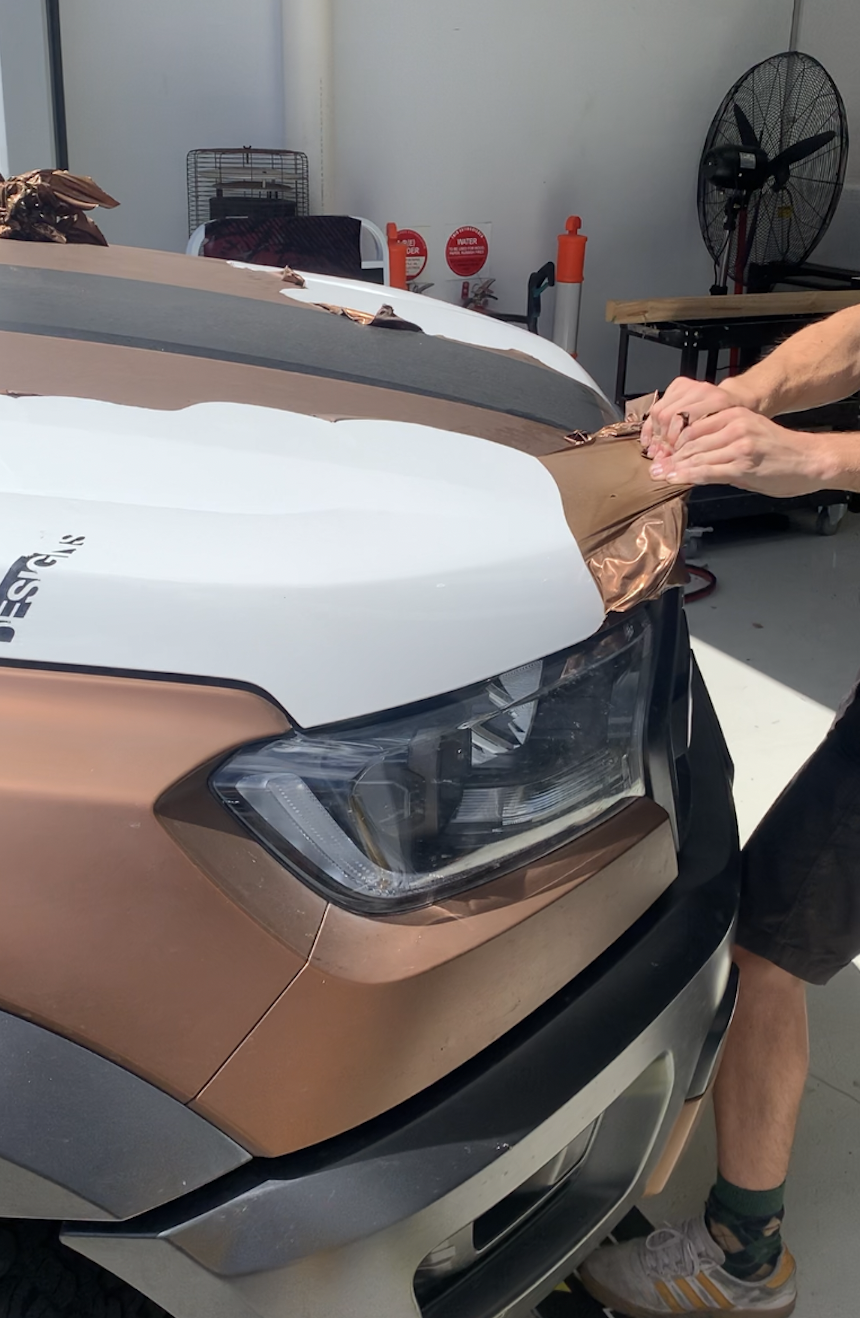
Peeling Off The Vinyl
Peeling off vinyl wrap takes care and patience. The process can be simple if done right. It involves lifting the vinyl gently without damaging the surface underneath. Doing this step correctly saves time and effort later.
Starting At The Edges
Begin peeling from one corner or edge of the vinyl. This area is easier to lift and gives you a good grip. Use your fingernail or a plastic tool to lift the vinyl carefully. Avoid using sharp objects that can scratch the surface. Once a small section is loose, grab it firmly to pull.
Maintaining A Steady Pull
Pull the vinyl slowly and evenly. Keep the angle low, close to the surface. A steady pull helps prevent the vinyl from tearing or leaving residue. If the vinyl resists, warm it with a hairdryer. Warm vinyl stretches and comes off easier. Take breaks if needed to avoid mistakes.
Removing Adhesive Residue
Removing vinyl wrap often leaves sticky adhesive residue on the surface. This residue can attract dirt and make your car or object look messy. Removing it carefully protects the surface underneath. Use the right methods and products for a clean, smooth finish without damage.
Effective Cleaning Solutions
Use gentle cleaning solutions to remove adhesive residue. Warm soapy water works well for light sticky spots. For tougher residue, try rubbing alcohol or adhesive remover. Test the cleaner on a small hidden area first. This helps avoid unexpected damage or discoloration. Apply the solution with a soft cloth. Rub gently in circular motions until residue loosens.
Avoiding Surface Damage
Do not use sharp tools to scrape off residue. This can scratch or harm the surface. Avoid harsh chemicals like acetone or paint thinner. These can discolor or weaken paint and plastic. Use soft microfiber cloths to clean and dry. Work slowly and carefully. Patience helps protect the finish and avoid costly repairs.
Post-removal Care
After removing a vinyl wrap, care is important to keep your vehicle’s surface healthy. Post-removal care helps avoid damage and prepares the car for any new wrap or paint. Taking a few simple steps ensures your vehicle looks great and stays protected.
Inspecting For Damage
Check the surface for any scratches, paint chips, or residue. Vinyl wrap removal can sometimes leave adhesive or small marks. Use a soft cloth and gentle cleaner to spot any problems. Look closely around edges and corners where damage often occurs. Early inspection helps you fix issues before they worsen.
Preparing Surface For New Wrap
Clean the surface thoroughly with a mild detergent and water. Remove all adhesive residue using a safe adhesive remover. Dry the surface fully to avoid trapping moisture under the new wrap. Smooth surfaces help the new vinyl stick better and last longer. Proper preparation saves time and improves the final look.
Tips For Difficult Areas
Removing vinyl wrap can be tricky in some areas. Curves, corners, and stubborn spots need extra care. These tips help you handle difficult parts without damaging the surface. Take your time and follow these steps for a smooth removal process.
Handling Curves And Corners
Curves and corners often hold the vinyl tightly. Use a heat gun or hair dryer to warm these areas. Warm vinyl becomes soft and easier to peel. Pull the wrap slowly at a low angle. This avoids tearing or leaving residue behind. Use a plastic scraper to lift edges carefully. Take breaks to avoid rushing and damaging the surface.
Dealing With Stubborn Sections
Some vinyl parts stick stronger than others. Apply heat to soften the adhesive. Do not use too much heat to avoid damage. Use a cloth soaked in adhesive remover for sticky spots. Let the remover sit for a few minutes. Gently rub with a soft cloth until the adhesive lifts. Avoid sharp tools that can scratch the surface. Patience is key to keep the surface clean and smooth.
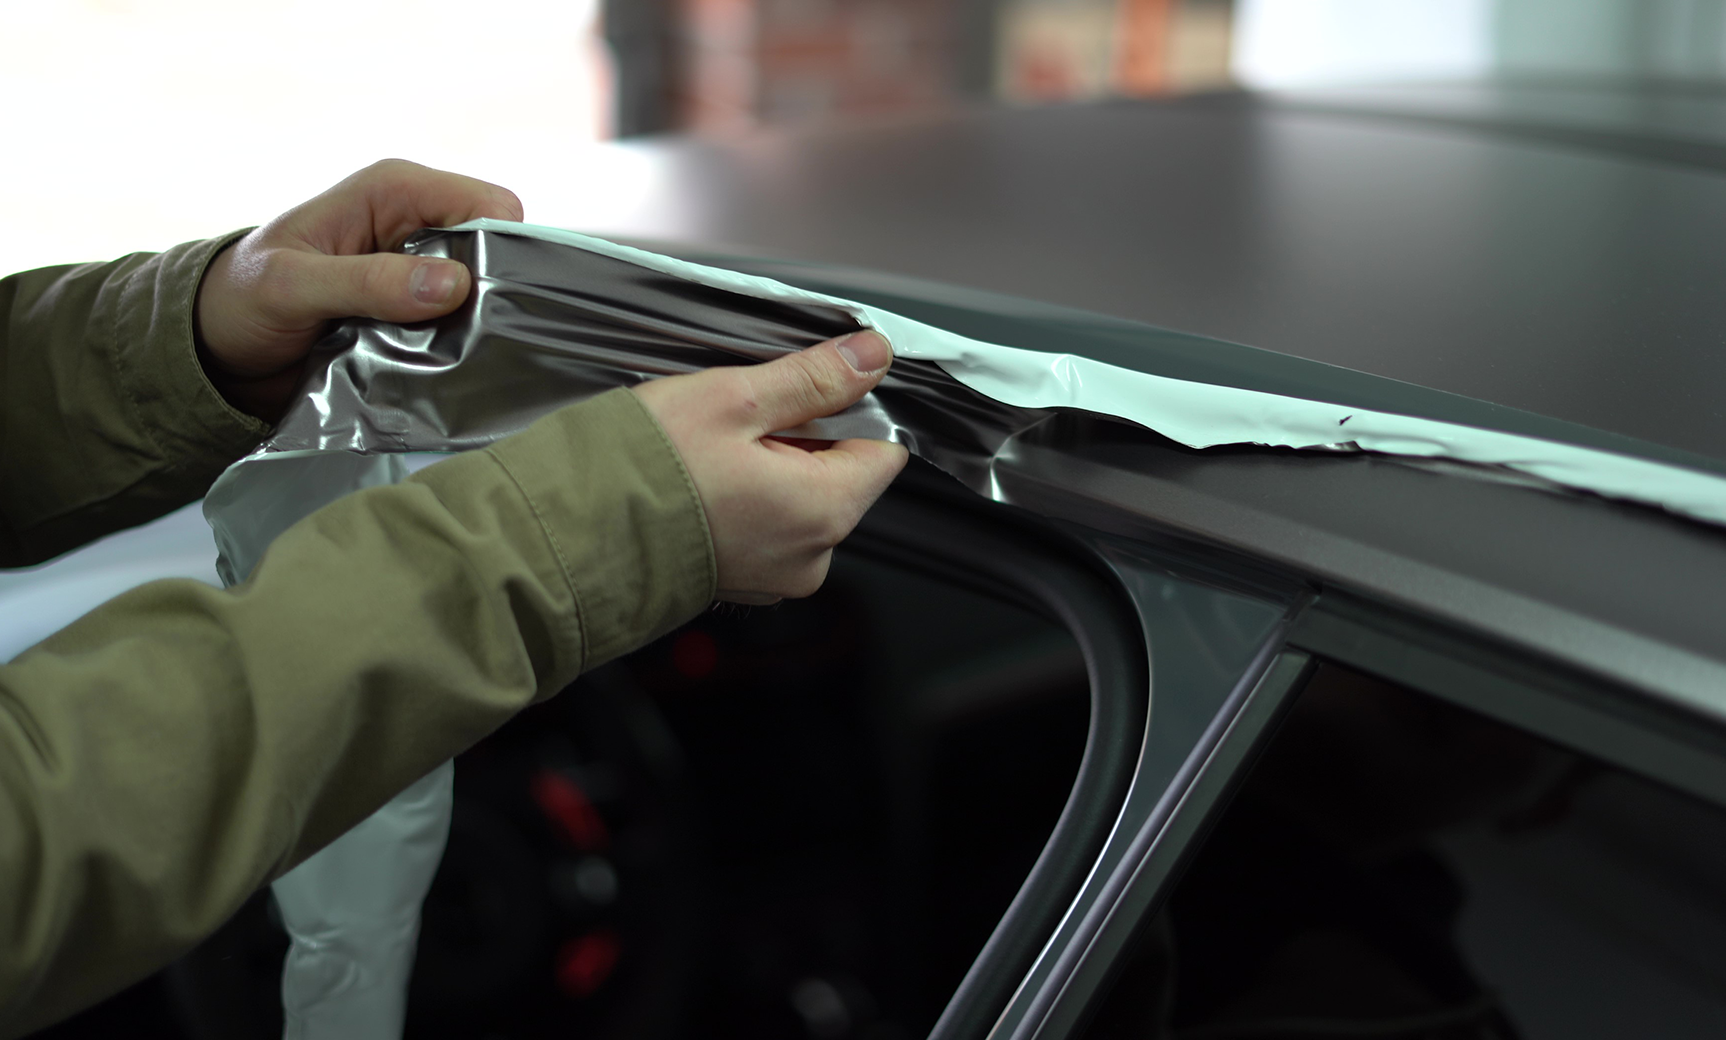
Credit: vvividshop.com
Frequently Asked Questions
How Do I Safely Remove A Vinyl Wrap?
To safely remove a vinyl wrap, heat the surface with a heat gun. Peel the wrap slowly at a 45-degree angle. Avoid rushing to prevent damage to the paint underneath.
Can I Remove Vinyl Wrap Without Damaging My Car?
Yes, by warming the vinyl and peeling carefully, you can avoid paint damage. Use a plastic scraper for stubborn areas and clean residue with adhesive remover.
How Long Does It Take To Remove Vinyl Wrap?
Removing vinyl wrap typically takes 1 to 3 hours, depending on the vehicle’s size and wrap condition. Patience ensures a clean, damage-free removal process.
What Tools Do I Need To Take Off Vinyl Wrap?
Essential tools include a heat gun, plastic scraper, microfiber cloth, and adhesive remover. These help soften adhesive and safely lift the wrap without harming paint.
Conclusion
Removing vinyl wrap can be easy with the right steps. Use heat to soften the glue and peel slowly. Take your time to avoid damaging the surface. Clean any leftover adhesive with a gentle cleaner. This process helps keep your vehicle or object looking good.
Stay patient and careful throughout the removal. You can do it yourself without extra help. Now, you are ready to remove vinyl wrap safely and smoothly.

