
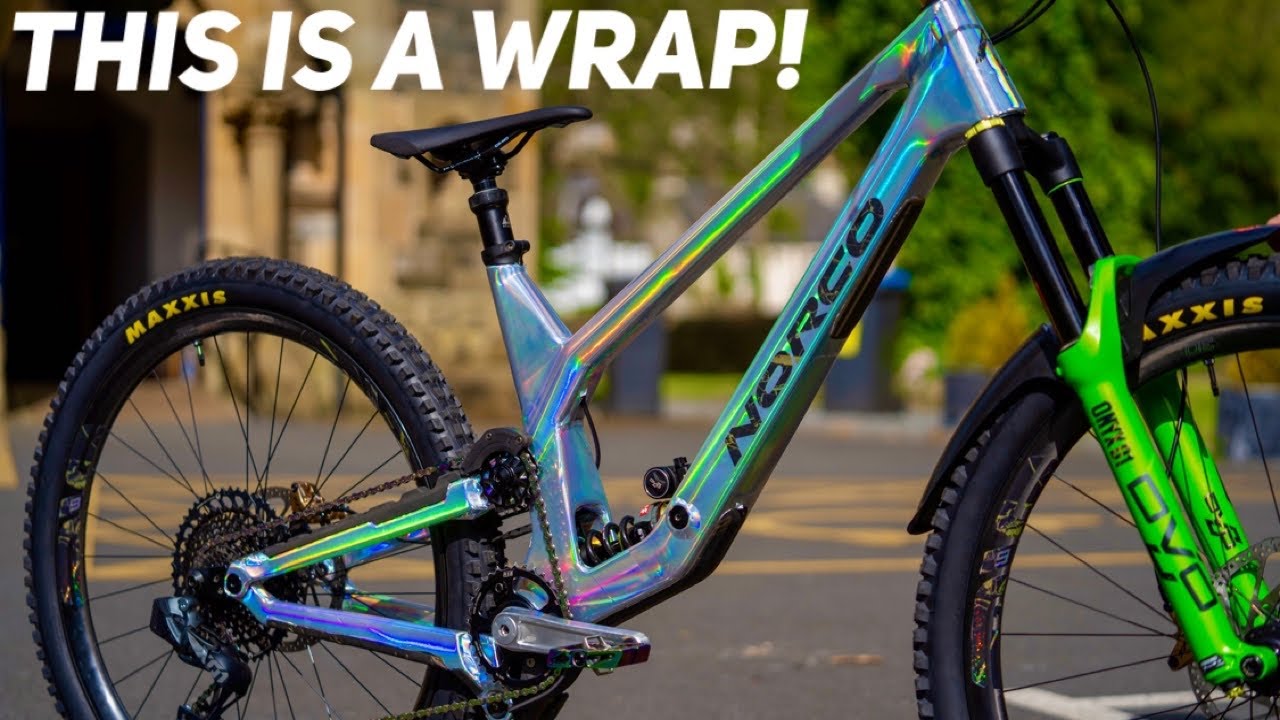
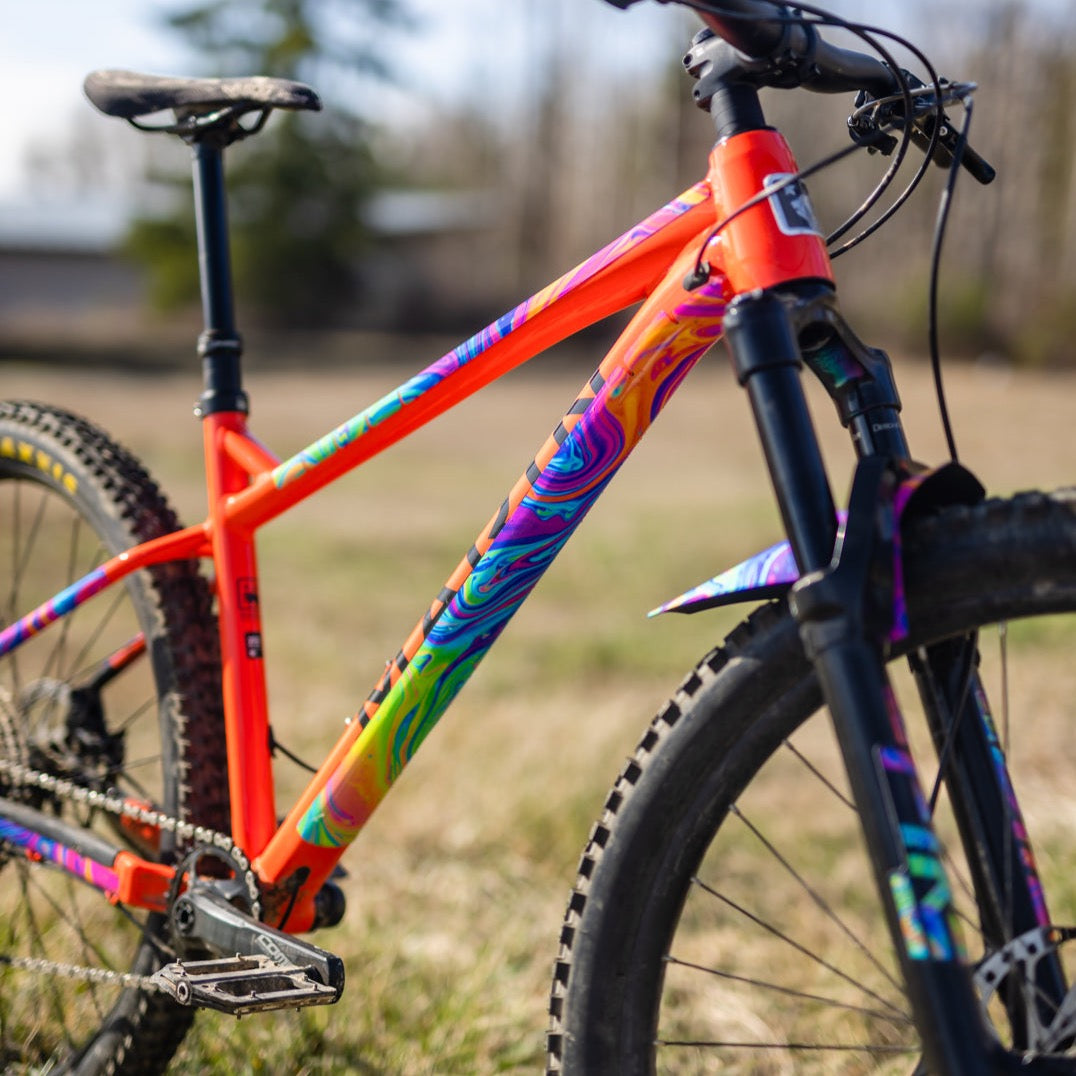
Want to give your mountain bike a fresh, eye-catching look without spending a fortune? Vinyl wrapping is the perfect way to do just that.
It’s affordable, customizable, and protects your bike’s frame from scratches and dirt. But if you’ve never tried it before, the process might seem tricky. Don’t worry—you’re about to learn step-by-step how to vinyl wrap your mountain bike like a pro.
By the end of this guide, you’ll know exactly what materials you need, how to prepare your bike, and the best techniques to get a smooth, long-lasting finish. Ready to transform your ride? Let’s dive in!
Credit: neowatts.in
Preparing Your Bike
Preparing your mountain bike is the first step to a smooth vinyl wrap. This stage sets the foundation. A clean, well-prepared bike helps the vinyl stick better. It also makes the wrap look neat and last longer.
Follow these simple steps to get your bike ready for wrapping.
Cleaning The Frame
Start by washing your bike frame with soap and water. Remove all dirt, mud, and grease. Use a soft cloth or sponge to avoid scratches. Dry the frame completely with a clean towel. Any dust or oil can stop the vinyl from sticking well.
Removing Components
Take off parts like water bottle holders, lights, and mudguards. Remove pedals and wheels if possible. This gives you clear space to wrap the vinyl smoothly. It also stops damage to these parts. Keep screws and small parts safe for reassembly.
Choosing The Right Vinyl
Pick vinyl made for outdoor use and rough surfaces. Look for materials that resist water and UV rays. Matte or glossy finishes both work; choose what you like. Make sure the vinyl is thick enough for protection. Quality vinyl lasts longer and looks better on your bike.
Tools And Materials
Preparing to vinyl wrap a mountain bike requires the right tools and materials. These items help create a smooth, clean, and lasting finish. Having everything ready before you start makes the process easier and faster.
Gathering essential tools ensures proper application of the vinyl wrap. Additional supplies help with details and fixing small issues.
Essential Tools
- Vinyl wrap film designed for outdoor use
- Heat gun or hairdryer to soften the vinyl
- Plastic squeegee to remove air bubbles
- Sharp utility knife or blade for trimming
- Measuring tape to size the vinyl pieces
- Isopropyl alcohol and a clean cloth for surface cleaning
- Gloves to avoid fingerprints on the vinyl
Additional Supplies
- Masking tape to hold vinyl in place during application
- Rubber roller for pressing vinyl on curved areas
- Edge sealer to protect vinyl edges from peeling
- Plastic wrap or cling film to protect parts during heating
- Microfiber cloth for final cleaning and polish
Measuring And Cutting Vinyl
Measuring and cutting vinyl are key steps in wrapping your mountain bike. Precise measurements ensure the vinyl fits well. Cutting the vinyl correctly helps avoid waste and errors. Taking time in these steps leads to a smooth, professional look.
Taking Accurate Measurements
Start by cleaning the bike frame. Use a soft cloth to remove dirt and dust. Measure each part you want to wrap carefully. Use a flexible tape measure for curves and corners. Write down all measurements clearly. Double-check each number to avoid mistakes. Measuring twice saves time and vinyl.
Cutting Vinyl Pieces
Place the vinyl on a flat surface. Use a sharp craft knife or scissors. Cut slightly larger than your measurements. This extra space helps with wrapping around edges. Cut slowly and follow your marks closely. Avoid jagged or uneven cuts. Trim extra vinyl after applying for a perfect fit.
Applying The Vinyl Wrap
Applying the vinyl wrap on your mountain bike is a careful step. It changes how your bike looks and protects its surface. The key is to handle the vinyl with care and patience. This section guides you through placing the wrap perfectly.
Positioning The Vinyl
Start by aligning the vinyl on the bike frame. Make sure it covers the area you want. Hold the wrap gently and check for proper fit. Do not stretch the vinyl yet. Adjust until it sits flat and straight.
Using Heat For Flexibility
Use a heat gun or hairdryer to warm the vinyl. Heat makes the wrap softer and easier to shape. Warm the vinyl slowly and evenly. This helps it bend around curves and corners smoothly.
Smoothing Out Bubbles
Press the vinyl with a squeegee or your hand to remove air bubbles. Work from the center outward. Small bubbles can be pushed out with gentle pressure. For stubborn bubbles, use a pin to release trapped air carefully.
Handling Curves And Edges
Handling curves and edges on a mountain bike is tricky when applying vinyl wrap. These parts need special care to avoid bubbles and wrinkles. Proper techniques help the vinyl fit tightly and look smooth. Stretching and trimming are key steps to get clean results. Patience and practice make a big difference.
Stretching Techniques
Stretch the vinyl gently over curves. Use a heat gun or hairdryer to warm the vinyl. Warm vinyl becomes soft and easier to stretch. Pull the wrap slowly and evenly to avoid tears. Stretch small sections at a time for better control. Work from the center outwards to push out air bubbles. Avoid overstretching, which can cause distortion or damage.
Trimming Excess Vinyl
Trim extra vinyl around edges carefully. Use a sharp blade or craft knife. Cut along the frame lines to keep a neat finish. Trim in small sections to prevent mistakes. Leave a small overlap on sharp edges for a better seal. Press down edges firmly after trimming to stick vinyl well. Clean the trimmed areas to remove any dust or dirt.

Credit: breezeresidency.com
Reassembling The Bike
After applying the vinyl wrap to your mountain bike frame, it’s time to put everything back together. This step requires care and patience to ensure all parts fit correctly. Proper reassembly keeps your bike safe and ready for the trails.
Take your time and follow each step carefully. A well-reassembled bike looks great and works perfectly.
Reattaching Components
Start by reinstalling the parts you removed earlier. Attach the handlebars, making sure they are tight and aligned. Reinstall the wheels, checking that they spin freely without wobbling. Reconnect the brakes and gears carefully. Test each component to confirm smooth movement. Use the correct tools to avoid damage. Tighten bolts to the recommended torque levels. Take your time to avoid missing any parts.
Final Inspection
Check the entire bike for any loose parts or scratches. Look closely at the vinyl wrap edges to ensure they are secure. Spin the wheels and squeeze the brakes to test response. Make sure the gears shift smoothly without noise. Inspect the frame for any missed spots or bubbles. Clean the bike gently to remove fingerprints or dust. A thorough check guarantees a safe and stylish ride.
Maintenance Tips
Maintaining your vinyl-wrapped mountain bike keeps it looking fresh and protects the wrap. Proper care helps the vinyl last longer and prevents damage from dirt or weather. Follow simple steps for cleaning and minor repairs to keep your bike in top shape.
Cleaning Wrapped Surfaces
Use a soft cloth or sponge with mild soap and water. Avoid harsh chemicals or abrasive cleaners that can damage the vinyl. Rinse the surface gently and dry with a clean towel. Clean your bike regularly to remove mud and dust. This prevents buildup that can weaken the vinyl.
Repairing Minor Damages
Small scratches or tears can be fixed at home. Use a vinyl repair kit designed for wraps. Clean the damaged area first and apply the adhesive carefully. Press the vinyl down and smooth out air bubbles. Let it dry fully before riding. Regular checks help catch damages early and keep your wrap intact.
Credit: groundkeepercustom.com
Frequently Asked Questions
What Materials Do I Need To Vinyl Wrap A Mountain Bike?
You need vinyl wrap sheets, a heat gun, a squeegee, scissors, and cleaning supplies. Clean the bike frame before starting. These tools help you apply the vinyl smoothly and avoid bubbles or wrinkles.
How Long Does Vinyl Wrapping A Mountain Bike Take?
Vinyl wrapping usually takes 2 to 4 hours depending on your experience. Prepping the bike and careful application add to the time. Rushing can cause mistakes, so take your time for best results.
Can Vinyl Wrap Protect My Mountain Bike Frame?
Yes, vinyl wrap provides a protective layer against scratches and minor abrasions. It also shields the paint from dirt and UV rays. However, it won’t protect against major impacts or structural damage.
Is Vinyl Wrapping A Mountain Bike Reversible?
Yes, vinyl wraps are removable without damaging the original paint. Use heat and gentle peeling to remove the wrap. This makes vinyl wrapping a great option for customization or temporary protection.
Conclusion
Vinyl wrapping a mountain bike adds style and protection. Clean the frame well before starting for best results. Take your time to apply the wrap smoothly. Use a heat gun carefully to shape the vinyl. Small bubbles can be fixed by pressing gently.
A neat wrap can last for years on rough trails. Enjoy your bike’s fresh new look and keep it safe. Practice makes the process easier and more fun. Try vinyl wrapping to give your bike a unique touch.


