
Have you ever wanted to give your car a fresh, new look without spending a fortune? Vinyl wrapping is the perfect way to transform your ride quickly and affordably.
Imagine turning heads everywhere you go with a sleek, custom finish that reflects your style. But how do you get started? In this guide, you’ll discover simple, step-by-step tips to vinyl wrap your car like a pro—even if you’ve never tried it before.
Ready to make your car stand out? Let’s dive in and unlock the secrets to a flawless vinyl wrap.
Choosing The Right Vinyl
Choosing the right vinyl is the first step in a successful car wrap. The vinyl you select affects the look, durability, and ease of installation. Picking quality vinyl ensures your wrap lasts longer and looks better.
Consider the type, color, finish, and tools before starting. Knowing these details helps avoid mistakes and saves time. The right vinyl makes your car stand out with a fresh style.
Types Of Vinyl Films
There are several types of vinyl films for car wrapping. Cast vinyl is thin and flexible. It molds well on curves and lasts longer. Calendered vinyl is thicker and less flexible. It works best on flat surfaces and costs less. Air-release vinyl has tiny channels to avoid bubbles. It helps with smooth application. Choose vinyl type based on your car’s shape and budget.
Selecting The Best Color And Finish
Vinyl comes in many colors and finishes. Matte finish gives a sleek, non-shiny look. Glossy finish reflects light and looks shiny. Satin finish is between matte and glossy. Choose a color that matches your style. Bright colors attract attention. Dark colors hide dirt better. Consider how the finish fits with your car’s design.
Tools And Materials Needed
Good tools make wrapping easier. You need a squeegee to smooth vinyl. A heat gun helps stretch and shape the film. A sharp blade cuts the vinyl precisely. Clean cloths keep the surface dust-free. Use gloves to avoid fingerprints. Preparing tools before you start saves time and frustration.
Preparing Your Car
Preparing your car is the first and most important step in vinyl wrapping. A smooth and clean surface helps the vinyl stick better and last longer. Skipping this step can cause bubbles, peeling, and poor results. Take your time and get your car ready carefully.
Cleaning And Degreasing
Start by washing your car with soap and water. Remove all dirt, dust, and grime. Use a microfiber cloth to avoid scratches. After washing, apply a degreaser to clear off oils and wax. These can stop the vinyl from sticking properly. Wipe the surface well and let it dry completely.
Removing Obstacles And Trim
Next, remove parts like mirrors, badges, and door handles. These obstacles make it hard to wrap the vinyl smoothly. Use the right tools to avoid damage. If you cannot remove some parts, wrap carefully around them. Keep all screws and parts safe for reassembly later.
Surface Inspection And Repair
Check the car’s surface for scratches, dents, or rust. Vinyl shows every imperfection underneath. Fix dents with a body filler and sand rough spots smooth. Clean rust and treat it with a rust converter. A smooth surface gives a neat and clean wrap finish.
Measuring And Cutting Vinyl
Measuring and cutting vinyl are crucial steps in wrapping a car. These steps ensure the vinyl fits perfectly on your vehicle. Proper measurement prevents waste and mistakes. Cutting with care helps avoid tears and bubbles. This section guides you through the process to make your wrap smooth and neat.
Taking Accurate Measurements
Start by cleaning the car surface. Use a tape measure for all parts you want to cover. Measure twice to avoid errors. Note the length, width, and curves carefully. Record each measurement clearly on paper. Add extra inches for handling and trimming. Accurate measurements help prevent gaps or overlaps.
Cutting Techniques For Precision
Use a sharp utility knife or vinyl cutter. Place the vinyl on a flat surface. Cut slowly along your marked lines. Keep your hand steady to avoid jagged edges. Use a straight edge or ruler for straight cuts. For safety, cut away from your body. Precise cuts make wrapping easier and cleaner.
Planning For Complex Areas
Complex areas include door handles, mirrors, and curves. Measure these spots carefully with extra attention. Cut vinyl in smaller pieces for tight spots. Leave extra material to stretch over curves. Score lightly on bends to help vinyl fold smoothly. Planning these areas reduces wrinkles and bubbles.

Credit: www.turtlewax.com
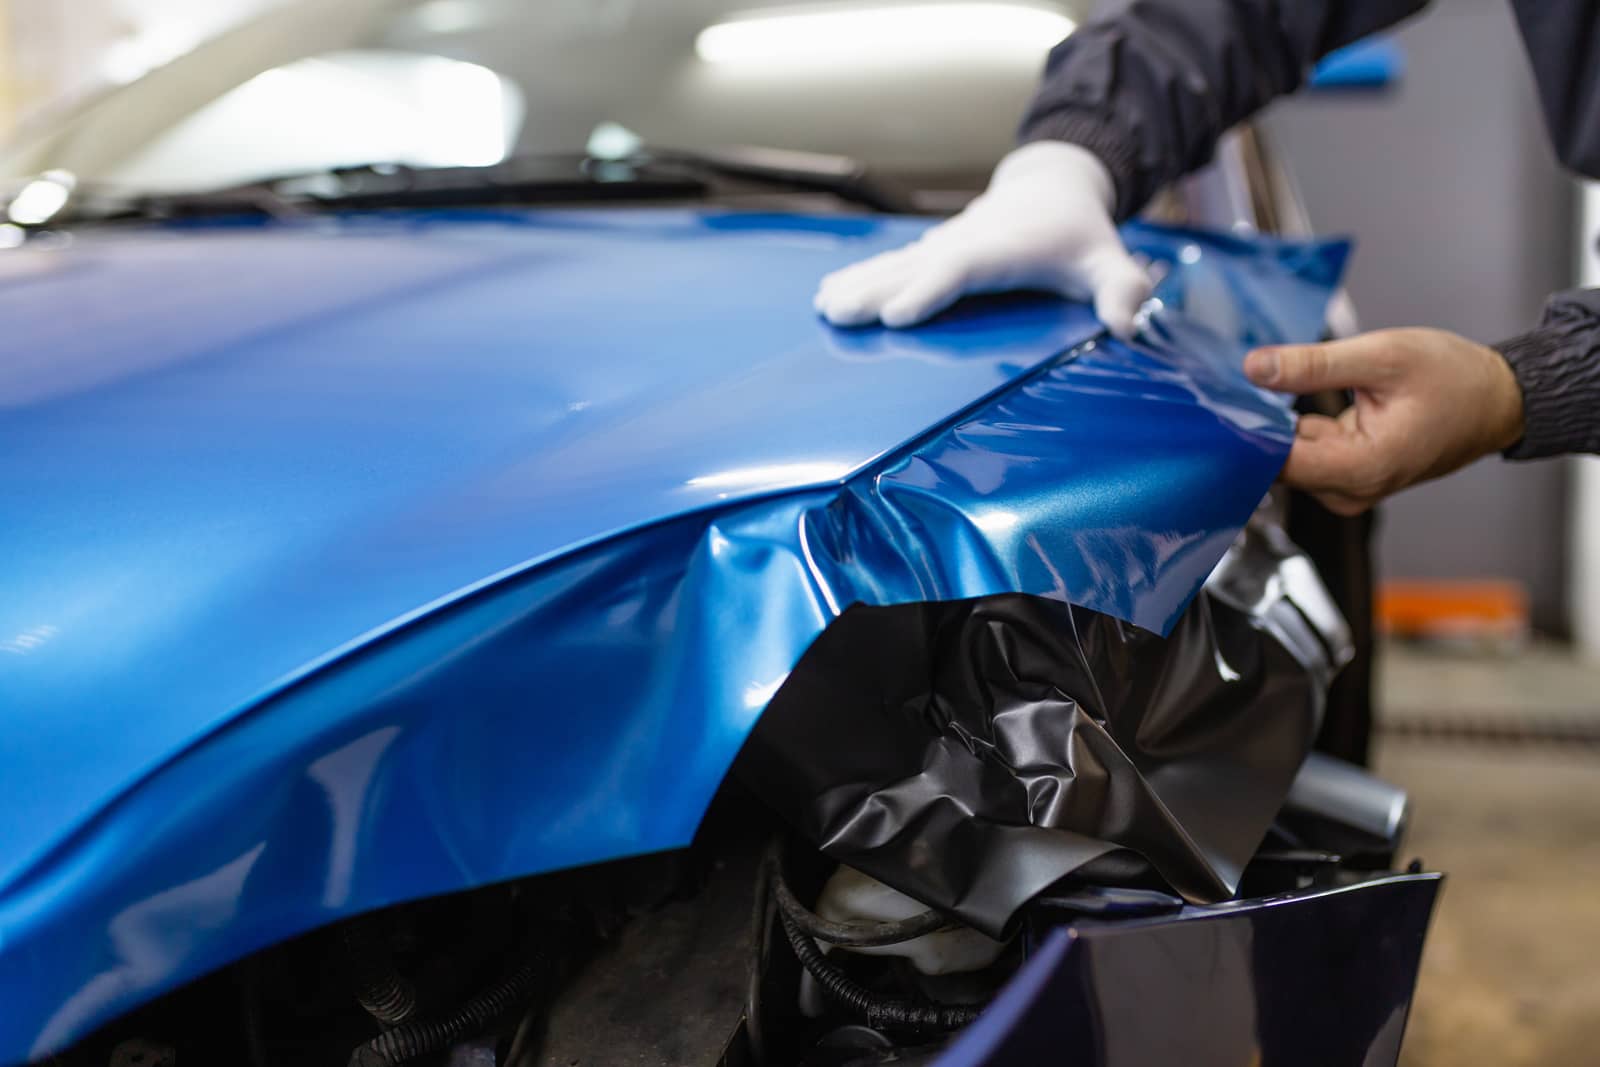
Applying The Vinyl Wrap
Applying the vinyl wrap is the key step in changing your car’s look. It needs care and patience. The vinyl must fit perfectly on the car’s surface. Small mistakes can cause bubbles or wrinkles. Follow each step carefully for the best results.
Positioning The Vinyl
Start by cleaning the car surface well. Dust or dirt can ruin the wrap. Place the vinyl on the car gently. Make sure it covers the area fully. Use magnets or tape to hold the vinyl in place. Adjust it slowly until it fits well.
Using Heat For Flexibility
Heat makes vinyl soft and easy to work with. Use a heat gun or warm air from a hairdryer. Move the heat source evenly over the vinyl. Avoid staying too long on one spot. Warm vinyl stretches around curves and edges smoothly.
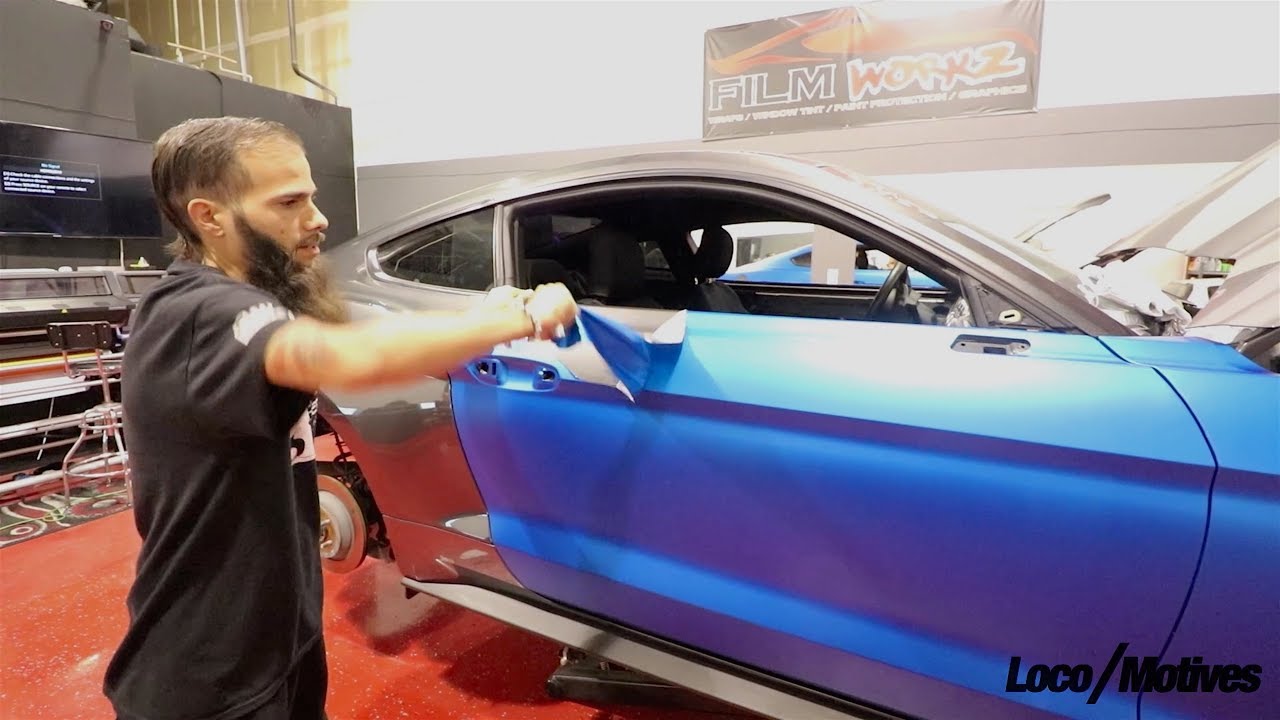
Smoothing Out Bubbles And Wrinkles
Use a plastic squeegee to press the vinyl. Start from the center and push outwards. This removes air bubbles under the wrap. For wrinkles, heat the vinyl slightly and stretch gently. Work carefully to keep the wrap tight and smooth.
Finishing Touches
Finishing touches are key to a perfect vinyl wrap job. They make the wrap look smooth and last longer. Paying close attention at this stage prevents peeling or bubbles later. Small details create a professional, clean look everyone will notice.
Trimming Excess Material
Start by carefully trimming the extra vinyl around edges. Use a sharp blade for clean cuts. Cut slowly to avoid damaging the paint beneath. Leave a small margin to tuck under trim or seals. This step prevents loose edges and keeps the wrap tight.
Sealing Edges And Corners
Seal all edges and corners with heat and pressure. Use a heat gun to warm the vinyl gently. Press edges down firmly with a squeegee or cloth. Sealing stops water from getting under the wrap. It also helps the vinyl stick better over time.
Curing And Setting Time
Let the vinyl cure before washing or driving in harsh conditions. The vinyl needs time to set fully on the surface. Avoid touching or stretching the wrap during this period. Usually, 24 to 48 hours is enough for curing. Proper curing ensures the wrap stays smooth and tight.
Maintenance Tips
Maintaining a vinyl wrap keeps your car looking fresh and new for longer. Proper care helps avoid damage and extends the wrap’s life. Follow these simple tips to keep your vinyl wrap in great condition.
Cleaning Wrapped Surfaces
Wash your car regularly with mild soap and water. Use a soft cloth or sponge to clean the wrap. Avoid harsh chemicals or abrasive tools that can scratch the surface. Rinse well and dry with a microfiber towel to prevent water spots. Do not use automatic car washes with brushes as they can damage the wrap.
Avoiding Damage And Wear
Park in shaded areas to protect the wrap from sun damage. Avoid parking under trees to prevent sap or bird droppings. Remove any dirt or debris gently to avoid scratches. Do not use sharp objects near the wrap. Avoid pressure washers too close to the edges as they can lift the vinyl.
When To Rewrap Or Repair
Check your wrap often for tears, bubbles, or peeling edges. Small damages can be repaired by a professional. If the wrap fades or cracks over time, consider rewrapping. Rewrapping keeps your car looking new and protects the original paint. Address problems early to avoid costly repairs later.
Common Mistakes To Avoid
Vinyl wrapping a car can give it a fresh, new look. Many beginners make simple mistakes that affect the final result. Avoiding these errors helps the wrap last longer and look better. Focus on careful work and patience for the best outcome.
Skipping Surface Preparation
Cleaning the car surface is crucial. Dirt, dust, or oil can stop the vinyl from sticking properly. Always wash and dry the car before starting. Use rubbing alcohol to remove any leftover grease. A smooth, clean surface makes the wrap stay longer.
Rushing The Application Process
Take your time when applying the vinyl. Moving too fast can cause bubbles and wrinkles. Use a squeegee slowly to press the vinyl down. Stretch the vinyl gently without forcing it. Patience gives a smooth, neat finish that looks professional.
Ignoring Environmental Conditions
Temperature and weather affect vinyl wrapping. Too cold or hot weather can harm the vinyl’s stickiness. Wrap your car indoors or on a mild day. Avoid windy or dusty places to stop debris from sticking. Ideal conditions help the vinyl bond well with the car’s surface.
Credit: theartworks.com
Credit: www.youtube.com
Frequently Asked Questions
What Tools Are Needed To Vinyl Wrap A Car?
Essential tools include a squeegee, heat gun, utility knife, and microfiber cloth. These tools help apply vinyl smoothly and remove air bubbles for a professional finish.
How Long Does Vinyl Car Wrapping Take?
Vinyl wrapping a car typically takes 1 to 3 days. The time depends on car size, complexity, and installer experience for perfect results.
Can Vinyl Wrap Damage My Car’s Paint?
No, vinyl wrap does not damage paint if applied correctly. It protects the paint and can be removed without leaving residue or harm.
Is Vinyl Wrap Cost-effective Compared To Paint?
Yes, vinyl wraps are usually cheaper than paint jobs. They offer customization, protect paint, and can be replaced easily, saving money in the long run.
Conclusion
Vinyl wrapping a car can change its look without paint. It takes patience and careful work to avoid bubbles and wrinkles. Clean the car well before starting. Use heat to make the wrap flexible and smooth. Small cuts help fit the wrap around curves.
Take your time with each section. This process protects the original paint and offers a fresh style. Anyone can do it with practice and the right tools. Try vinyl wrapping to give your car a new, unique look.


