

Have you ever tried vinyl wrapping a tricky shape and felt stuck or frustrated? You’re not alone.
Wrapping curves, corners, and odd angles can seem impossible at first. But what if you could learn simple techniques to make those difficult shapes look flawless? In this post, you’ll discover easy-to-follow tips that help you conquer even the toughest surfaces.
Keep reading, and you’ll gain the confidence to transform any object with a smooth, professional vinyl wrap. Your next project just got a whole lot easier.
Choosing The Right Vinyl
Choosing the right vinyl is key to wrapping difficult shapes successfully. The vinyl must stretch and bend without tearing. It should fit tightly around curves and corners. Picking the correct type helps avoid wrinkles and bubbles. Understanding the material’s properties makes the job easier and the finish smoother.
Types Suitable For Complex Curves
Cast vinyl is the best choice for complex shapes. It is thin and flexible. This vinyl can stretch without losing its color or strength. Calendered vinyl is thicker and less flexible. It suits flat or simple curves better. For detailed wraps, cast vinyl offers a cleaner look. It molds to surfaces like a second skin.
Thickness And Flexibility Factors
Thinner vinyl wraps are easier to stretch around curves. They reduce the chance of tearing during application. Flexibility helps the vinyl follow tight bends and edges. Thick vinyl may crack or wrinkle on complex shapes. Choose vinyl that balances strength and stretch. This ensures durability without sacrificing fit.

Credit: www.youtube.com
Preparing The Surface
Preparing the surface is the first step in vinyl wrapping difficult shapes. A clean and smooth surface helps the vinyl stick better. It also prevents bubbles and wrinkles. Taking time to prepare ensures a neat and long-lasting wrap.
Cleaning And Smoothing
Start by cleaning the surface with soap and water. Remove all dirt, grease, and dust. Use a clean cloth to wipe the area dry. Next, check for any rough spots or scratches. Sand these areas gently to make the surface smooth. A smooth surface helps the vinyl lay flat and stick well.
Removing Obstacles And Trims
Remove any parts that stick out, like trims, badges, or handles. These parts make wrapping tricky and cause wrinkles. Take off these obstacles carefully using the right tools. Removing them creates a flat surface. It makes the vinyl easier to apply and gives a better finish.
Tools For Shaping Vinyl
Shaping vinyl on difficult surfaces needs the right tools. These tools help the vinyl fit smoothly around curves and edges. Choosing the best tools makes the wrapping process easier. It also improves the final look of the wrap. Let’s explore the main tools used for shaping vinyl.
Heat Guns And Their Use
Heat guns soften vinyl, making it flexible. Warm vinyl bends easily over curves and corners. Use the heat gun carefully to avoid burns or damage. Keep the gun moving to heat evenly. Do not overheat one spot. Heat guns help vinyl stick better on tough shapes.
Squeegees And Cutting Tools
Squeegees remove air bubbles and smooth vinyl. Use soft or felt-edge squeegees to avoid scratches. Press the vinyl firmly to fit tight areas. Cutting tools trim excess vinyl with precision. Sharp blades make clean cuts without tearing. Both tools work together for a neat finish.

Credit: www.evolutionm.net
Techniques For Wrapping Curves
Wrapping vinyl around curves can be tricky. The vinyl needs to fit snugly without wrinkles or bubbles. It requires special techniques to stretch and mold the material correctly. Understanding these methods helps achieve a smooth, professional look on curved surfaces.
Stretching Without Damage
Vinyl can stretch, but too much strain causes damage. Use gentle, even pressure to pull the vinyl over curves. Heat the vinyl slightly with a heat gun to make it more flexible. Avoid overheating, which can burn or warp the material. Stretch the vinyl slowly and check often for signs of stress or tearing.
Working Around Edges And Corners
Edges and corners need careful attention to avoid lifting or bubbling. Start by applying vinyl to flat areas near the edge. Use a squeegee to press the vinyl firmly along the surface. For sharp corners, cut small slits in the vinyl to help it wrap smoothly. Tuck excess vinyl under the edge for a clean finish. Patience and precision prevent wrinkles and loose spots.
Handling Complex Contours
Wrapping vinyl on difficult shapes can be tricky. Many beginners make simple mistakes that cause bubbles, wrinkles, or poor adhesion. Avoiding these errors saves time and gives a smooth, professional look. Focus on careful preparation and smart techniques to get the best results.
Preventing Bubbles And Wrinkles
Clean the surface thoroughly before starting. Dirt or dust causes bubbles under the vinyl. Work slowly and apply heat gently with a heat gun. Stretch the vinyl carefully to avoid wrinkles. Use a squeegee to push out air pockets as you apply the wrap. Smooth out small bubbles by pressing them toward the edge. Large bubbles may need lifting and reapplying the vinyl.
Maintaining Adhesion On Irregular Surfaces
Use a primer designed for vinyl on tough curves and edges. This helps the adhesive stick better. Warm the vinyl slightly before applying to make it more flexible. Pull the vinyl gently over corners, avoiding overstretching. Use a heat gun to soften the vinyl and press it firmly into crevices. Check the edges for lifting and press them down tightly. Good adhesion prevents peeling and extends the wrap’s life.
Avoiding Common Mistakes
Finishing touches make your vinyl wrap look clean and last longer. Proper care at the end helps avoid peeling and damage. Focus on trimming and sealing for a perfect finish.
Trimming Excess Vinyl
Cut away extra vinyl carefully using a sharp blade. Follow the edges closely to keep the shape smooth. Avoid cutting too deep to protect the surface underneath.
Trim small sections at a time for better control. Use a straight edge to guide your cuts. Clean cuts prevent lifting and wrinkles later on.
Sealing And Protecting The Wrap
Seal the edges with heat to make them stick firmly. Use a heat gun on low setting to avoid damage. Press edges down gently with a soft cloth.
Apply a clear coat or vinyl protectant spray for extra durability. This protects against sun, rain, and dirt. Regular cleaning keeps the wrap looking fresh and new.
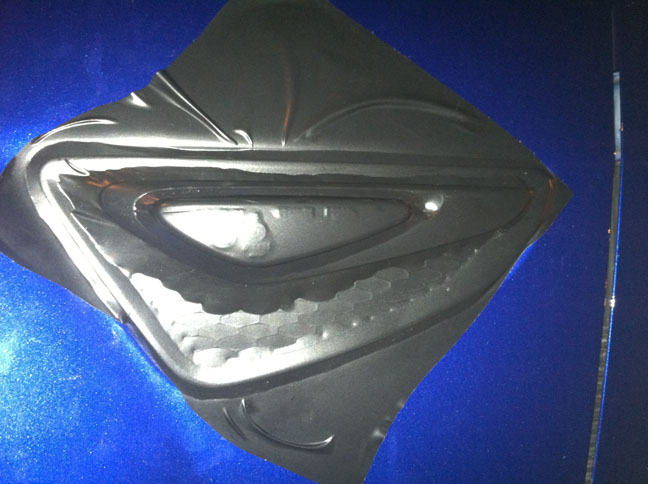
Credit: www.rx8club.com
Frequently Asked Questions
What Tools Are Essential For Vinyl Wrapping Difficult Shapes?
Key tools include a heat gun, squeegee, precision knife, and stretch gloves. These help shape and smooth the vinyl on curves and contours.
How Do You Prevent Bubbles On Complex Vinyl Wraps?
Use a heat gun to warm the vinyl for flexibility. Apply slowly, pressing out air with a squeegee for a smooth finish.
Can Vinyl Wrap Be Removed Easily From Difficult Shapes?
Yes, heating the vinyl softens the adhesive. Peel it gently to avoid damage, making removal from complex shapes manageable.
What Techniques Improve Vinyl Adhesion On Tight Curves?
Stretch the vinyl carefully using heat and tension. Work slowly, pressing firmly with a squeegee to ensure strong adhesion on curves.
Conclusion
Vinyl wrapping difficult shapes takes patience and care. Stretch the vinyl slowly and use heat to help it fit. Cut small slits to avoid wrinkles on curves. Keep your tools close and work in small sections. Practice on scrap pieces before starting your project.
This way, you will gain confidence and improve your skills. Remember, neat work looks best and lasts longer. With time, wrapping tricky shapes will become easier and more fun. Keep trying and enjoy the process.


