

Want your car to shine like it just rolled off the showroom floor? Waxing your car at home is easier than you think—and it saves you time and money.
Imagine driving with a glossy, protected finish that turns heads everywhere you go. In this guide, you’ll discover simple steps to make your car’s paint look brand new, protect it from damage, and boost its value. Ready to give your car the care it deserves?
Keep reading to learn exactly how to wax your car like a pro, right in your own driveway.

Credit: www.turtlewax.com
Choosing The Right Wax
Picking the right wax makes your car shine and protects its paint. Choose one that suits your car’s finish and weather conditions. Easy application helps get better results at home.
Types Of Car Wax
Car wax comes in different forms. Each type offers unique benefits. Paste wax is thick and lasts longer. Liquid wax spreads easily and dries fast. Spray wax is quick and simple to apply. Choose a type that fits your time and effort.
Selecting Based On Paint Type
Different car paints need different waxes. For clear coats, synthetic wax works best. It protects and shines without damage. Older or single-stage paints like natural wax. It nourishes and restores color. Check your car’s paint before choosing wax.
Tools And Materials Needed
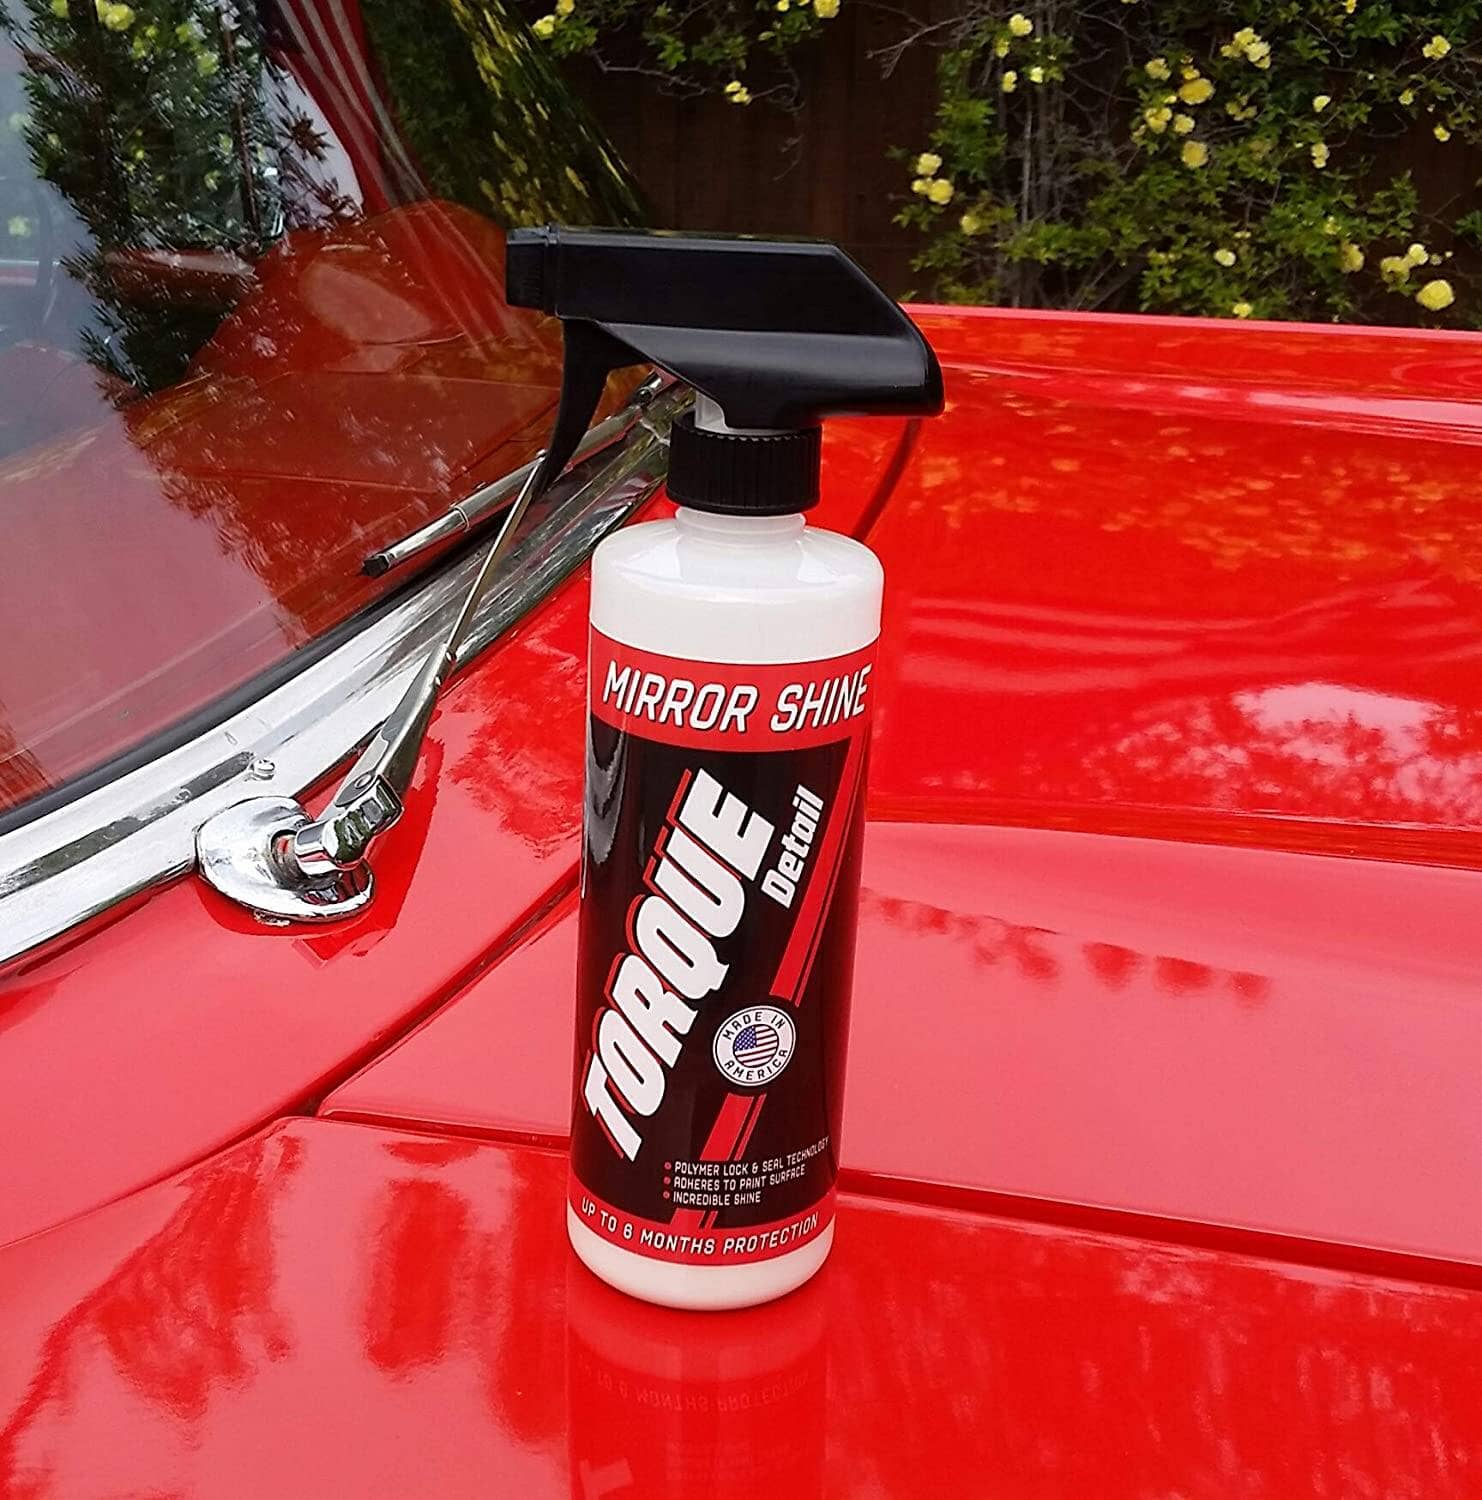
Gather soft cloths or foam applicators. Use microfiber towels for buffing. Clean your car before waxing. A bucket, soap, and water help remove dirt. Have gloves to protect your hands. These tools make waxing easier and safer.
Credit: www.torquedetail.com
Preparing Your Car
Preparing your car before waxing is very important. It helps the wax stick better and lasts longer. Clean and smooth surfaces give the best shine. Take your time with each step for great results.
Washing And Drying
Start by washing your car with a mild car shampoo. Use a soft sponge or mitt to remove dirt and grime. Rinse the car well with clean water to avoid soap spots. Dry the car using a microfiber towel to stop water marks.
Removing Surface Contaminants
After washing, check for tiny particles on the paint. Use a clay bar or detailing clay to remove these contaminants. Rub the clay gently over the paint with a lubricant spray. This step makes the surface smooth and clean for waxing.
Inspecting For Imperfections
Look closely at your car’s paint under good light. Check for scratches, swirl marks, or stains. Fix small issues with a polish or scratch remover before waxing. This helps the wax cover the paint evenly and shine better.
Wax Application Techniques
Wax application techniques help protect your car’s paint and keep it shiny. Applying wax the right way makes the finish smooth and long-lasting. Use careful methods to cover every part evenly. This section explains simple steps for better waxing at home.
Applying Wax Evenly
Use a soft applicator pad to spread wax smoothly. Apply thin layers with gentle, circular motions. Avoid pressing too hard to keep the coat even. Cover the surface without missing spots or leaving thick patches. Even wax helps the car look bright and clean.
Working In Small Sections
Divide the car into small parts before waxing. Work on one section at a time to control coverage. This method prevents the wax from drying too fast. It also makes buffing easier and more effective. Small sections keep the process neat and manageable.
Avoiding Common Mistakes
Do not wax under direct sunlight or on a hot car. This causes streaks and uneven drying. Avoid using too much wax; it creates buildup and dullness. Do not rush the process; let wax dry slightly before buffing. Following these tips ensures a smooth, shiny finish.
Buffing And Polishing
Buffing and polishing your car after applying wax is key to a deep shine and smooth finish. This step removes excess wax and smooths the surface. Proper buffing brings out the car’s natural gloss and protects the paint.
Choosing The Right Cloth
Select a soft, clean microfiber cloth for buffing. Avoid rough or dirty fabrics that can scratch the paint. Use separate cloths for applying and buffing wax. This keeps the surface clean and prevents smudges. A high-quality cloth lifts wax residue gently and evenly.
Buffing Methods For Shine
Use small, circular motions to buff the wax. Keep the cloth light and steady on the surface. Avoid pressing too hard, which can remove wax unevenly. Work section by section for full coverage. Buff until the wax residue disappears and the surface gleams.
Final Touches For Smooth Finish
After buffing, check for missed spots or streaks. Use a fresh cloth to polish these areas gently. This step ensures an even, smooth finish. Let the wax cure fully before driving or washing the car. This protects your shine longer and keeps the paint safe.
Maintaining Your Wax Job
Maintaining your car’s wax job is key to keeping its shine and protection. A good wax job doesn’t last forever. Dirt, rain, and sun can wear it down. Taking simple steps helps your car look fresh longer.
Regular care protects the wax layer. This keeps your car’s paint safe and glossy. Small actions make a big difference in the long run.
Frequency Of Waxing
Wax your car every three to four months. This timing keeps the wax layer effective. If you live in harsh weather, wax more often. Less frequent washing can also extend wax life.
Check your car’s surface regularly. When water stops beading on the paint, it is time to wax again.
Protecting Against Elements
Park your car in the shade or garage. This reduces sun damage to the wax and paint. Avoid parking under trees to prevent sap and bird droppings.
Rinse off dirt and dust quickly. These particles can scratch the wax and paint if left too long.
Quick Tips For Long-lasting Shine
Use a soft microfiber cloth to clean and dry your car. Avoid harsh soaps that strip wax. Wash gently using car shampoo designed for waxed surfaces.
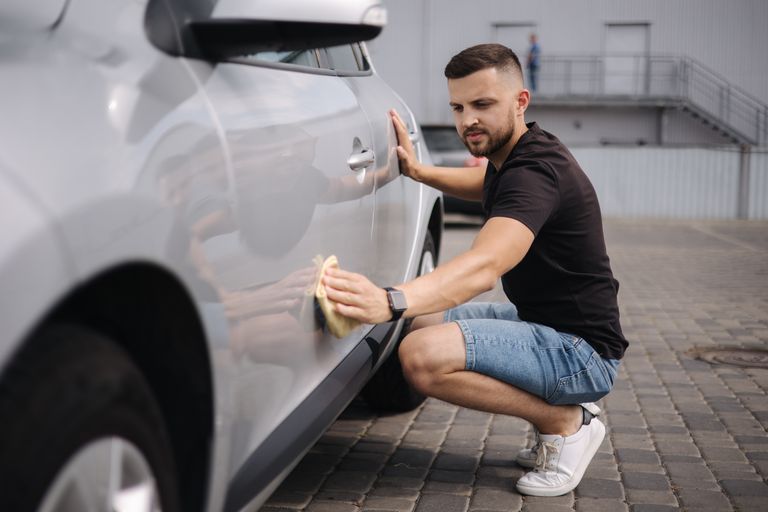
Apply a spray wax or detailer between full wax jobs. This refreshes the shine and adds a thin protective layer.
Regularly inspect your car for spots that need extra care. Spot cleaning keeps the wax job looking its best.
Credit: www.transwest.com
Frequently Asked Questions
How Often Should I Wax My Car At Home?
You should wax your car every three months for best protection. Regular waxing keeps the paint shiny and shields it from dirt, UV rays, and water damage. Adjust frequency based on your climate and driving conditions.
What Tools Do I Need To Wax My Car?
You need car wax, a foam applicator pad, microfiber towels, and a clean car. Optional tools include a clay bar and car wash soap. These items help you apply wax smoothly and remove excess residue effectively.
Can I Wax My Car In Direct Sunlight?
Avoid waxing your car in direct sunlight. Heat can cause the wax to dry too fast, making it hard to buff off. Wax your car in a shaded, cool area for the best results and easy application.
How Long Does Car Wax Protection Last?
Car wax protection usually lasts about 6 to 8 weeks. Quality wax can extend this period. Frequent washing and exposure to elements may reduce wax longevity, so regular reapplication is necessary for ongoing protection.
Conclusion
Waxing your car at home protects its paint and keeps it shiny. It takes some time but the results are worth it. Use the right wax and clean your car well before starting. Apply wax in small sections for best coverage.
Buff gently to avoid scratches. Regular waxing helps your car look new longer. Try this simple process to save money and enjoy a clean car. Your effort will show every time you drive.


