
Are your brakes making strange noises or not feeling as responsive as they used to? It might be time to change your brake rotors and calipers.
Knowing how to do this yourself can save you money and give you confidence in your vehicle’s safety. In this guide, you’ll learn simple, step-by-step instructions that anyone can follow. By the end, you’ll have the skills to keep your brakes working smoothly and protect yourself on the road.
Ready to take control of your car’s braking system? Let’s get started.
Tools And Materials Needed
Changing brake rotors and calipers requires specific tools and materials. Preparing these items before starting saves time and effort. Proper tools make the job safer and easier. Use the right parts to ensure your brakes work well.
Basic Tools
Gather essential tools first. You need a jack to lift the car safely. A lug wrench helps remove the wheels. Socket sets and wrenches will loosen bolts. A C-clamp or brake caliper tool pushes the piston back. A screwdriver or pry bar helps remove old parts. A torque wrench tightens bolts to the correct level.
Replacement Parts
Buy quality brake rotors and calipers for your car model. Choose parts that match your vehicle specifications. Replace brake pads along with rotors and calipers. Use new bolts and clips if needed. Check if brake fluid needs topping off or replacement.
Safety Gear
Wear gloves to protect your hands from dirt and injury. Safety glasses keep debris out of your eyes. Use a dust mask to avoid inhaling brake dust. Wear closed-toe shoes to protect your feet. Work in a well-ventilated area to stay safe.
Preparing Your Vehicle
Preparing your vehicle properly makes changing brake rotors and calipers easier and safer. Take time to set up your workspace and tools before starting. A good start prevents problems later. Follow these steps carefully for a smooth process.
Parking And Securing
Park your vehicle on a flat, level surface. Avoid slopes or uneven ground. Apply the parking brake firmly. Place wheel chocks behind the wheels that stay on the ground. This stops the car from rolling while you work.
Loosening Lug Nuts
Before lifting the car, loosen the lug nuts on the wheel. Use a lug wrench for better grip. Turn the nuts counterclockwise. Do not remove them completely yet. This step is easier when the tire is still on the ground.
Lifting The Vehicle Safely
Find the correct jacking points under your vehicle. Use a reliable jack to lift the car. Raise it just enough to remove the wheel. Always support the car with jack stands. Never rely on the jack alone for safety.
Removing The Old Brake Components
Removing the old brake components is the first step in changing brake rotors and calipers. This process requires careful handling to avoid damage. Each part must come off cleanly to make room for new components. Safety is important. Make sure the car is secure before starting.
Removing The Wheel
Start by loosening the lug nuts on the wheel. Use a wrench to turn them counterclockwise. Do not remove them completely yet. Then, lift the car using a jack. Place jack stands under the car for safety. Remove the lug nuts and take the wheel off. Set the wheel aside carefully.
Detaching The Caliper
Locate the brake caliper mounted over the rotor. Find the bolts holding the caliper in place. Use a socket wrench to remove these bolts. Gently pull the caliper away from the rotor. Do not let the caliper hang by the brake line. Use a hook or rope to hold it up safely.
Taking Off The Rotor
The rotor sits right under the caliper. It may be held by screws or just by the wheel. Remove any screws with a screwdriver. If the rotor is stuck, tap it lightly with a rubber mallet. Pull the rotor straight off the hub. Clean the hub surface before installing new parts.
Credit: www.powerstop.com
Installing New Rotors
Installing new rotors is a key step in changing brake rotors and calipers. This process ensures smooth braking and better vehicle safety. Proper installation prevents brake noise and uneven wear.
Follow each step carefully for a secure fit and long rotor life. Clean surfaces and correct positioning matter a lot.
Cleaning The Hub Surface
Start by cleaning the hub surface. Dirt or rust can cause the rotor to sit unevenly. Use a wire brush or sandpaper to remove old rust and debris. Wipe the area with a clean cloth. A clean hub helps the rotor fit tightly and prevents wobbling.
Positioning The New Rotor
Place the new rotor on the hub carefully. Align the rotor holes with the wheel studs. Make sure the rotor sits flat against the hub surface. Check for any gaps or misalignment. Proper positioning avoids brake vibration and noise.
Securing The Rotor
Secure the rotor by tightening the screws or bolts. Use a torque wrench to apply the correct tightness. Over-tightening can damage parts. Under-tightening can cause the rotor to move. Tighten screws in a star pattern for even pressure. This keeps the rotor stable and safe during driving.
Replacing Calipers
Replacing calipers is an important step when changing brake rotors and calipers. The caliper holds the brake pads and squeezes them against the rotor to stop the car. Over time, calipers can wear out or get stuck, reducing braking power. Swapping out old calipers with new ones improves safety and brake performance.
Preparing The New Caliper
Start by inspecting the new caliper for damage or dirt. Clean it gently with brake cleaner if needed. Check that the piston moves smoothly inside the caliper. Lubricate the slider pins with brake grease to allow easy movement. Remove any protective caps from the brake line ports.
Attaching The Caliper To The Bracket
Position the new caliper over the brake rotor and align it with the mounting bracket. Insert the mounting bolts and tighten them by hand at first. Use a torque wrench to tighten the bolts to the manufacturer’s specifications. Make sure the caliper sits flush and does not wobble.
Reconnecting Brake Lines
Carefully reconnect the brake hose to the new caliper. Use new washers or seals to prevent leaks. Tighten the brake line fitting securely but avoid over-tightening. Open the bleeder valve and pump the brake pedal to remove air from the system. Check for any brake fluid leaks and fix them before driving.

Credit: www.youtube.com
Reassembling And Finishing Up
After replacing the brake rotors and calipers, the next step is to put everything back together. This part is important to ensure your brakes work well and your car is safe to drive. Take your time and follow each step carefully.
Reinstalling The Wheel
Place the wheel back onto the hub. Align the holes with the wheel studs. Push the wheel firmly until it sits flat against the brake assembly. This step is key to avoid wobbling or uneven wear.
Tightening Lug Nuts
Start threading the lug nuts by hand to avoid cross-threading. Use a wrench to tighten them in a star pattern. This ensures even pressure and proper wheel alignment. Tighten them firmly but do not use full force yet.
Lowering The Vehicle
Use the jack to slowly lower the vehicle until the tire touches the ground. Once the car is stable, fully tighten the lug nuts with the wrench. Check that all nuts are secure. This prevents the wheel from loosening while driving.
Testing Your Brakes
After changing brake rotors and calipers, testing your brakes is essential. This step ensures your brakes work properly and keep you safe on the road. Testing helps find any issues early. It confirms the repair was successful and the brake system is reliable.
Checking Brake Fluid
Start by checking the brake fluid level. Open the hood and find the brake fluid reservoir. The fluid should be between the “Min” and “Max” marks. Low fluid may cause poor brake performance. Add the correct brake fluid if needed. Make sure the cap is tight after filling.
Pumping The Brake Pedal
Sit inside the car and press the brake pedal slowly. Pump the pedal several times to build pressure. The pedal should feel firm and steady, not soft or spongy. A soft pedal may mean air is in the brake lines. Pumping helps remove air and ensures the brakes respond well.
Performing A Test Drive
Drive the car slowly in a safe area. Press the brake pedal gently at first. Check if the car stops smoothly without pulling to one side. Listen for any unusual noises like grinding or squealing. Test the brakes at different speeds to confirm they work well in all conditions.
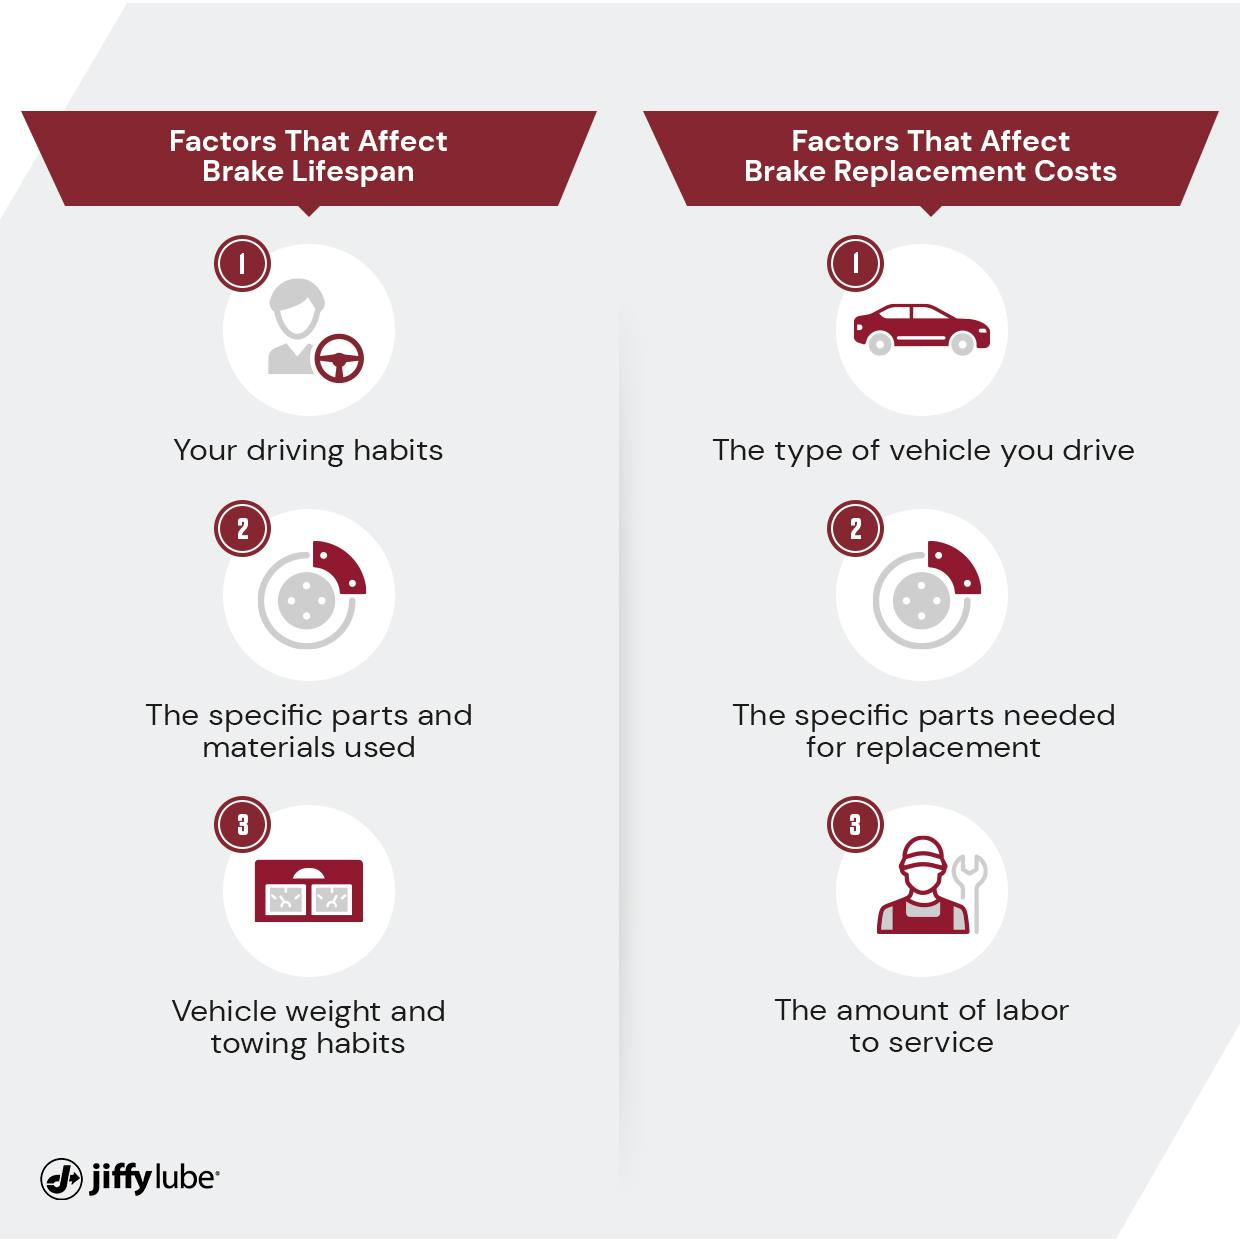
Credit: www.jiffylube.com
Common Issues And Troubleshooting
Changing brake rotors and calipers can solve many brake problems. Still, some common issues may arise during or after the repair. Knowing these problems helps you fix them quickly. It keeps your car safe and running smoothly.
Squeaking Or Grinding Noises
Squeaking usually means worn brake pads. Sometimes, dust or dirt causes noise. Grinding noise means metal parts touch. This can damage rotors and calipers. Check pads and clean the brake parts. Replace pads if worn too thin.
Brake Pedal Problems
Soft or spongy pedals may mean air in brake lines. Hard pedals can mean stuck calipers. A pedal that goes to the floor could mean brake fluid leaks. Check fluid levels and look for leaks. Bleed the brake lines to remove air.
Uneven Braking
Uneven braking feels like the car pulls to one side. This can come from bad calipers or uneven rotors. Calipers may stick or not release fully. Rotors can be warped or damaged. Inspect calipers and rotors for wear. Replace parts that look damaged or worn.
Frequently Asked Questions
How Often Should I Change Brake Rotors And Calipers?
Brake rotors and calipers typically need replacement every 50,000 to 70,000 miles. However, inspect them regularly for wear, warping, or damage. Replace them sooner if you notice vibrations, squealing, or reduced braking performance to ensure safety and optimal braking.
Can I Change Brake Rotors And Calipers Myself?
Yes, you can change brake rotors and calipers yourself if you have basic mechanical skills. Ensure you have the right tools and follow a reliable guide step-by-step. Always prioritize safety by using jack stands and wearing protective gear.
What Tools Are Required To Change Brake Rotors And Calipers?
You need a jack, jack stands, lug wrench, socket set, C-clamp, and brake cleaner. A torque wrench and brake fluid may also be necessary. Having all tools ready makes the process smoother and safer.
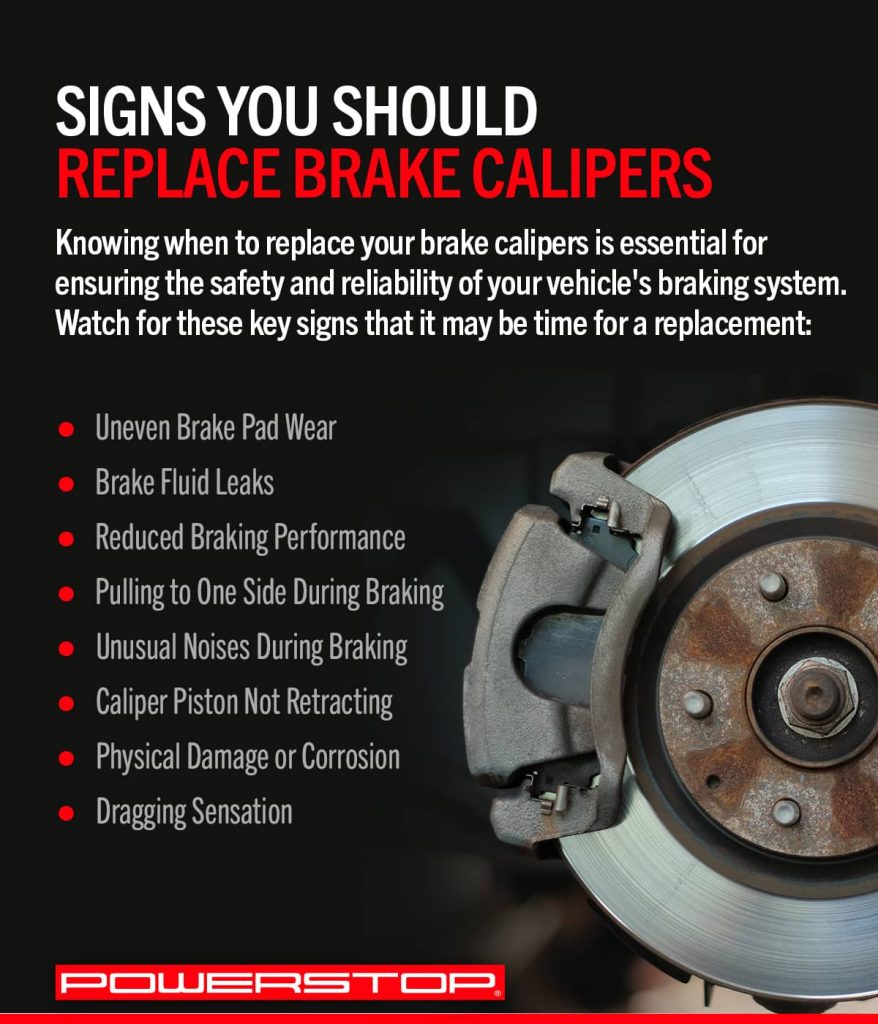
How Do I Know If Brake Rotors Or Calipers Are Faulty?
Signs include grinding noises, brake pedal vibration, uneven brake pad wear, or fluid leaks near calipers. Reduced braking power or pulling to one side while braking also indicates issues. Early diagnosis prevents further damage and costly repairs.
Conclusion
Changing brake rotors and calipers is easier than it seems. Take your time and follow each step carefully. Always check your work before driving. Good brakes keep you safe on the road. Practice makes the process smoother. Keep your tools ready for the next time.
Stay safe and confident with your car repairs.

