Are you struggling with air bubbles ruining the smooth look of your vinyl wrap? Those tiny trapped pockets of air can make your project look unprofessional and frustrating to fix.
But don’t worry—you’re about to learn simple, effective ways to get rid of air bubbles and achieve a flawless finish. By following these easy steps, you’ll save time, avoid costly mistakes, and enjoy a perfect vinyl wrap every time. Keep reading to discover the secrets that experts use to smooth out any bumps and make your wrap look brand new.
Credit: www.vinylfrog.com
Causes Of Air Bubbles
Air bubbles in vinyl wrap are a common problem. They appear as small pockets of air trapped under the vinyl surface. These bubbles spoil the smooth look of the wrap and can cause peeling over time. Understanding the causes of air bubbles helps to avoid them and achieve a flawless finish.
Surface Contaminants
Dirt, dust, and oil on the surface cause air bubbles. These contaminants prevent the vinyl from sticking properly. Even tiny particles create gaps where air can get trapped. Cleaning the surface thoroughly before application is essential to avoid bubbles.
Improper Application Technique
Poor wrapping skills lead to trapped air. Rushing or using the wrong tools causes uneven pressure. Wrapping without smoothing the vinyl from the center outward can trap air pockets. Taking time and using a squeegee helps remove air during application.
Temperature Effects
Temperature affects vinyl flexibility and adhesion. Cold weather makes vinyl stiff and hard to stretch. Hot weather causes vinyl to expand and contract after application. Both extremes can create bubbles as the vinyl moves or does not stick well.
Credit: metrorestyling.com
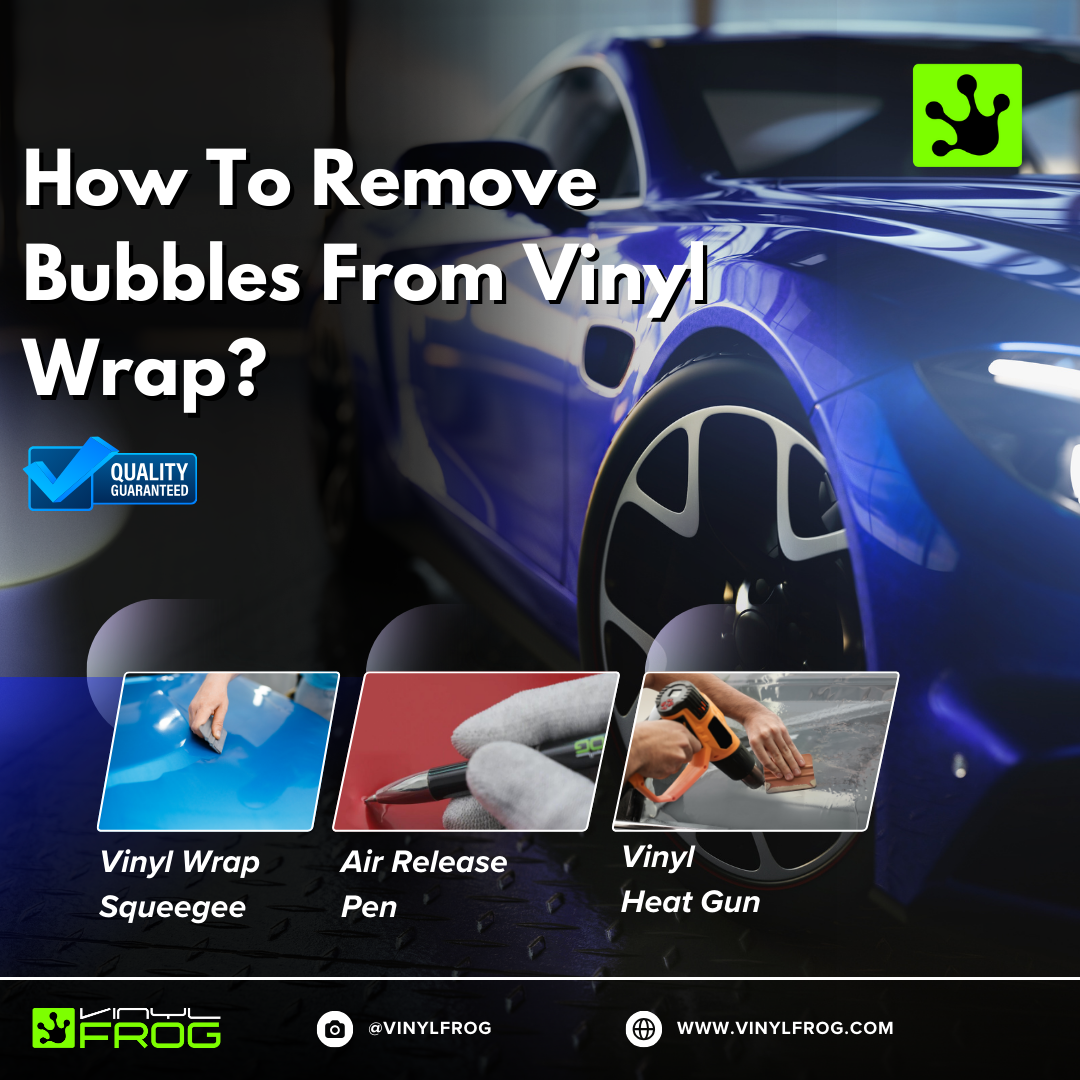
Tools Needed
Getting rid of air bubbles in vinyl wrap needs the right tools. These tools help you smooth out the wrap and remove trapped air easily. Using proper tools saves time and gives a clean finish.
Each tool has a special job. Some push bubbles out, some soften the vinyl, and others help pop stubborn bubbles. Knowing the right tools makes the job easier.
Squeegee Types
A squeegee is a key tool for vinyl wrapping. It helps press the wrap onto the surface smoothly. Use a soft squeegee to avoid scratches. Felt edge squeegees work best for delicate wraps. Hard plastic squeegees are good for tougher surfaces. Choose the right squeegee to push air bubbles out without damage.
Heat Gun Or Hair Dryer
Heat softens the vinyl and makes it flexible. A heat gun or hair dryer helps release trapped air. Use low heat to avoid melting the wrap. Gently warm the area with bubbles. This helps the vinyl settle and smooth out easily.
Pin Or Needle
A pin or needle is useful for tough bubbles. It creates a tiny hole to let air escape. Use it carefully to avoid tearing the vinyl. After popping the bubble, press the area with a squeegee. This ensures the wrap sticks well without air pockets.
Preparation Steps
Preparing properly is the first step to avoid air bubbles in vinyl wrap. Careful preparation makes the application smoother and cleaner. It helps the vinyl stick better and last longer. Follow these key steps to set up the surface and environment before applying the wrap.
Cleaning The Surface
Clean the surface thoroughly to remove dirt and grease. Use soap and water or a special cleaner for best results. Dry the area completely with a soft cloth. Any dust or oil can cause bubbles under the vinyl.
Measuring And Cutting
Measure the area accurately before cutting the vinyl. Cut the wrap slightly larger than the surface. This extra margin helps cover edges and avoid gaps. Use a sharp blade to get clean, straight edges.
Choosing The Right Environment
Apply vinyl in a dust-free, dry place. Avoid windy or humid conditions that trap air or dirt. A room temperature between 60°F and 80°F is ideal. This helps the vinyl stay flexible and stick well.
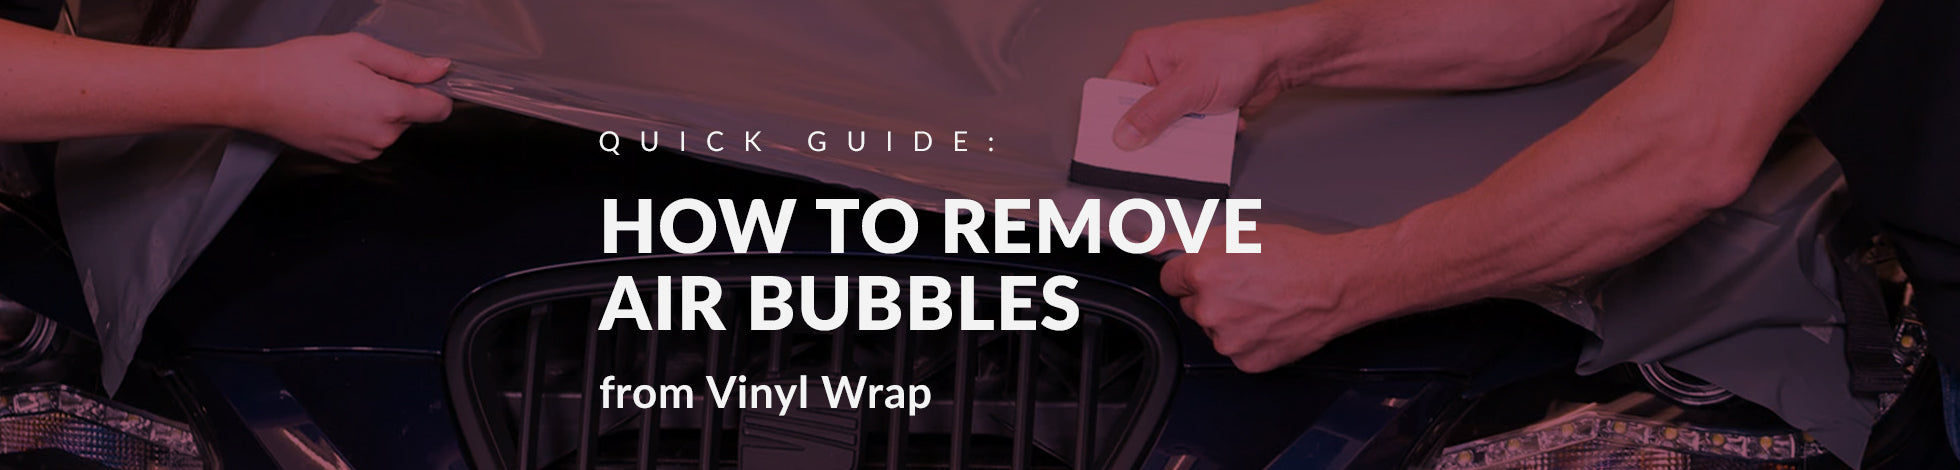
Removing Small Bubbles
Small air bubbles can appear under vinyl wrap during installation. They may look distracting and affect the smooth finish. Removing these bubbles early keeps your wrap looking perfect. Use simple tools and careful steps to clear the bubbles without damage.
Focus on gentle methods that release trapped air and smooth the surface. This prevents the bubbles from growing bigger or causing wrinkles later.
Using A Pin To Release Air
Take a fine pin or needle to pop tiny bubbles. Gently prick the bubble’s edge, not the center. This lets the air escape slowly without tearing the vinyl. Press the bubble flat with your finger after pricking. Repeat if needed for stubborn bubbles.
Smoothing With A Squeegee
Use a soft squeegee to push out air bubbles. Start from the bubble’s edge and move toward the nearest edge of the wrap. Apply steady, even pressure to avoid stretching the vinyl. This technique helps flatten the wrap and remove trapped air.
Applying Heat Carefully
Heat softens vinyl and helps smooth bubbles. Use a heat gun or hairdryer on low heat. Keep the heat source moving to avoid damage. Warm the bubble area gently, then press with a squeegee or cloth. The heat makes the vinyl flexible and easier to flatten.
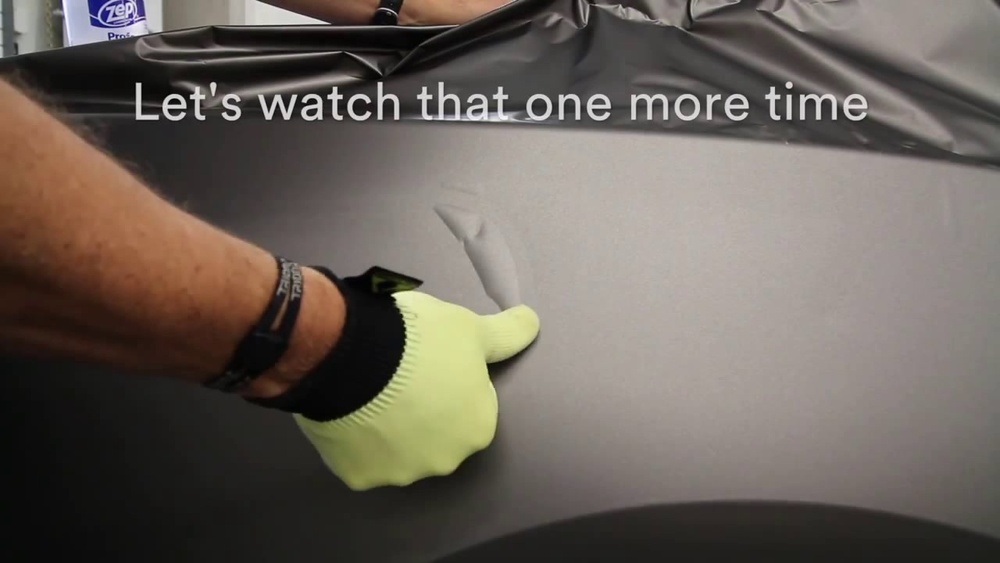
Fixing Large Bubbles
Large air bubbles in vinyl wrap can ruin the smooth look of your project. Fixing these bubbles requires care and patience. Small bubbles might pop easily, but big bubbles need special attention. This section explains simple steps to fix large bubbles without damaging the wrap.
Lifting And Reapplying The Wrap
Start by gently lifting the vinyl from the edge near the bubble. Do this slowly to avoid tearing the wrap. Once lifted, press out the trapped air with your fingers or a soft cloth. After the air is gone, carefully reapply the vinyl. Smooth it down firmly to keep it flat.
Using Heat To Soften Vinyl
Use a heat gun or hairdryer to warm the vinyl around the bubble. Heat makes the vinyl soft and easier to work with. Move the heat source evenly and keep it moving to avoid damage. Once warm, press the bubble out with a squeegee or cloth. Heating helps the vinyl stick better to the surface.
Re-squeegeeing For A Smooth Finish
After removing the bubble, run a squeegee over the area again. Use firm, even pressure from the center outward. This step seals the vinyl and removes any small air pockets left. Re-squeegeeing gives the wrap a smooth, clean finish. Take your time to ensure no bubbles return.

Credit: www.elitewrappers.com
Preventing Bubbles In Future
Preventing air bubbles in vinyl wrap is easier than fixing them later. A smooth, bubble-free finish looks professional and lasts longer. Taking simple steps before and during application makes a big difference. Follow these tips to keep your vinyl wrap perfect from the start.
Proper Surface Preparation
Clean the surface thoroughly before applying vinyl wrap. Dirt, dust, and grease cause bubbles. Use soap and water to wash the area. Dry it completely with a clean cloth. Remove any old adhesive or wax. A smooth, clean surface helps vinyl stick evenly.
Optimal Application Techniques
Start applying vinyl slowly from one edge. Use a squeegee to press the wrap down. Push air out toward the edges. Work in small sections to control bubbles. Avoid stretching the vinyl too much. Take your time for a smooth finish.
Maintaining Ideal Temperature
Apply vinyl wrap in a warm environment. Cold temperatures make vinyl stiff and hard to stretch. Heat the vinyl lightly with a heat gun or warm cloth. Keep the surface temperature between 60°F and 80°F. Proper temperature helps the vinyl stick and stay flat.
Common Mistakes To Avoid
Air bubbles ruin the smooth look of a vinyl wrap. Many people make simple mistakes that cause these bubbles. Avoiding these errors helps keep your vinyl wrap clean and smooth. Read about common mistakes to avoid and keep your wrap perfect.
Skipping Surface Cleaning
Dirty surfaces trap dust and dirt under the vinyl. This creates bubbles and bumps. Always clean the surface well before applying vinyl. Use soap and water or a special cleaner. Let the surface dry fully. A clean surface helps the vinyl stick better and stay smooth.
Rushing Application
Applying vinyl too quickly causes mistakes. Wrinkles and bubbles form easily. Take your time to lay the vinyl slowly. Use a squeegee to push air out as you go. Work in small sections for better control. Rushing makes it hard to fix bubbles later.
Overheating The Vinyl
Using too much heat can damage the vinyl. It may stretch or lose shape. Heat helps vinyl stick, but too much causes bubbles. Use a heat gun carefully and keep it moving. Warm the vinyl just enough to make it flexible. Proper heat application keeps the wrap smooth and tight.
Frequently Asked Questions
How Can I Prevent Air Bubbles In Vinyl Wrap?
Clean the surface thoroughly before application. Use a squeegee to apply even pressure. Work slowly to avoid trapping air. Heat the vinyl slightly for better adhesion.
What Tools Help Remove Air Bubbles From Vinyl Wrap?
A plastic squeegee and a pin or needle are essential. The squeegee pushes out bubbles gently. The pin releases trapped air by puncturing bubbles carefully.
Can Heat Remove Air Bubbles In Vinyl Wrapping?
Yes, applying moderate heat softens the vinyl. This makes it easier to smooth out bubbles. Use a heat gun or hair dryer cautiously to avoid damage.
Why Do Air Bubbles Appear Under Vinyl Wrap?
Air bubbles occur due to dust, dirt, or moisture. Improper application technique can trap air. Also, uneven surfaces cause bubbles to form under the wrap.
Conclusion
Getting rid of air bubbles in vinyl wrap takes patience and care. Use a squeegee or pin to gently push bubbles out. Work slowly from the center toward the edges. Small bubbles can disappear over time with heat. Keep the surface clean and smooth for best results.
This simple process helps your vinyl wrap look neat and last longer. Practice makes perfect, so don’t rush. Your vinyl wrap will look smooth and professional with these easy steps.