
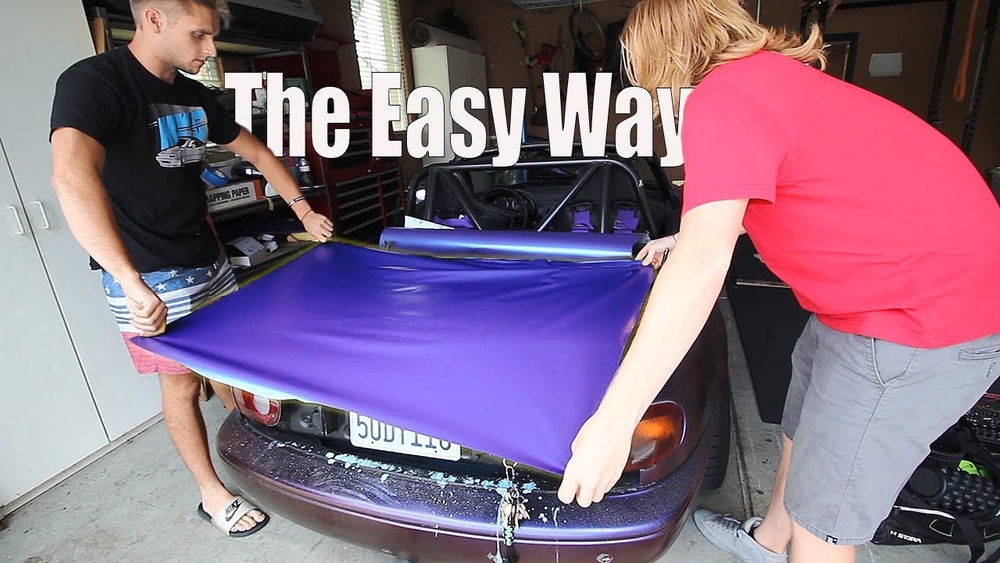
Thinking about giving your car a fresh new look without spending a fortune? You’re in the right place.
Vinyl wrapping your own car can save you money and let you express your personal style exactly how you want. But it might sound tricky if you’ve never tried it before. Don’t worry—this guide will walk you through every step, making the process simple and manageable.
By the end, you’ll have the confidence to transform your car and turn heads wherever you go. Ready to get started? Let’s dive in!
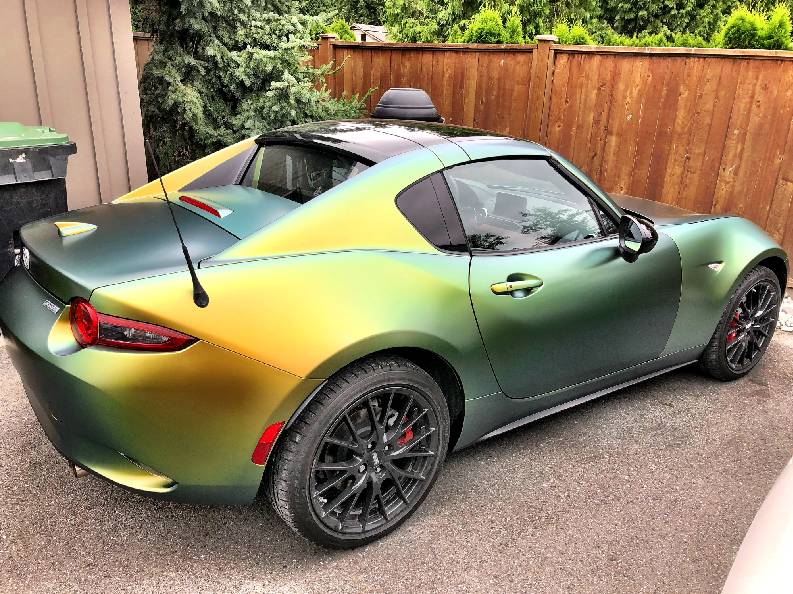
Credit: www.wrapguysamerica.com
Preparing Your Car
Preparing your car is a key step before starting the vinyl wrap process. A clean, smooth surface helps the vinyl stick better and last longer. This part of the job takes time but saves effort later. Follow these steps carefully to get your car ready.
Cleaning The Surface
Start by washing your car thoroughly. Use soap and water to remove dirt and grime. Dry the car with a clean cloth. Next, wipe the surface with rubbing alcohol. This removes oils and leftover dirt. A clean surface helps the vinyl attach firmly without bubbles.
Removing Obstacles
Remove any parts that block the wrap. Take off mirrors, badges, and trim pieces. This makes it easier to wrap edges smoothly. Keep screws and small parts safe. Removing obstacles prevents wrinkles and tears in the vinyl.
Inspecting For Damage
Check the car for dents, scratches, or rust. Vinyl wrap does not hide damage well. Fix dents and scratches before wrapping. Smooth surfaces help the vinyl look perfect. Repair rust to stop it from spreading under the wrap.
Choosing Vinyl Wrap Materials
Choosing the right vinyl wrap materials is key to a smooth and lasting car wrap. The material affects how easy it is to apply and how good your car looks after. Picking the right tools and colors also makes a big difference. This section guides you through the types of vinyl wraps, tools needed, and how to select colors and finishes.
Types Of Vinyl Wraps
There are many vinyl wrap types. Cast vinyl is thin and flexible. It fits well on curves and lasts longer. Calendered vinyl is thicker and cheaper. It works best on flat surfaces and short-term wraps. Matte, gloss, satin, and textured finishes are also options. Knowing the type helps you pick the best for your car’s shape and use.
Tools Needed
Good tools make wrapping easier. You need a squeegee to smooth the vinyl and remove bubbles. A heat gun helps stretch the wrap around curves. A sharp utility knife cuts the vinyl cleanly. Use gloves to avoid fingerprints. Clean cloths and a spray bottle with soapy water help position the vinyl before sticking.
Selecting Colors And Finishes
Colors and finishes change your car’s look completely. Bright colors stand out. Dark colors look sleek. Matte finishes give a soft, modern look. Glossy finishes shine and catch light. Satin finishes are between matte and gloss. Textured finishes add depth and style. Choose a color and finish that fits your taste and car style.
Measuring And Cutting Vinyl
Measuring and cutting vinyl are the first important steps in wrapping your car. These steps ensure the vinyl fits well and looks smooth on the surface. Taking your time here saves you from mistakes later.
Taking Accurate Measurements
Use a flexible measuring tape to follow the car’s curves. Measure each section separately, like doors, hood, and bumpers. Write down the numbers clearly. Always measure twice to avoid errors. Add a few extra inches for adjustments and trimming later.
Cutting Techniques
Use a sharp utility knife or vinyl cutter for clean cuts. Cut on a flat, clean surface to keep the vinyl steady. Avoid cutting too close to the measured line. Leave a small margin to trim after application. Cut slowly and steadily for straight edges.
Planning For Overlaps
Vinyl sheets need small overlaps to cover large surfaces. Plan overlaps of about 1 to 2 inches between pieces. Overlaps help prevent gaps and peeling. Mark overlap areas lightly with a pencil on the backing paper. Overlaps also allow easier alignment during application.

Credit: www.youtube.com
Applying The Vinyl Wrap
Applying the vinyl wrap is a careful process that shapes the car’s new look. It needs patience and steady hands. The vinyl must fit smoothly on the car’s surface. Small mistakes can cause bubbles or wrinkles. Follow these steps to apply the wrap well.
Positioning The Vinyl
Start by placing the vinyl on the car. Align it with the edges and curves. Do not remove the backing paper yet. Use magnets or tape to hold it in place. Check the fit from different angles. Adjust the vinyl to cover all areas you want wrapped. This step sets the base for smooth application.
Using Heat For Flexibility
Heat softens the vinyl, making it easier to stretch. Use a heat gun or a hair dryer. Keep the heat moving to avoid damage. Warm the vinyl gently on curves and corners. Heat helps the vinyl follow the car’s shape without tearing. Be careful not to overheat any spot.
Smoothing Out Air Bubbles
Air bubbles can ruin the finish. Use a squeegee to push bubbles out. Start from the center and move to the edges. Work slowly and press firmly. For small bubbles, use a pin to release trapped air. Smooth vinyl looks neat and lasts longer. Check your work often to catch bubbles early.
Trimming And Finishing Edges
Trimming and finishing edges is a key step in vinyl wrapping your car. This stage ensures your wrap looks clean and lasts longer. Proper trimming prevents peeling and gives a smooth, professional finish. Take your time and use the right tools for the best results.
Cutting Excess Vinyl
Start by cutting the extra vinyl around the edges. Use a sharp blade or knife for clean cuts. Cut slowly to avoid damaging the paint. Leave a small margin to tuck the vinyl under trims or moldings. This extra vinyl helps secure the wrap firmly.
Sealing Edges
Seal edges with heat and pressure to keep the vinyl stuck. Use a heat gun to warm the edges gently. Press the vinyl down with a squeegee or your fingers. Sealing stops water and dirt from getting under the wrap. It also prevents the vinyl from lifting over time.
Handling Curves And Corners
Curves and corners need extra care during trimming and finishing. Use a heat gun to soften the vinyl on bends. Stretch the vinyl carefully to avoid wrinkles and bubbles. Cut small relief cuts if needed to help the vinyl lay flat. Take your time shaping the vinyl around tight spots.

Credit: www.turtlewax.com
Caring For Your Vinyl Wrap
Caring for your vinyl wrap helps keep it looking fresh and new. Proper care extends the life of the wrap. It protects your investment and keeps your car stylish.
Cleaning Tips
Use a soft cloth or sponge to clean the wrap. Wash with gentle soap and water only. Avoid harsh chemicals and abrasive cleaners. Rinse thoroughly to remove all soap. Dry with a microfiber towel to prevent scratches. Clean your wrap regularly to avoid dirt buildup.
Avoiding Damage
Park in shaded areas to protect from sun damage. Avoid sharp objects near the wrap. Do not use pressure washers too close. Be careful when opening doors or loading items. Avoid scraping ice or snow directly on the wrap. Small cuts can cause peeling over time.
When To Rewrap
Look for fading or peeling on the vinyl. Wrinkles or bubbles may mean it needs attention. If the wrap loses its shine, consider rewrapping. Damage from accidents may require a new wrap. Regular inspections help spot problems early. Rewrapping keeps your car looking its best.
Frequently Asked Questions
How Long Does Vinyl Wrap Last On A Car?
Vinyl wraps typically last 5 to 7 years with proper care. Exposure to sun and harsh weather can reduce lifespan. Regular cleaning and avoiding abrasive materials help maintain the wrap’s appearance and durability over time.
Can I Vinyl Wrap My Car Myself?
Yes, you can vinyl wrap your car yourself with patience and proper tools. It requires careful surface preparation, precise application, and practice. Watching tutorials and working in a clean, dust-free environment improves results significantly.
What Tools Do I Need For Car Vinyl Wrapping?
Essential tools include a squeegee, heat gun, utility knife, gloves, and cleaning supplies. These help in smoothing the vinyl, cutting precisely, and ensuring a dust-free surface. Having the right tools ensures a professional finish.
How Much Does It Cost To Vinyl Wrap A Car?
DIY vinyl wrap costs vary but typically range from $150 to $600 for materials. Professional wrapping usually costs $2,000 to $5,000 depending on car size and complexity. DIY saves money but requires skill and time.
Conclusion
Vinyl wrapping your car is a fun and affordable way to change its look. Take your time and follow each step carefully. Clean the surface well before applying the wrap for best results. Use the right tools to avoid wrinkles and bubbles.
Practice makes perfect, so don’t worry if it’s not perfect the first time. Enjoy the process and the fresh style you create. Your car will stand out with a new, custom look. Try it yourself and see how satisfying it can be.


