Are you noticing your vehicle’s performance dropping or unusual smells coming from the fuel system? It might be time to replace your fuel tank general filter refill.
This small but vital part keeps your engine running smoothly by filtering out dirt and debris from the fuel. If you’ve never done this before, don’t worry—you can handle it yourself with the right steps. You’ll learn exactly how to replace your fuel tank filter quickly and safely, saving you time and money.
Keep reading to ensure your engine stays clean and efficient!
Signs Your Fuel Tank Filter Needs Replacement
Knowing the signs of a failing fuel tank filter helps keep your engine healthy. A clogged filter stops fuel flow. It causes problems that affect your vehicle’s performance. Catching these signs early avoids costly repairs.
Watch your car carefully. Notice changes in how it runs. These hints show the filter needs replacement soon.
Common Symptoms
The engine may sputter or hesitate during acceleration. Your car might stall more often. Starting the engine could take longer than usual. You could see a drop in fuel efficiency. Strange noises from the fuel pump may occur. These symptoms point to a blocked fuel filter.
Impact On Engine Performance
A dirty fuel filter limits fuel reaching the engine. This causes a rough idle and loss of power. The engine may misfire under load. You might feel your car struggling on hills. Reduced fuel flow can cause engine damage over time. Replacing the filter restores smooth, reliable engine performance.
Tools And Materials Required
Replacing a fuel tank general filter refill requires the right tools and materials. Having these ready ensures a smooth and safe process. This section covers the essential tools and recommended replacement filters for the task.
Essential Tools
- Socket wrench set for removing bolts
- Screwdrivers, both flathead and Phillips
- Fuel line disconnect tool
- Drain pan to catch fuel spills
- Clean rags or paper towels
- Protective gloves to avoid fuel contact
- Safety glasses for eye protection
- Jack and jack stands for vehicle lifting
Recommended Replacement Filters
Choose a fuel filter that fits your vehicle model. Check the owner’s manual for specifications. Use high-quality filters made from durable materials. Paper element filters trap dirt effectively. Some filters include a plastic or metal housing. Consider OEM (Original Equipment Manufacturer) filters for best results. Avoid cheap or generic filters that may fail quickly.
Preparing For The Replacement
Preparing for a fuel tank general filter refill involves careful steps. Proper preparation helps avoid mistakes and keeps the process smooth. Taking time to get ready ensures safety and efficiency. Follow simple instructions for a better experience.
Safety Precautions
Always work in a well-ventilated area to avoid fumes. Keep a fire extinguisher nearby. Wear gloves to protect your skin from fuel. Avoid smoking or open flames during the process. Disconnect the vehicle battery to stop electrical sparks. Use eye protection to guard against splashes.
Locating The Fuel Tank Filter
The fuel tank filter is usually near the fuel tank or along the fuel line. Check your vehicle’s manual for the exact location. Look for a small, cylindrical part attached to the fuel line. It may be under the vehicle or inside the engine bay. Clean the area around the filter before starting to avoid dirt entry.
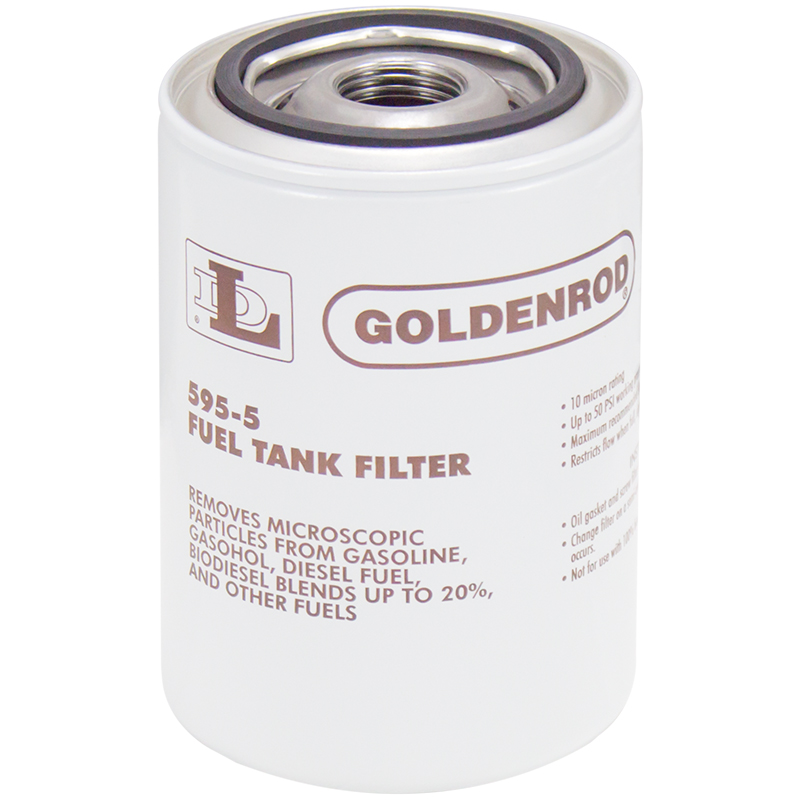
Credit: www.dutton-lainson.com
Removing The Old Fuel Tank Filter
Removing the old fuel tank filter is the first step in maintaining your vehicle’s fuel system. This process helps keep the engine running smoothly and prevents clogging. Careful removal ensures no damage happens to the fuel tank or the filter housing.
Follow each step carefully. Safety and cleanliness are important. Wear gloves and work in a well-ventilated space.
Draining The Fuel Tank
Start by draining the fuel tank to avoid spills. Use a clean container to catch the fuel. This step reduces pressure and makes filter removal easier. Ensure the container is approved for fuel storage. Keep away from open flames or sparks.
Detaching The Filter
Locate the filter attached to the fuel tank. Use the correct tools to loosen clamps or screws. Gently pull the filter out of its housing. Avoid bending or damaging any tubes. Place the old filter on a clean surface for disposal.
Installing The New Fuel Tank Filter
Installing the new fuel tank filter is a key step in maintaining your vehicle’s fuel system. This process helps keep dirt and debris out of the engine. Proper installation ensures smooth fuel flow and better engine performance.
Follow the steps carefully for a secure and effective replacement. Pay attention to how the filter fits and how connections are secured. This will avoid leaks and other issues later.
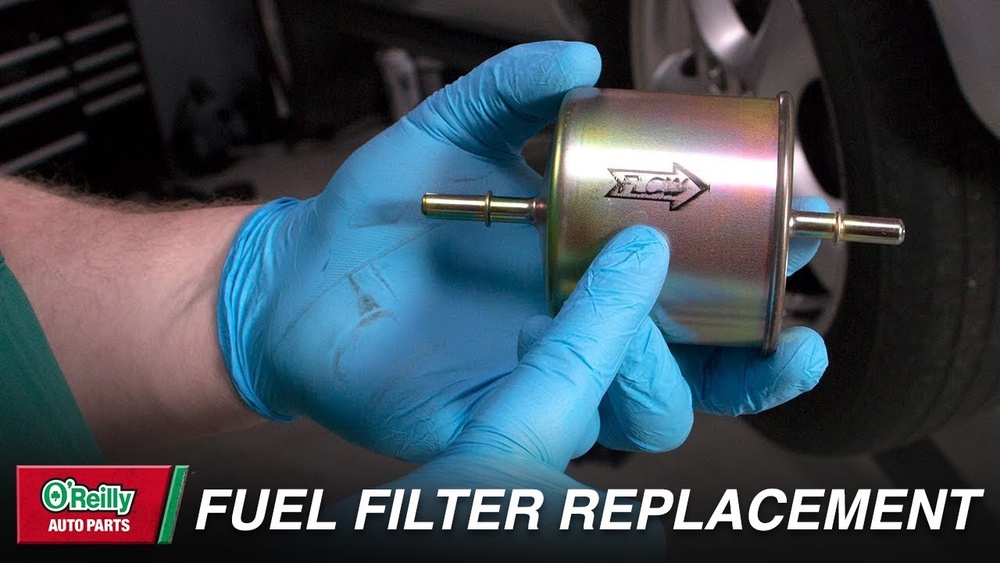
Proper Filter Placement
Place the new filter exactly where the old one was removed. Check the direction arrow on the filter. This arrow shows the fuel flow direction. Insert the filter so the arrow points toward the engine. Make sure the filter fits snugly in its slot. A loose filter can cause fuel leaks or poor engine performance.
Securing Connections
Connect all hoses firmly to the new filter. Push the hoses until they fit tightly on the filter ends. Use clamps if available to secure the hoses. Tighten the clamps without overdoing it. Over-tightening can damage the hose or filter. Double-check all connections to prevent fuel leaks. A tight connection keeps your fuel system safe and efficient.
Refilling The Fuel Tank
Refilling the fuel tank is an essential step after replacing the general fuel filter. Proper refilling ensures your engine runs smoothly and lasts longer. Taking care during this process avoids spills and damage to the fuel system. Follow simple tips to refill safely and correctly.
Choosing The Right Fuel
Select fuel that matches your engine’s requirements. Use clean, fresh fuel to prevent clogging. Avoid old or contaminated fuel that can harm the filter and engine. Check the recommended fuel type in your equipment manual. Using the right fuel improves performance and protects the new filter.
Refill Techniques
Use a clean funnel to pour fuel into the tank. Pour slowly to prevent spills and air bubbles. Stop filling before the tank is completely full. Leave space for fuel expansion and avoid overflow. Wipe any spilled fuel immediately to keep the area safe. Close the fuel cap tightly to prevent leaks and contamination.
Testing After Replacement
After replacing the fuel tank general filter refill, testing is crucial. This step ensures the new filter works correctly. It also checks for any issues before full use.
Starting The Engine
Start the engine carefully. Listen for any unusual sounds. The engine should run smoothly and without hesitation. If the engine struggles, the filter may not be installed right. It might also mean air is trapped in the fuel line. Let the engine run for a few minutes to clear any air.
Checking For Leaks
Look closely at the filter and fuel lines. Check for any signs of leaks or wet spots. Leaks can cause fuel loss and engine problems. Tighten connections if you find any leaks. Use a clean cloth to wipe away fuel and watch again. Make sure the area stays dry after the engine runs.

Credit: www.amazon.com
Maintenance Tips For Fuel Tank Filters
Maintaining fuel tank filters is important for your vehicle’s performance. Clean filters keep fuel free of dirt and debris. This helps the engine run smoothly and lasts longer. Simple steps can improve filter life and avoid costly repairs.
Regular Inspection Schedule
Check the fuel filter every few months. Look for signs of dirt or damage. Replace the filter if it looks clogged or worn out. Follow the vehicle manual for specific inspection times. Regular checks prevent fuel flow problems and engine issues.
Extending Filter Lifespan
Use clean fuel to protect the filter. Avoid filling up at unknown or dirty gas stations. Store fuel in clean containers if you refill the tank yourself. Keep the fuel tank sealed to stop dust and water from entering. These habits help the filter last longer and work better.
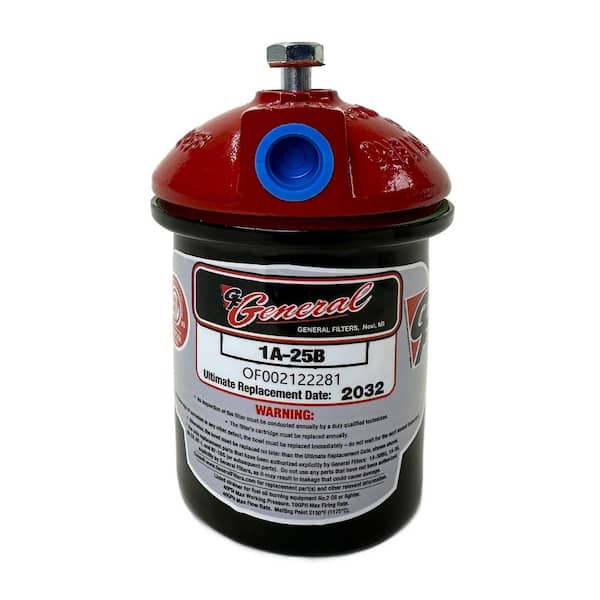
Credit: www.homedepot.com
Frequently Asked Questions
How Often Should I Replace A Fuel Tank Filter?
Replace the fuel tank filter every 12,000 to 15,000 miles. Check the manufacturer’s manual for specific intervals. Regular replacement prevents engine damage and ensures clean fuel flow.
What Tools Are Needed For A Fuel Filter Refill?
Basic tools include a wrench, screwdriver, and a container for old fuel. Gloves and safety glasses are also recommended. Proper tools ensure a safe and efficient filter replacement.
Can I Replace The Fuel Filter Myself Safely?
Yes, with proper precautions and tools, you can replace it safely. Work in a well-ventilated area, avoid sparks, and follow the vehicle manual instructions carefully.
What Are Signs That My Fuel Filter Needs Replacing?
Symptoms include engine misfires, reduced power, and difficulty starting. A clogged filter restricts fuel flow, causing these issues. Regular checks help maintain optimal engine performance.
Conclusion
Replacing a fuel tank general filter refill is simple and important. Clean filters help your engine run smoothly. Follow each step carefully for best results. Use the right tools and take your time. Regular maintenance saves money and avoids breakdowns.
Keep your vehicle in good shape by changing filters often. Stay safe and enjoy a better driving experience. This small task makes a big difference.