Are you looking to remove your car’s vinyl wrap but don’t know where to start? Removing a vinyl wrap might seem tricky, but with the right steps, you can do it yourself without damaging your paint.
Imagine restoring your car’s original look quickly and easily—no expensive trips to the shop needed. In this guide, you’ll discover simple, effective methods to peel off that wrap smoothly. Keep reading to learn how to save time, protect your car, and get professional results right at home.
Tools Needed
Removing a car vinyl wrap needs the right tools. Using proper tools saves time and prevents damage to your car’s paint. Prepare these supplies before starting the removal process. This helps keep the job smooth and safe.
Essential Supplies
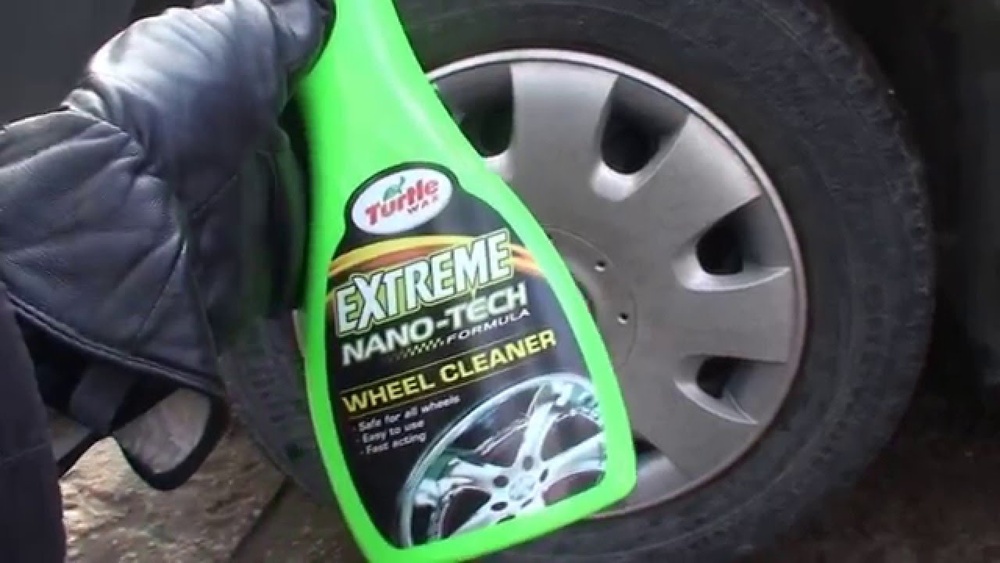
Start with a heat gun or a hair dryer to soften the vinyl. This makes peeling easier. Use a plastic scraper to lift the edges without scratching the car. A microfiber cloth helps clean sticky residue gently. Also, get adhesive remover to clear leftover glue. Gloves protect your hands from heat and chemicals. Lastly, have a spray bottle filled with soapy water. It helps loosen the vinyl and keep the surface wet.
Optional Accessories
A lint roller can pick up small vinyl pieces and dust. Use a plastic razor blade for stubborn glue spots. A magnifying glass helps check for tiny vinyl bits stuck on the surface. Some people use a fabric softener mixed with water to soften adhesive. A soft-bristle brush is good for scrubbing residue softly. These extras make the removal easier but are not required.
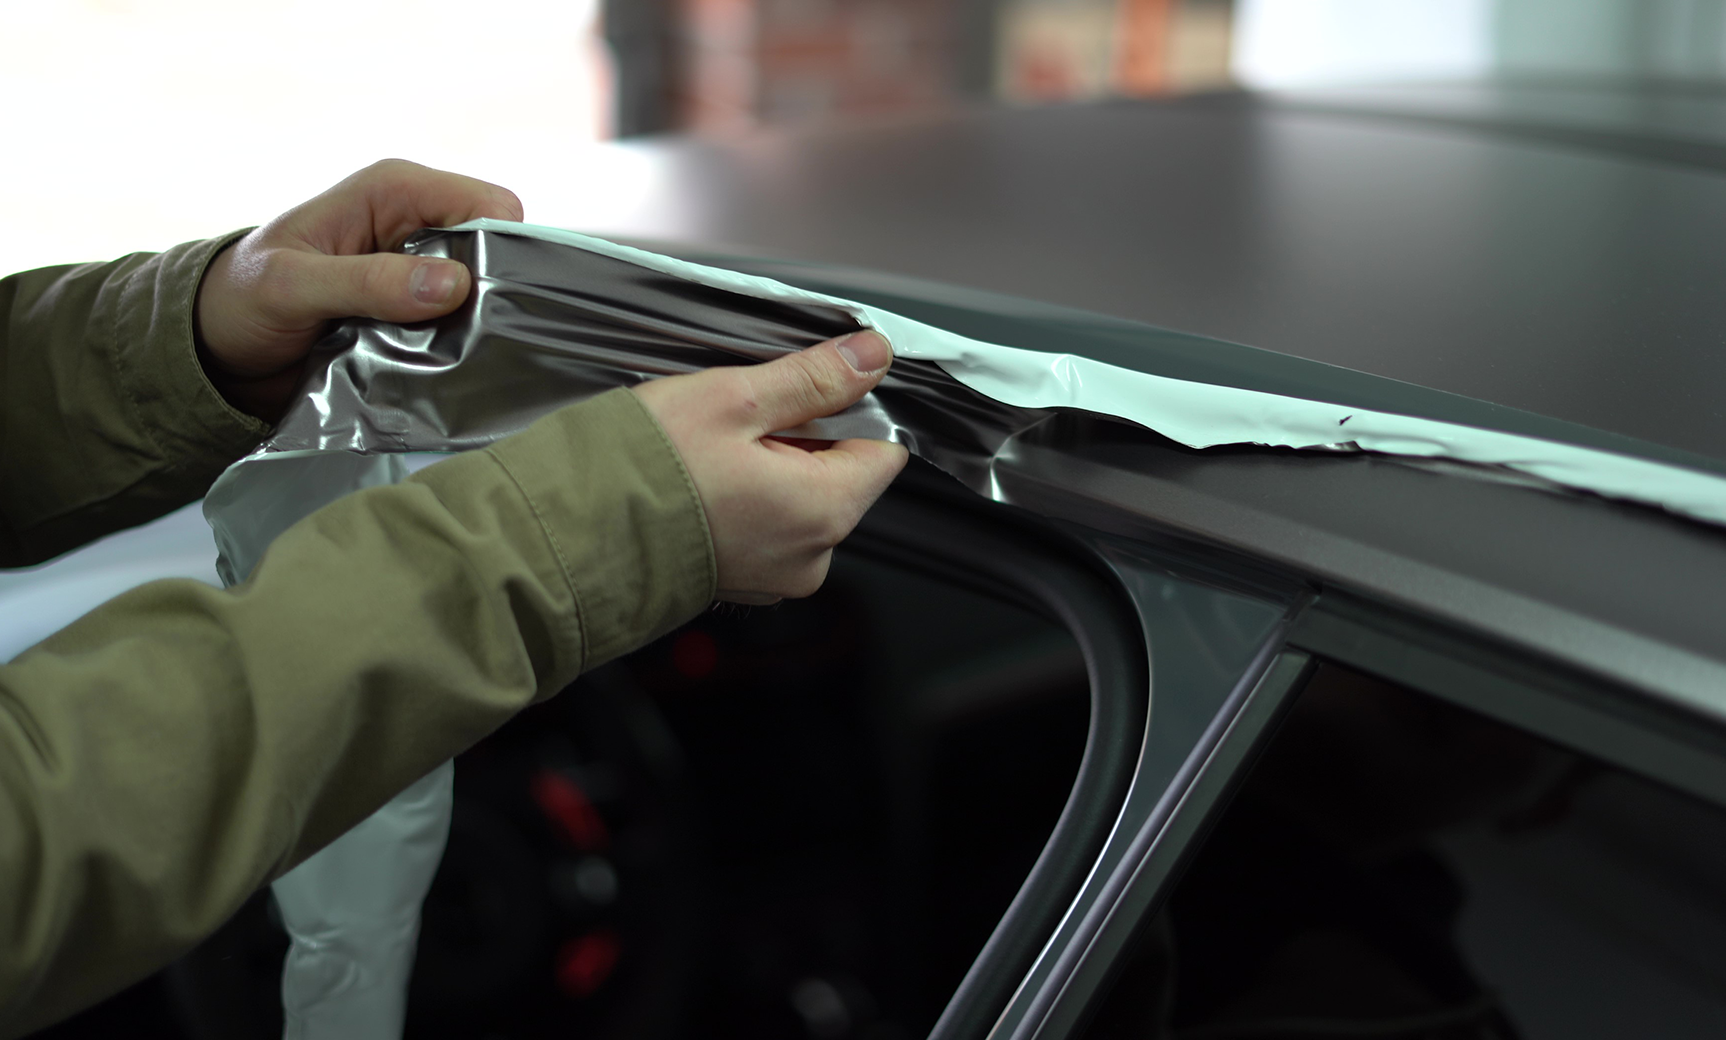
Credit: vvividshop.com
Preparing Your Car
Preparing your car is a key step before removing a vinyl wrap. It helps protect the paint and makes the removal easier. Taking time to prepare ensures better results and less damage to your car.
Cleaning The Surface
Start by washing your car thoroughly. Dirt and dust can scratch the paint during removal. Use soap and water to clean the surface well. Dry the car completely with a soft cloth. Clean surfaces help the wrap come off smoothly.
Choosing The Right Environment
Pick a shaded area to work on your car. Direct sunlight can heat the vinyl too much. Too much heat can make the wrap sticky and harder to remove. A cool, dry place helps you control the removal process. Avoid windy spots to keep dust away from your car.
Heating The Vinyl
Heating the vinyl wrap is a key step in removing it from your car. Heat softens the adhesive, making the wrap easier to peel off. This prevents damage to the paint and reduces the effort needed. Careful heating also helps avoid tearing the vinyl into small pieces. You can use different tools to apply heat safely and evenly.
Using A Heat Gun
A heat gun is the most common tool for heating vinyl wrap. It blows hot air at a controlled temperature. Hold the gun about 6 to 8 inches from the wrap. Move it slowly over the surface to warm the vinyl evenly. Avoid staying too long in one spot. Too much heat can damage the paint or stretch the vinyl.
Heat guns are easy to use and effective. They allow you to soften the adhesive quickly. This makes peeling the vinyl smooth and less likely to leave residue behind.
Alternative Heating Methods
If you do not have a heat gun, try other heating options. A hairdryer can work well for small areas. It produces warm air but at a lower temperature. Keep it close to the wrap and move it constantly to avoid overheating.
Another option is using warm water. Soak a cloth in warm water and place it on the vinyl for a few minutes. This helps soften the adhesive slowly. Warm water is gentle and safe but takes more time.
Peeling Off The Vinyl
Peeling off a car vinyl wrap requires patience and care. The goal is to remove the wrap without damaging the paint underneath. Using the right method makes the process smoother and safer for your vehicle.
Start slow and avoid rushing. Vinyl wraps can tear easily if pulled too hard. Taking your time helps preserve both the wrap and the car’s surface.
Starting Points
Find a corner or edge of the vinyl wrap to begin. Corners are easier to lift and offer a good grip. Use your fingernail or a plastic tool to gently lift the wrap.
Do not use metal tools as they can scratch the paint. If the wrap is old or stuck, warm the area with a heat gun or hair dryer. Heat softens the adhesive and makes peeling easier.
Proper Peeling Techniques
Pull the vinyl slowly and steadily at a 45-degree angle. This reduces the risk of tearing the wrap. Keep the wrap close to the car’s surface as you peel.
Stop if you feel strong resistance. Heat the area again to loosen the adhesive. Avoid pulling too fast or at sharp angles.
Work in small sections for better control. Clean the car surface after peeling to remove leftover glue. Use a mild adhesive remover safe for car paint.
Removing Adhesive Residue
Removing adhesive residue is an important step after peeling off a car vinyl wrap. Leftover glue can make the car look dirty and may damage the paint if not removed carefully. Cleaning this residue helps restore the car’s smooth surface and shine. Use the right products and methods to avoid scratches or stains.
Adhesive Removers
Choose a gentle adhesive remover made for cars. Some common options include rubbing alcohol, citrus-based cleaners, or commercial adhesive removers. Apply a small amount on a soft cloth. Rub the sticky areas gently to dissolve the glue. Avoid harsh chemicals that can harm the paint or clear coat. Test the remover on a small hidden spot before using it widely.
Safe Cleaning Practices
Always clean in a shaded area to avoid quick drying. Use soft microfiber cloths to prevent scratches. Work in small sections and repeat as needed. Rinse the area with water after removing the residue. Dry the surface with a clean towel. Wear gloves to protect your skin from chemicals. Take your time and be patient for the best results.
Final Touches
After removing the car vinyl wrap, the final touches make your car look fresh and clean. These steps help protect the paint and bring out the shine. Taking time with these details ensures your car looks its best.
Washing And Polishing
Start by washing the car with soap and water. This removes leftover glue and dirt. Use a soft cloth or sponge to avoid scratches. Dry the car with a clean towel to stop water spots.
Next, polish the car to restore its shine. Polishing removes dull spots and light scratches. Use a gentle polish and a soft cloth. Work in small sections for the best results. This step makes the paint look smooth and bright again.
Inspecting For Damage
Check the car’s surface for any damage. Look for scratches, paint chips, or adhesive marks. Small scratches can be fixed with touch-up paint. For bigger damage, a professional may need to help. Spotting damage early stops it from getting worse.
Cleaning and inspecting your car after wrap removal keeps it in good shape. It helps the paint last longer and keeps your car looking great.
Common Mistakes To Avoid
Removing car vinyl wrap can be tricky. Many people make simple mistakes that cause damage or waste time. Avoiding these errors helps protect your car’s paint and finish.
This section highlights common mistakes. Knowing them prevents problems and ensures a smooth removal process.
Using Excessive Heat
Applying too much heat can damage the paint under the vinyl. Heat softens the adhesive but too much can cause paint to bubble or peel. Use a heat gun or hair dryer carefully and keep it moving.
Peeling Too Quickly
Ripping the vinyl off fast may tear it or leave adhesive behind. Peel slowly and pull the wrap back on itself at a low angle. Patience helps the vinyl come off cleanly without residue.
Ignoring Adhesive Residue
After removing vinyl, sticky glue often remains. Ignoring this residue leads to dirt buildup or damage to the surface. Use a gentle adhesive remover and a soft cloth to clean the area properly.
Skipping Surface Preparation
Not cleaning the car before removal causes dust and dirt to scratch the paint. Wash your car and dry it fully before starting. A clean surface protects your paint and helps the wrap come off easier.
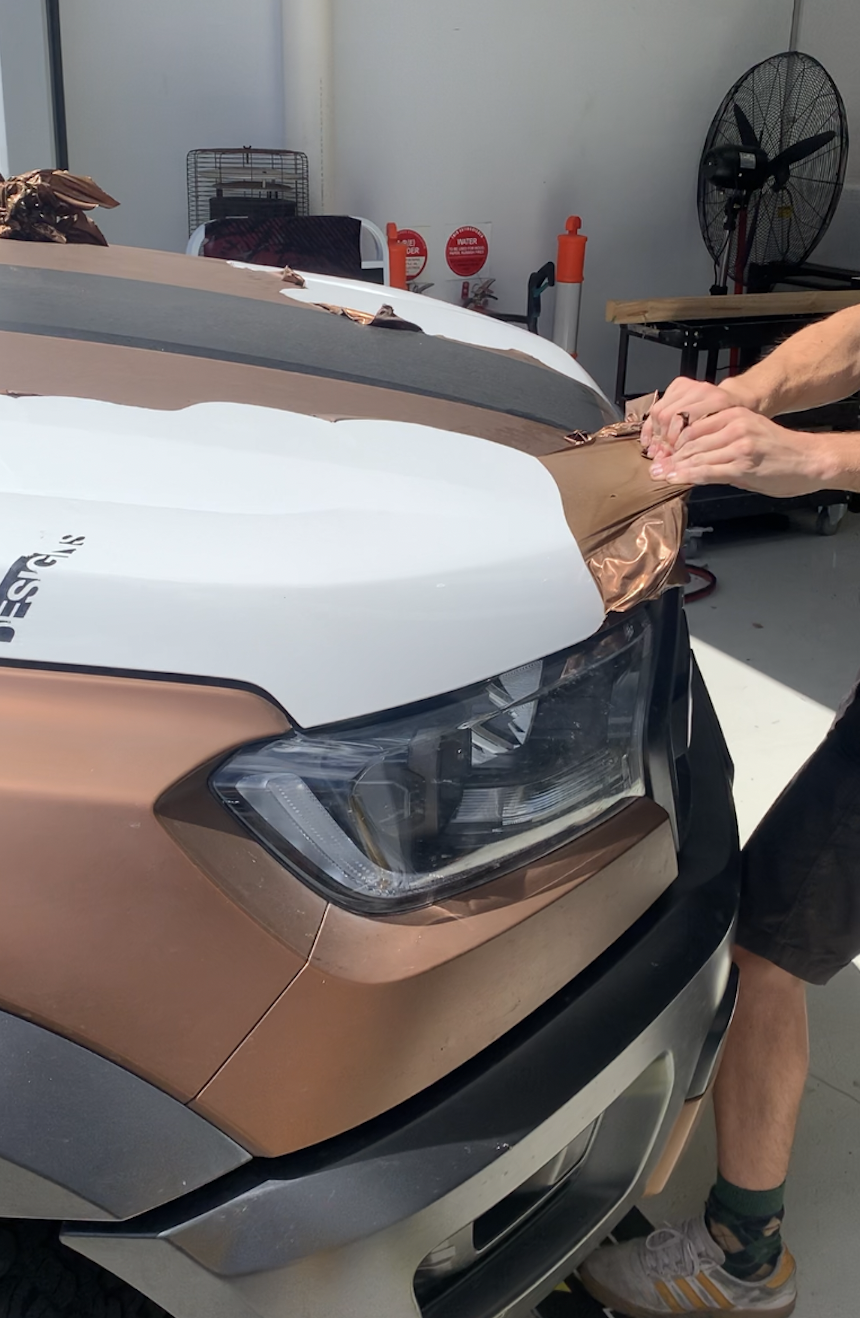
Credit: crgdesigns.com.au
Tips For A Smooth Wrap Removal
Removing a car vinyl wrap can be tricky without the right tips. Proper care helps avoid damage to the paint underneath. Follow simple steps to make the process smooth and safe. This section shares easy advice to remove wraps with less effort.
Prepare The Surface And Tools
Start by washing your car to remove dirt and dust. Gather a heat gun, plastic scraper, and adhesive remover. Avoid metal tools that can scratch the paint. Having the right tools ready saves time and hassle.
Apply Gentle Heat
Warm the vinyl wrap with a heat gun or hairdryer. Heat softens the adhesive, making removal easier. Keep the heat moving to avoid burning the vinyl. Warm but not too hot. This step prevents tears and helps peel the wrap smoothly.
Peel Slowly And Steadily
Lift one corner and pull the wrap at a 45-degree angle. Go slow to stop the vinyl from ripping. Steady motion helps keep the adhesive intact. Don’t rush. Patience reduces damage to both wrap and paint.
Use Adhesive Remover Safely
After peeling, some glue may stay on the car. Use a gentle adhesive remover to clean the surface. Test the product on a small area first. Wipe off residue with a soft cloth. This step leaves your car clean and smooth.
Work In A Shaded Area
Remove the wrap in a shaded, cool place. Direct sunlight can make the wrap too hot. Overheating may cause the vinyl to stretch or tear. A shaded spot keeps the temperature steady and helps control the process better.

Credit: www.youtube.com
Frequently Asked Questions
How Do I Safely Remove Car Vinyl Wrap?
To safely remove car vinyl wrap, heat the wrap with a heat gun or hairdryer. Peel slowly from one corner. Avoid sharp tools to prevent paint damage. Clean residue with adhesive remover after removal.
Can Vinyl Wrap Damage My Car’s Paint?
Properly applied vinyl wrap does not damage paint. Removing wrap incorrectly or after long periods may risk paint damage. Always remove wrap with heat and gentle peeling to protect your vehicle’s surface.
What Tools Are Needed To Remove Vinyl Wrap?
You need a heat gun or hairdryer, plastic scraper, adhesive remover, microfiber cloth, and gloves. These tools help soften the adhesive and safely peel the vinyl without scratching the paint.
How Long Does Vinyl Wrap Removal Usually Take?
Vinyl wrap removal typically takes 1 to 3 hours depending on wrap size and condition. Larger vehicles or older wraps may require more time and patience for safe removal.
Conclusion
Removing car vinyl wrap can be simple with the right steps. Take your time and work carefully to avoid damage. Use heat and gentle peeling to make the job easier. Clean the surface well after removal to keep your car looking good.
Patience and the right tools help you finish the task smoothly. Try these tips and enjoy a fresh, vinyl-free car look.