
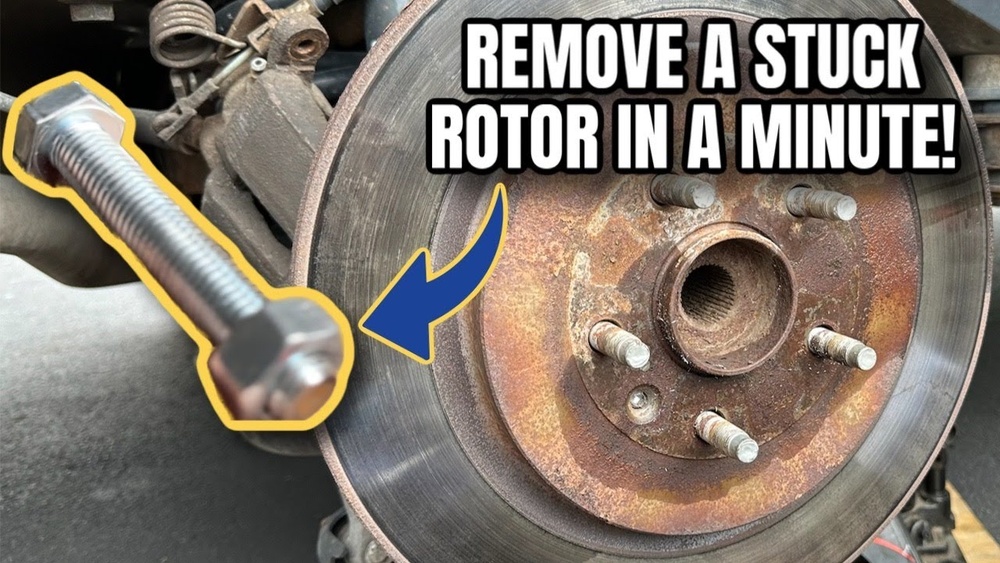
Have you ever tried to remove a brake rotor only to find it stuck fast, refusing to budge no matter how hard you pull? It’s a frustrating problem that can stop your repair work in its tracks.
But don’t worry—you’re not alone, and there’s a way to fix this without damaging your car or wasting hours. In this guide, you’ll learn simple, effective steps to safely take off a stuck brake rotor. Keep reading, and soon you’ll have the confidence and know-how to get the job done quickly and smoothly.
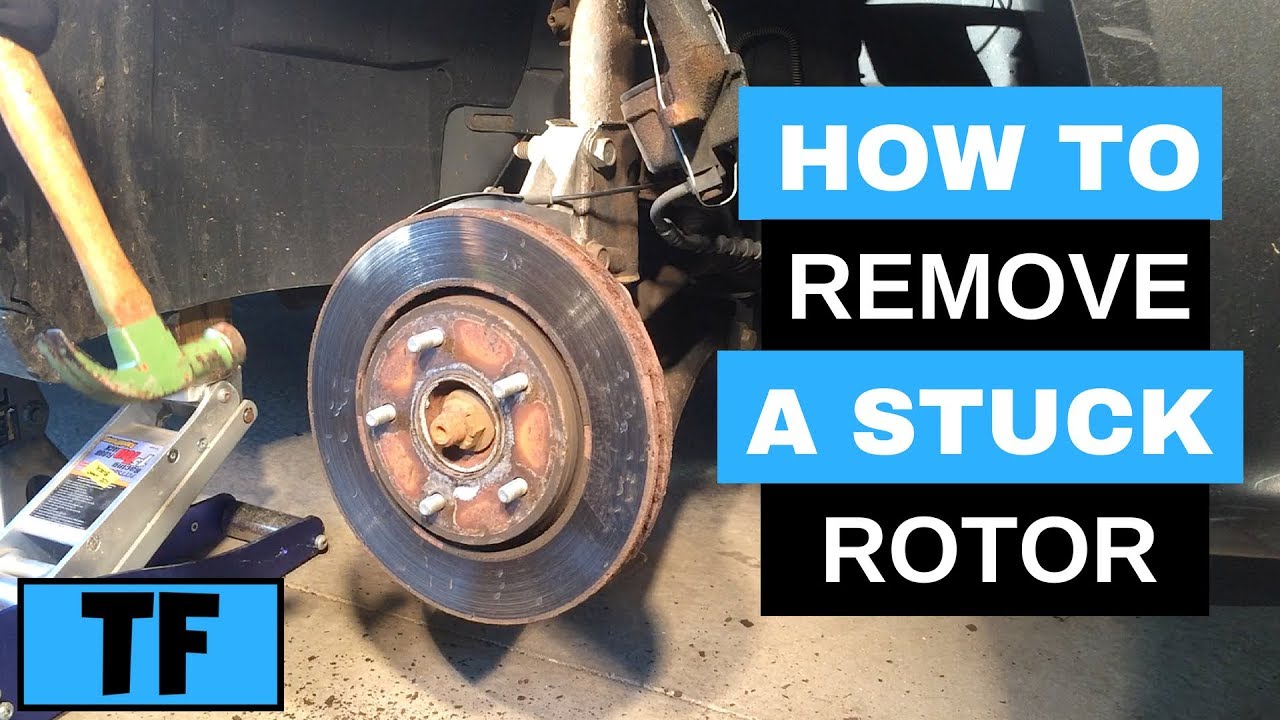
Credit: www.youtube.com
Tools Needed
Removing a stuck brake rotor needs the right tools. Having these tools makes the job easier and safer. Without them, you might damage parts or waste time. Gather everything before you start working on the brake system.
Socket Set
A socket set helps remove bolts holding the rotor. Choose sockets that fit your vehicle’s bolts. A ratchet with the set speeds up the process. Make sure sockets are clean and in good shape.
Rubber Mallet
A rubber mallet taps the rotor gently. It loosens rust and corrosion without damage. Avoid using a metal hammer to prevent dents. Tap around the rotor edge evenly for best results.
Penetrating Oil
Penetrating oil breaks rust between the rotor and hub. Spray it generously on the stuck area. Let it sit for 10-15 minutes. This softens rust and eases removal.
Brake Cleaner
Brake cleaner removes dirt and grease from parts. Clean the rotor and hub before reassembly. It ensures good contact and longer brake life. Spray and wipe with a clean cloth.
Wire Brush
A wire brush scrapes off rust and debris. Clean the rotor hub and mounting surface. This helps the rotor sit flat and secure. Use it gently to avoid scratching.
Breaker Bar
A breaker bar gives extra leverage to loosen tight bolts. Use it if bolts are hard to turn. It offers more torque than a regular ratchet. Handle with care to avoid injury.
Safety Precautions
Safety is the top priority when removing a stuck brake rotor. The task involves heavy parts and strong tools. Taking the right precautions helps prevent injuries and damage to your vehicle.
Before starting, prepare your workspace. Clear the area and make sure you have enough light. Wear gloves to protect your hands from sharp edges and dirt. Safety glasses shield your eyes from rust and debris.
Wear Protective Gear
Always wear gloves to avoid cuts and bruises. Use safety glasses to protect your eyes from flying particles. Closed-toe shoes help prevent foot injuries from falling tools.
Secure The Vehicle
Park the car on a flat surface. Engage the parking brake and use wheel chocks. This stops the vehicle from moving while you work.
Use Proper Tools
Choose the right tools for the job. Avoid makeshift tools that might slip or break. Use a hammer carefully to avoid damaging parts.
Work Slowly And Carefully
Apply slow, steady force to loosen the rotor. Avoid sudden hits that can cause injury. Take breaks if needed to stay focused.
Preparing The Vehicle
Preparing the vehicle is the first step to safely remove a stuck brake rotor. This part of the process sets the stage for smooth work on the brakes. Proper preparation keeps you safe and helps prevent damage to the car.
Start by making sure the car is on a flat, stable surface. This prevents any movement while you work. Gather all the tools needed before you begin. Safety gear like gloves and eye protection is important too.
Lifting The Car
Use a car jack to lift the vehicle off the ground. Place the jack under the car’s recommended lifting points. These points are usually marked in the owner’s manual.
Lift the car slowly and steadily. Stop when the wheel is clear off the ground. Always use jack stands to support the car after lifting it. Never rely on the jack alone for support.
Removing The Wheel
Before removing the wheel, loosen the lug nuts slightly while the car is on the ground. This makes it easier to remove the wheel once lifted. After the car is on jack stands, fully remove the lug nuts.
Pull the wheel straight off the hub. If it feels stuck, tap the tire gently with a rubber mallet. Keep the wheel and lug nuts in a safe place. This keeps them clean and ready for reinstallation.
Inspecting The Rotor
Inspecting the brake rotor is the first step to solve a stuck rotor problem. This step helps find the issue clearly. A careful check can save time and effort later. Look closely at the rotor for any damage or signs of trouble. Understanding these signs helps decide the next repair steps.
Signs Of A Stuck Rotor
A stuck rotor often causes the wheel to not spin freely. You might hear scraping or grinding sounds during driving. The brakes may feel hot or smell burnt after short trips. Notice if the car pulls to one side when braking. These clues show the rotor might be stuck or damaged.
Common Causes
Rust buildup is a common cause that locks the rotor in place. Brake pads stuck to the rotor can also cause it to seize. Warped rotors from overheating lose their shape and get stuck. Faulty calipers that do not release pressure trap the rotor. Dirt and debris between parts also stop the rotor from moving.
Loosening The Rotor
Loosening the brake rotor is a key step to remove it safely. Rotors often stick due to rust or corrosion. This section explains simple ways to free the rotor for easy removal. Follow these steps carefully to avoid damage.
Removing Retaining Screws
Check the rotor for small screws holding it in place. These screws keep the rotor attached to the hub. Use the correct screwdriver to remove them. Turn the screws counterclockwise to loosen. Keep them safe for reinstallation later. Removing these screws can make the rotor easier to pull off.
Using Penetrating Oil
Rust can make the rotor stick to the hub tightly. Spray penetrating oil on the rotor center where it meets the hub. Let the oil soak for 10 to 15 minutes. This helps to loosen rust and corrosion. After soaking, try to move the rotor gently. Repeat the process if it still feels stuck. Penetrating oil makes the rotor easier to remove without damage.

Credit: www.autonationmobileservice.com
Techniques To Remove The Rotor
Removing a stuck brake rotor can be tough without the right methods. Rotors often get stuck due to rust or corrosion. Using the correct techniques helps you avoid damage to the rotor and surrounding parts. Here are three effective ways to get the rotor off safely.
Tapping With A Hammer
Lightly tap the rotor edge with a rubber or plastic hammer. This loosens rust and debris holding it in place. Avoid using a metal hammer to prevent damage. Tap evenly around the rotor to break the rust seal. Be patient and gentle to avoid bending the rotor.
Applying Heat
Heat expands metal and can free a stuck rotor. Use a heat gun or propane torch carefully around the hub area. Heat the rotor evenly for a few minutes. Avoid overheating, as it can damage brake parts. After heating, try tapping or pulling the rotor again.
Using A Puller Tool
A puller tool applies even pressure to remove the rotor. Attach the tool to the rotor’s mounting holes. Tighten the center bolt slowly to push the rotor off the hub. This method reduces the risk of damaging the rotor. Pullers are ideal for very stubborn rotors stuck by rust.
Preventing Rotor Seizure
Rotor seizure happens when the brake rotor gets stuck to the hub. It makes removing the rotor very hard. Preventing rotor seizure saves time and avoids damage. Simple steps during installation and maintenance keep rotors moving freely.
Preventing rotor seizure helps maintain brake performance. It also extends the life of brake parts. Taking care of rotors is key for safe driving and easy repairs.
Proper Installation Tips
Clean the hub surface before installing the rotor. Remove rust, dirt, and old grease. Use a wire brush or sandpaper for cleaning. Apply a thin layer of anti-seize compound on the hub. This stops metal parts from sticking together.
Align the rotor correctly on the hub. Tighten the screws or bolts evenly. Do not overtighten, as it can cause warping. Use the correct torque settings from the vehicle manual. Proper installation prevents uneven pressure and seizure.
Regular Maintenance
Inspect rotors and hubs regularly for rust and corrosion. Clean them during brake pad changes or service. Check for signs of damage or wear. Replace parts that look worn or damaged.
Keep brake components dry and free from dirt. Avoid driving through deep water or mud often. Store your vehicle in a dry place to reduce rust risk. Regular care helps rotors stay smooth and easy to remove.

Credit: www.reddit.com
Frequently Asked Questions
How Do I Safely Remove A Stuck Brake Rotor?
To safely remove a stuck brake rotor, first loosen the lug nuts. Use penetrating oil on rusted areas. Tap the rotor gently with a rubber mallet. Avoid excessive force to prevent damage. If stuck, use heat or rotor puller tools carefully.
What Tools Are Needed To Remove A Stuck Brake Rotor?
You need a lug wrench, penetrating oil, rubber mallet, and a screwdriver. A rotor puller tool and heat source like a propane torch may help. Always wear safety gloves and goggles for protection during the process.
Why Is My Brake Rotor Stuck On The Hub?
Brake rotors get stuck due to rust, corrosion, or debris buildup. Moisture causes metal parts to bond tightly, making removal difficult. Lack of maintenance or long vehicle inactivity increases the chances of a stuck rotor.
Can Heat Help Remove A Stuck Brake Rotor?
Yes, applying heat can expand the metal, loosening the rotor. Use a propane torch carefully around the hub area. Avoid overheating to prevent damage. Heat combined with penetrating oil often makes removal easier.
Conclusion
Removing a stuck brake rotor takes patience and the right tools. Apply heat or use a hammer gently to loosen it. Avoid rushing to prevent damage to your vehicle. Taking safety precautions helps keep you safe during the process. With careful effort, you can remove the rotor yourself.
Keep these tips in mind for future brake work. Simple steps make a tough job easier to handle. Your car will be ready to drive smoothly again.


